Home Desserts Easy Glazed Donut Recipe {Light & Fluffy}
Desserts
Easy Glazed Donut Recipe {Light & Fluffy}
This easy Glazed Donut Recipe delivers a light, fluffy classic donut—truly the best donuts ever and perfect for any special breakfast.
- Prep2 hr
- Cook3 min
- Total3 hr 30 min
- Serves24 donuts
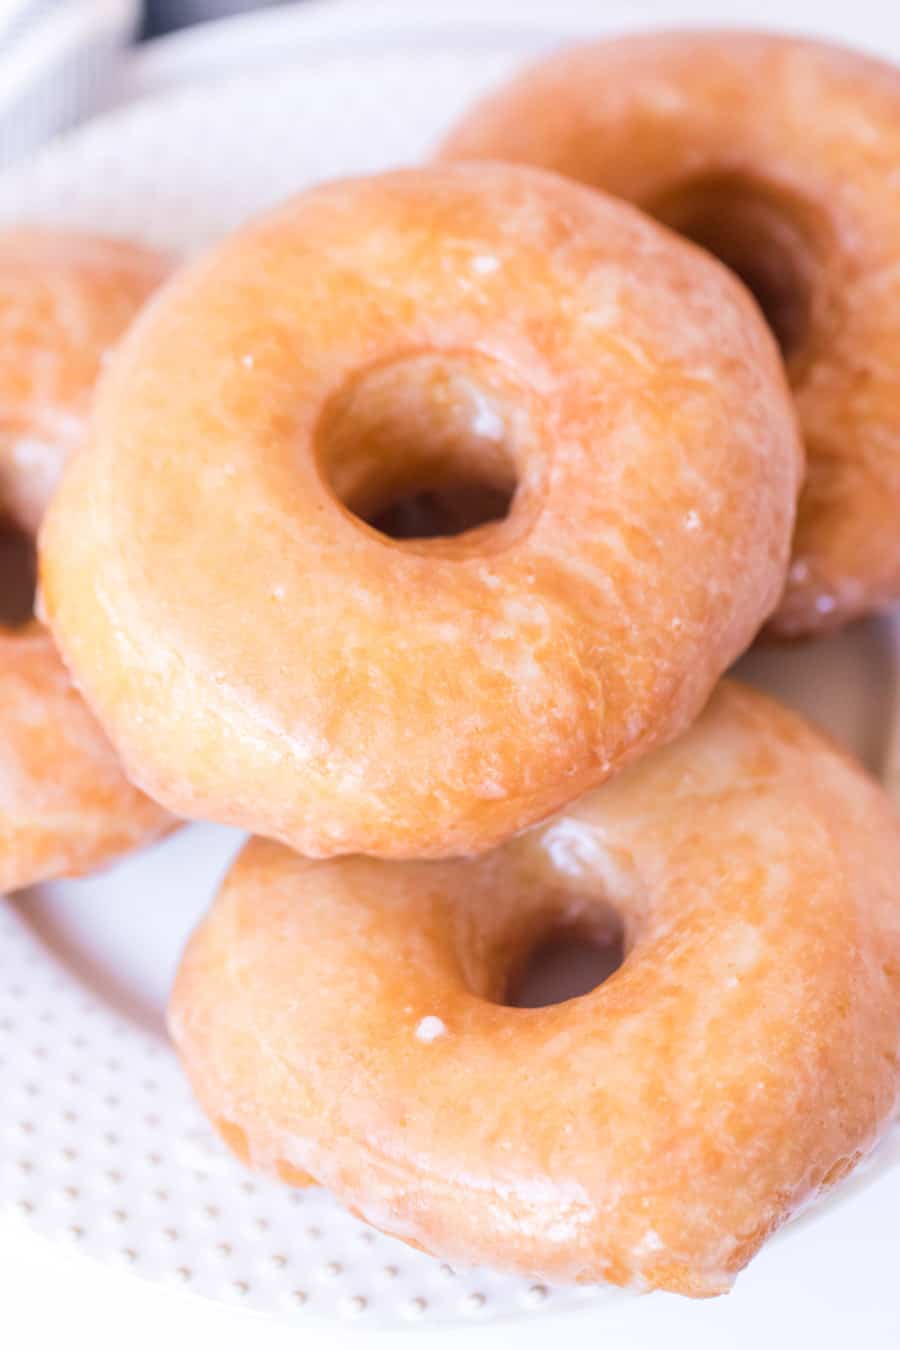
This easyGlazed Donut Recipedelivers a light, fluffy classic donut — truly the best donuts ever! This is the perfect donut recipe if you’re new to donut making or just want to make a special treat for friends or family.
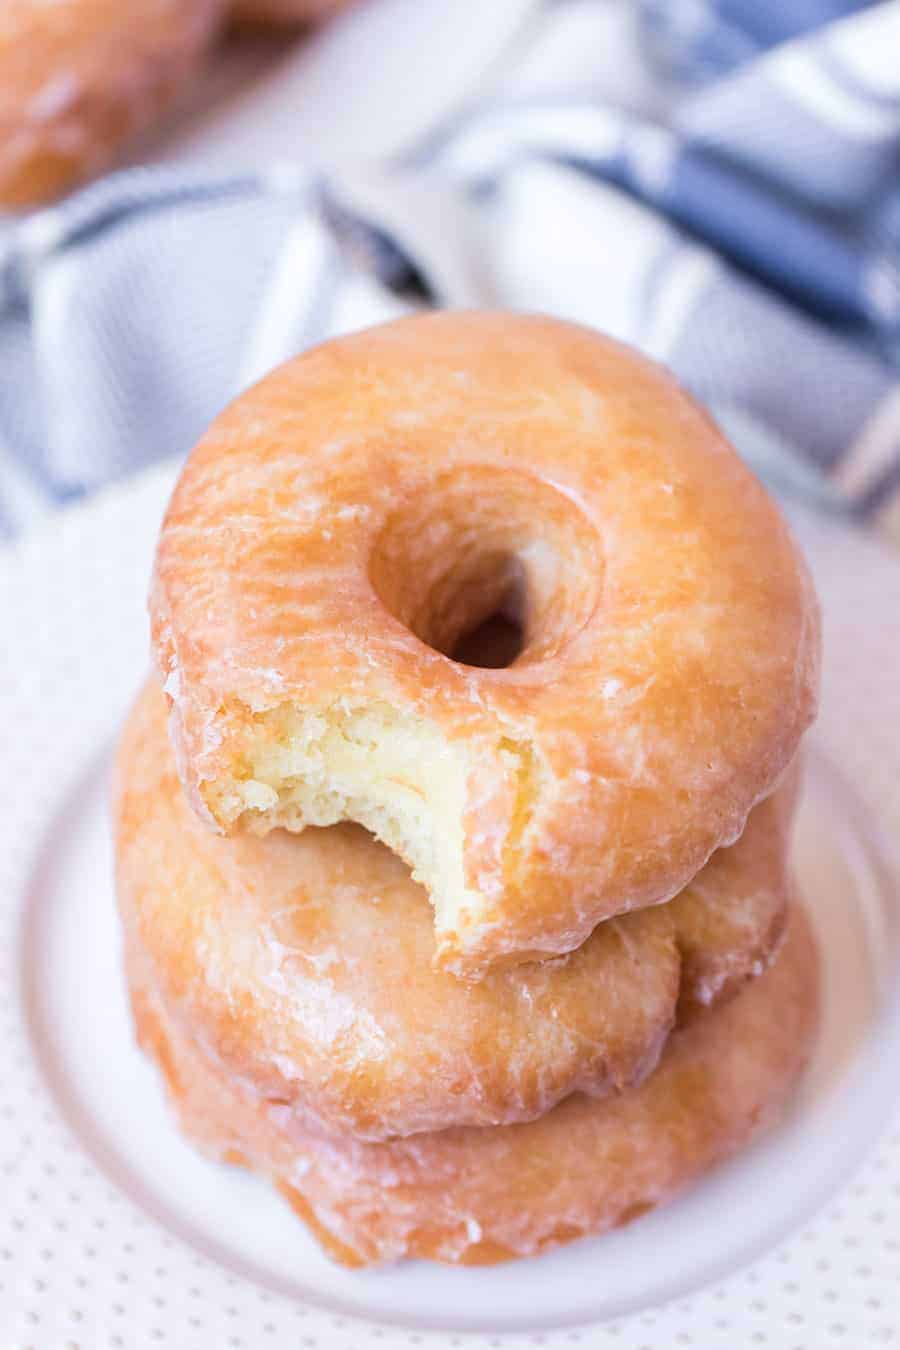
There’s just something about the fluffy and light, yet sweet richness to them that is positively addicting, in the very best way. And these donuts are actually better than any store- or bakery-bought glazed options I’ve ever tried. They are worth the effort.
The glaze for topping is the classic glaze, but it’s always fun to mix it up — I share my favorite options below!
Why You’ll Love This Recipe
- Crazy Yummy:Homemade donuts are the freshest andmost delicious donutsyou can find.
- Flavor Variety:You can get creative with the flavor of your glaze. Try the classic, or shake it up and go for chocolate or maple!
- Thrifty Pastries:This recipe is much more affordable than buying donuts at a store or bakery.
- Amazing Texture:This donut recipe create very light and fluffy donuts, which I think is the absolute perfect texture for donuts!
🍩 My kids absolutely love it when I make Aunt Beth’slight & fluffy glazed yeast donuts, so be sure to try them next!
Recipe Ingredients
For the donut dough, you’ll need:
- Whole milk
- Sugar
- Instant or active dry yeast
- Eggs
- Unsalted butter
- All-purpose flour
- Salt
- Shortening or oil for frying
For the donut glaze you’ll need:
- Butter
- Vanilla extract
- Powdered sugar
- Cream or milk
- Salt
See the recipe card below for full information on ingredients and quantities.
{Video} How to Make Glazed Donuts
How to Make This Glazed Donut Recipe
Step 1: Make the Donut Dough
Warm the milk until about 105°F.Yeast is alive, and if you put it in milk that is too hot, you’ll kill it, which means there will be no fluffy donuts.
Once your milk is warm, add it to your mixing bowl or the bowl of a stand mixer. Add the sugar and stir to dissolve, then add the yeast and let everything rest for 5 minutes.
Add the beaten eggs and melted butter to your yeast mixture and stir to combine. Then, with the mixer running slowly, add the flour and salt. Mix until the dough comes together. You can also do this by hand if you don’t have a mixer.
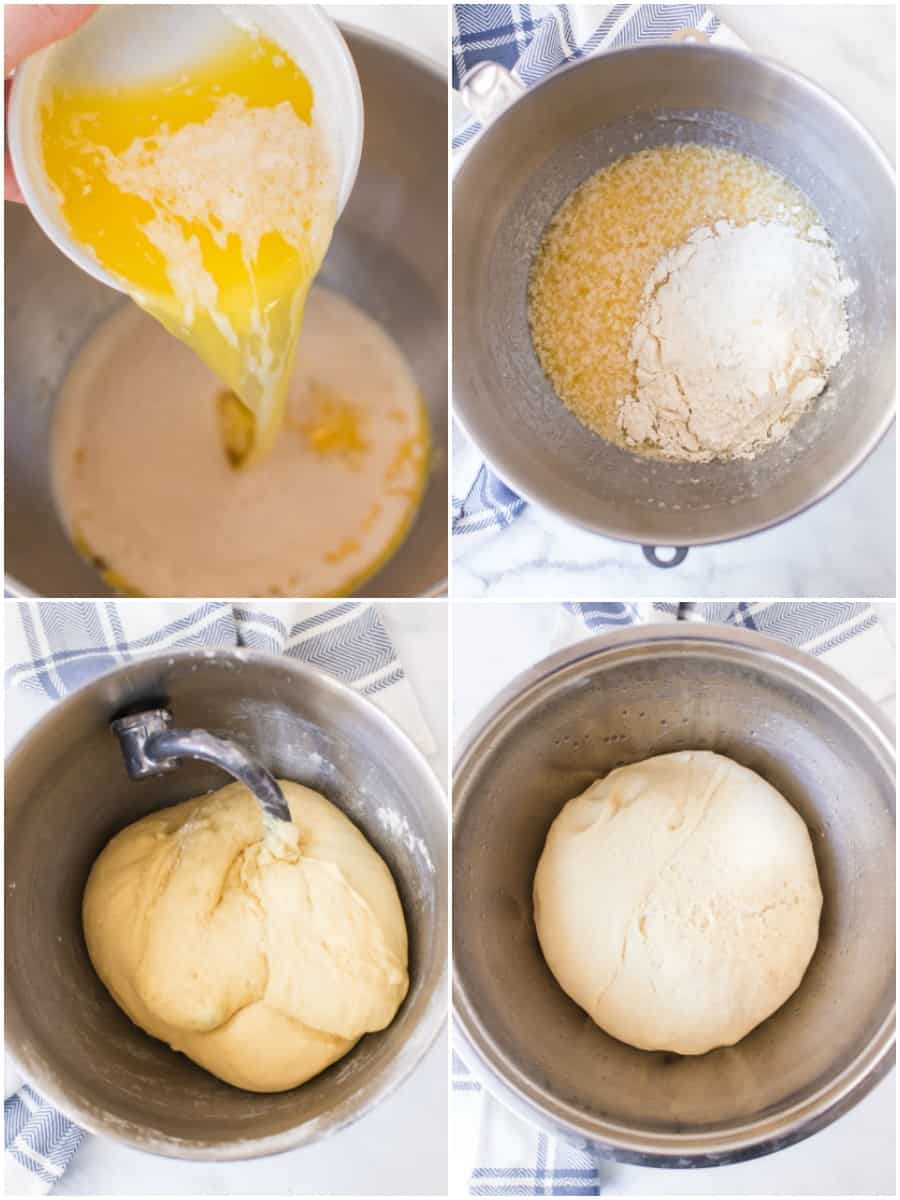
If using a stand mixer,switch to the dough hook attachment and knead the dough for 5 minutes.If you are making the dough by hand, turn it onto a floured surface and knead for 5 minutes. The dough should be thick and soft but slightly sticky.
Let the dough rest for 10 minutes, then transfer it to a lightly oiled bowl and cover it with plastic wrap.Refrigerate the dough for 2-8 hours or overnight.
Step 2: Shape the Donuts
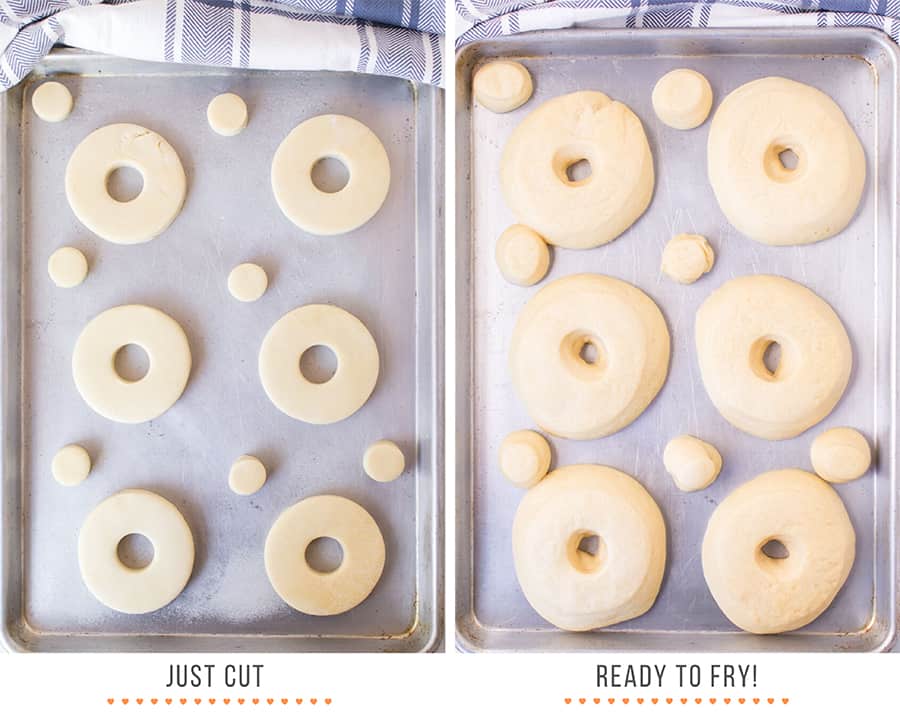
Remove your dough from the fridge and roll it out using a rolling pin on a lightly floured surface until it is 1/2 to 1/3-inch thick. Then, use a three-inch donut cutter to cut out the rounds.
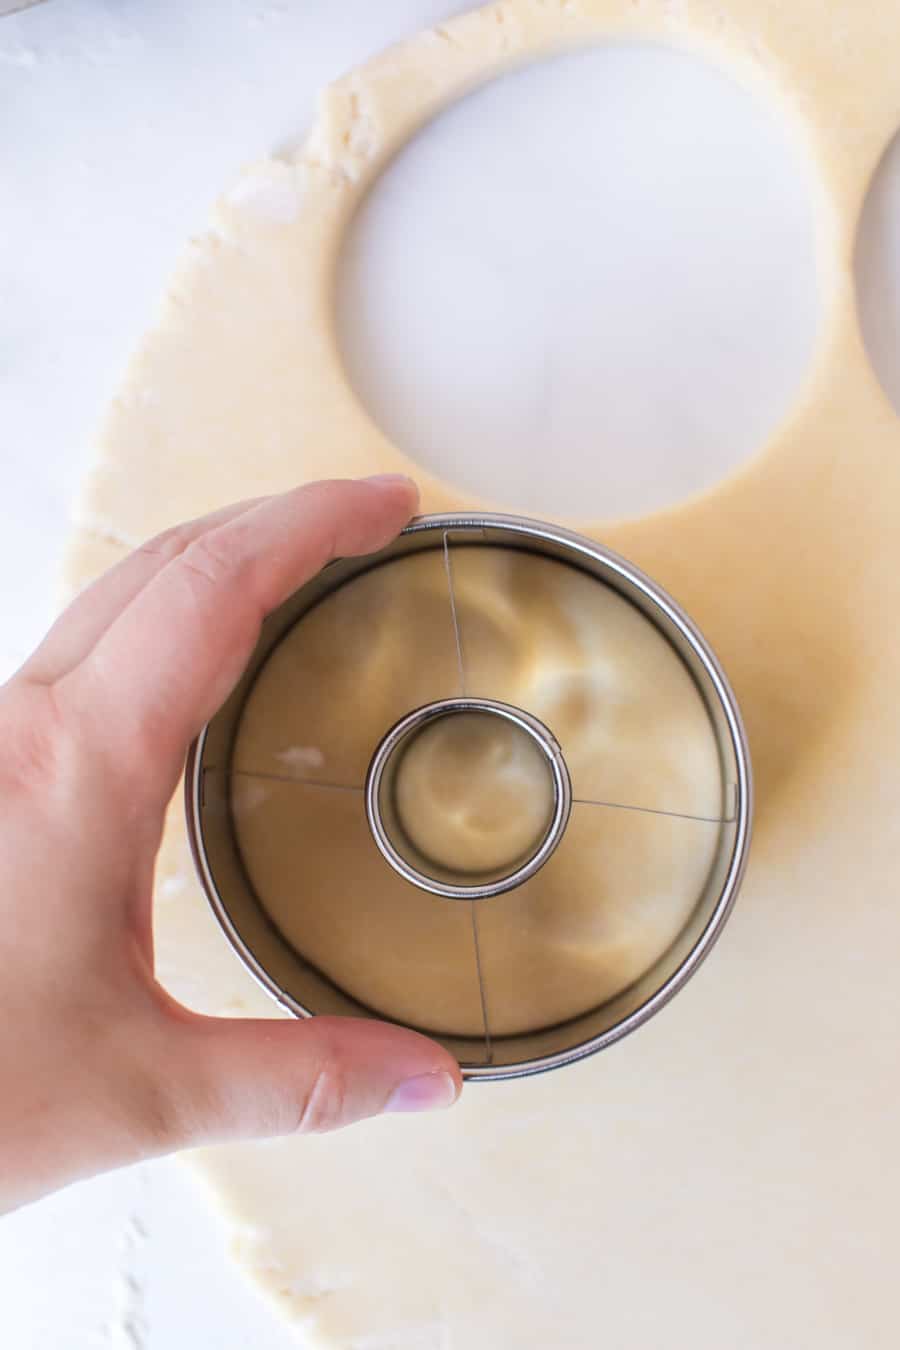
Place the cut donuts and holes on a lightly greased baking sheet.Cover them with a kitchen towel and let rise until they are doubled in size. This will take about one hour. When the donuts are ready for frying, they will look very puffy and airy.
Step 3: Fry Your Donuts
To fry the donuts,heat a few inches of oil or shortening in a large cast iron skillet, Dutch oven, or fryer over medium heat.Use a candy thermometer to monitor the temperature of the oil. When it reaches 365F to 375F, you’re ready to fry.
Line a baking sheet with a paper towel and set aside. Prepare your glaze in a medium bowl by combining all the glaze ingredients and mixing well. The glaze should have the consistency of school glue. Set aside.
Carefully add the donuts a few at a time to the oil.Do not drop them in the oil or it will splash and you can get burned.Depending on your pan size, you can probably fry 3-4 donuts at a time.
Pro Tip:Don’t overcrowd the donuts, or they will be hard to flip, and the temperature of your oil will decrease too much from the cooler dough being added.
Fry the donuts until golden brown, about 1-1/2 minutes per side. Use a metal slotted spoon or metal tongs to gently flip the donuts when ready. Once golden on each side, remove the donuts one at a time to your prepared baking sheet. The paper towel will help soak up the excess oil.
Step 4: Glaze the Donuts
Let the donuts drain and cool slightly. Move them to a plate. Put a cooling rack on top of your baking or cookie sheet lined with a paper towel.
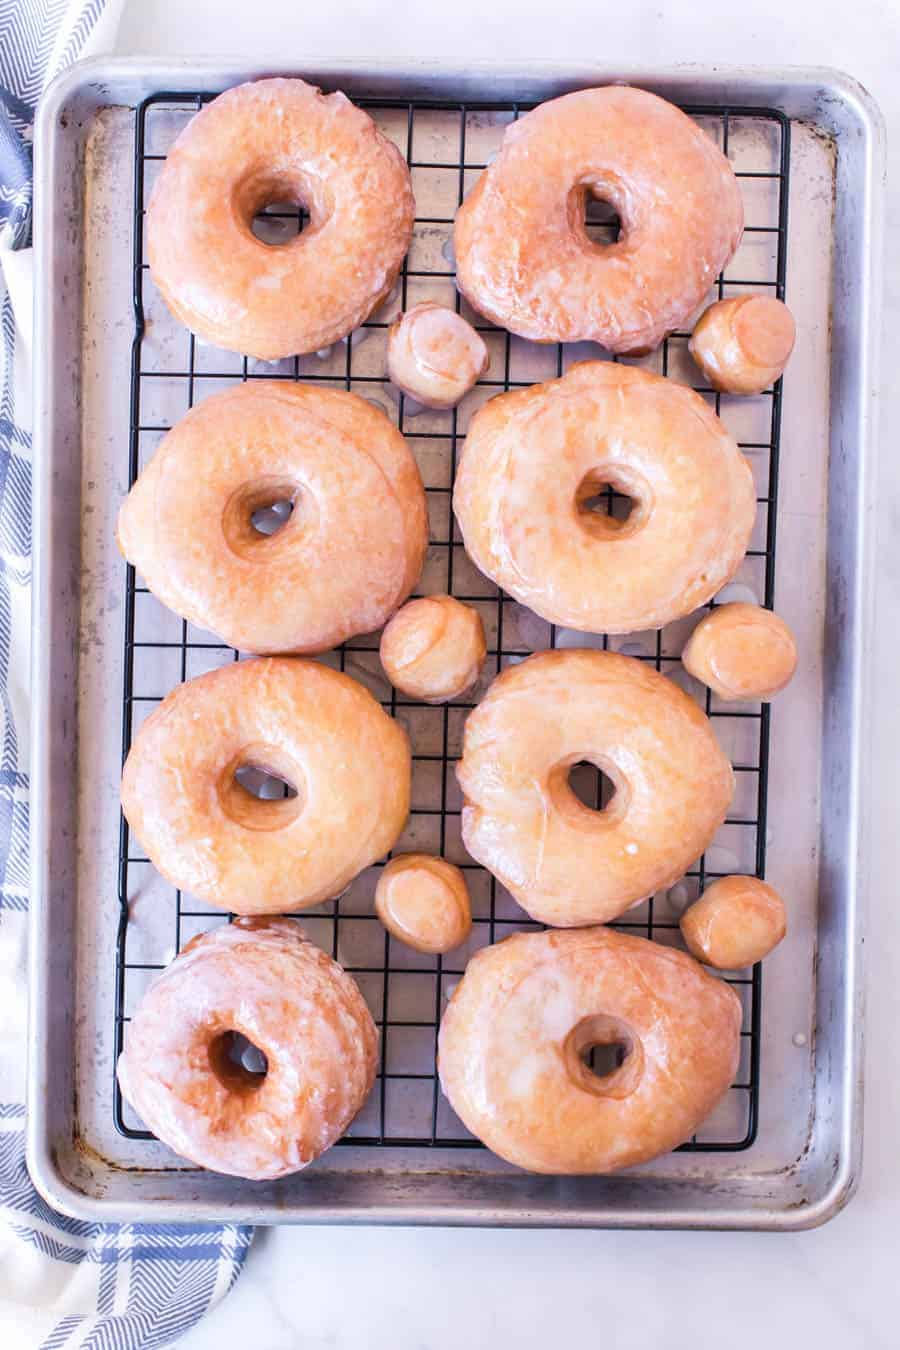
When the donuts are just cool enough to touch, use your fingers or a fork to dip each side of each donut in the glaze.Place on your cooling rack.
Once you have glazed all your donuts, it’s time to dig in! (Unless of course your kids have already started digging in while you were glazing all those donuts – make sure to snag some for yourself!)
My Favorite Toppings
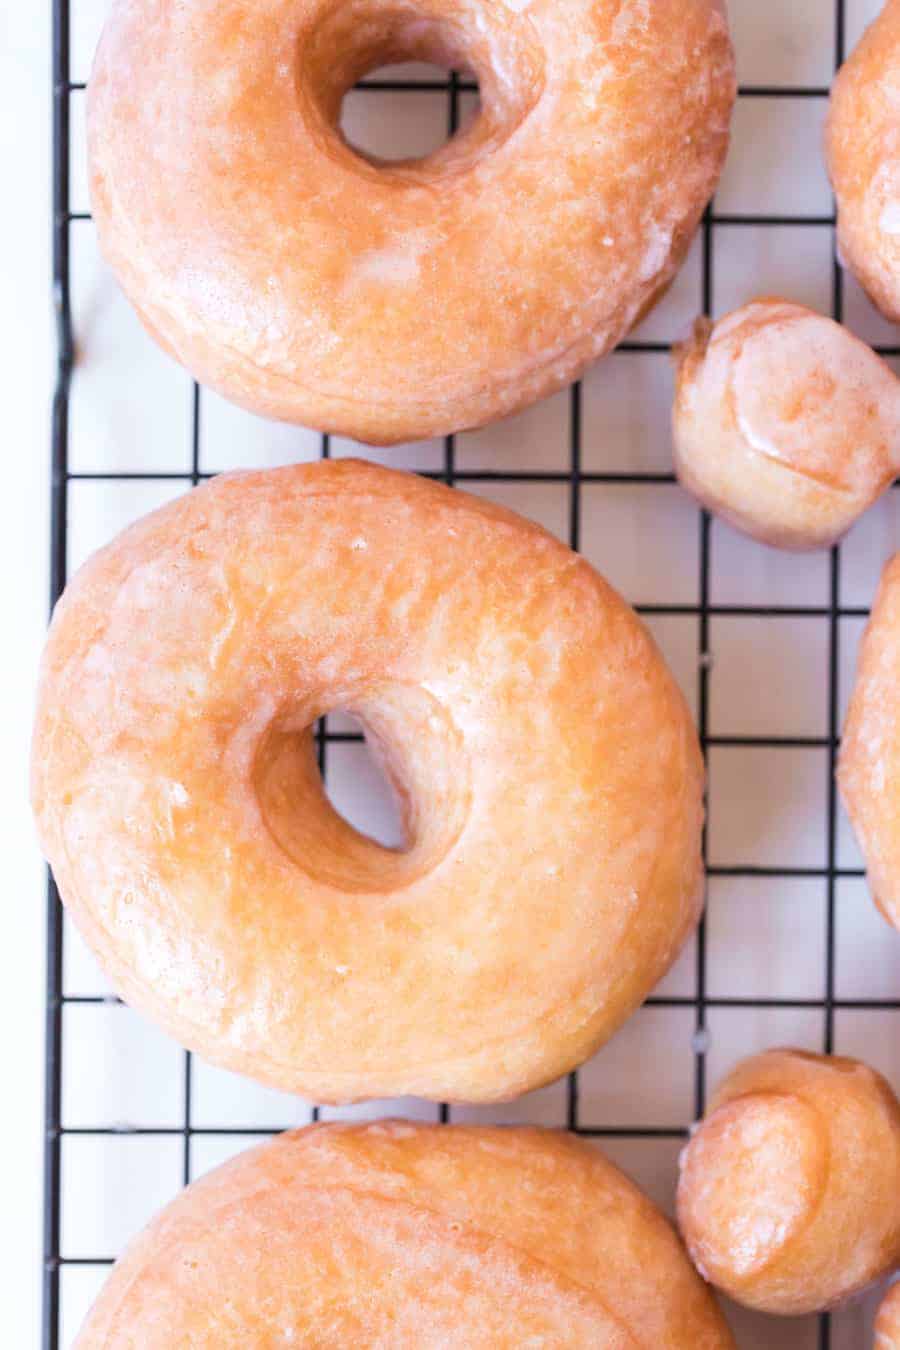
- Chocolate Donut Glaze:Add 2-3 tablespoons of cocoa powder when adding the powdered sugar. You’ll need to increase the milk to form a smooth glaze.
- Maple Donut Glaze:Replace the vanilla extract in the original recipe with 1/2 to 1 teaspoon maple flavoring, adjusted to your liking.
- Colored Donut Glaze:Simply add a few drops of food coloring to the glaze.
Recipe FAQs
What is the best temperature for frying donuts?
The best temp is 350 to 375 degrees F. Use a candy thermometer to get the temperature right and ensure it’s calibrated so that you know it’s showing the correct temperature.
How can I shape donuts without a donut cutter?
You can use a wide-mouth canning ring and anything to make the smaller hole. I also have this great set of round cookie cutters that I love and use for all kinds of things like biscuits and other pastries.
How do I know when donuts are done cooking?
The donuts will be done when golden-brown. It will take about a minute-and-a-half per side and 30 seconds per side for donut holes.
What’s the best glaze for donuts?
I love a traditional buttery glaze on glazed donuts but feel free to make a maple, chocolate, or colored glaze. The possibilities are endless.
Expert Tips
- Fresh is Best:These donuts arethe best eaten fresh.They store about as well as most grocery store donuts.
- Measure Well:Be sure touse accurate measurements, especially for flour and liquid ingredients, and consider using a kitchen scale for greater precision – because making donuts is a science.
- Don’t Overcrowd:Fry donuts in batches, making sure there’s enough space for them to expand and float freely in the oil.
- Chill the Dough:Thechilling time is a must for these donuts.The butter needs a chance to solidify in the fridge, making the dough much less sticky than when it went in the fridge. They also keep their shape so much better, and it helps them become fluffy. Don’t skip this step!
Other Donut Recipes You’ll Love
- Beth’s Famous Glazed Yeast Donuts
- 15 Minute Donuts from Scratch
- Light & Fluffy Glazed Sourdough Donut Recipe
- Apple Cider Donuts
- Easy Pumpkin Donut Holes
- Pumpkin Donuts
- Baked Donuts
- Donut Holes
More Sweet Baking Recipes to Try
Did you make this recipe? Leave a⭐️review and share it onInstagram,Facebook, orPinterest!
More to cook
See the category Desserts
Banana Split
 Side Dishes and Salads
Oven Baked Sweet Potato
 Easy Dinners
Best Oven Baked Easy Chicken Leg Recipe – Shared over 250,000 times!
Building Our Dream HouseOur Biggest Mess: Floor Plans
 Desserts
The Perfect Icing for Gingerbread Cookies
 Side Dishes and Salads
Chopped Asian Peanut Salad with Homemade Peanut Dressing
 Recipes
How To Preserve Plums
 Recipes