Home Breads Homemade Italian Bread
Breads
Homemade Italian Bread
This easy homemade Italian bread needs only 4 simple ingredients. It makes the most amazing bread with a fluffy center and extra crusty outside!
- Prep8 hr
- Cook45 min
- Total8 hr 45 min
- Serves1 large loaf
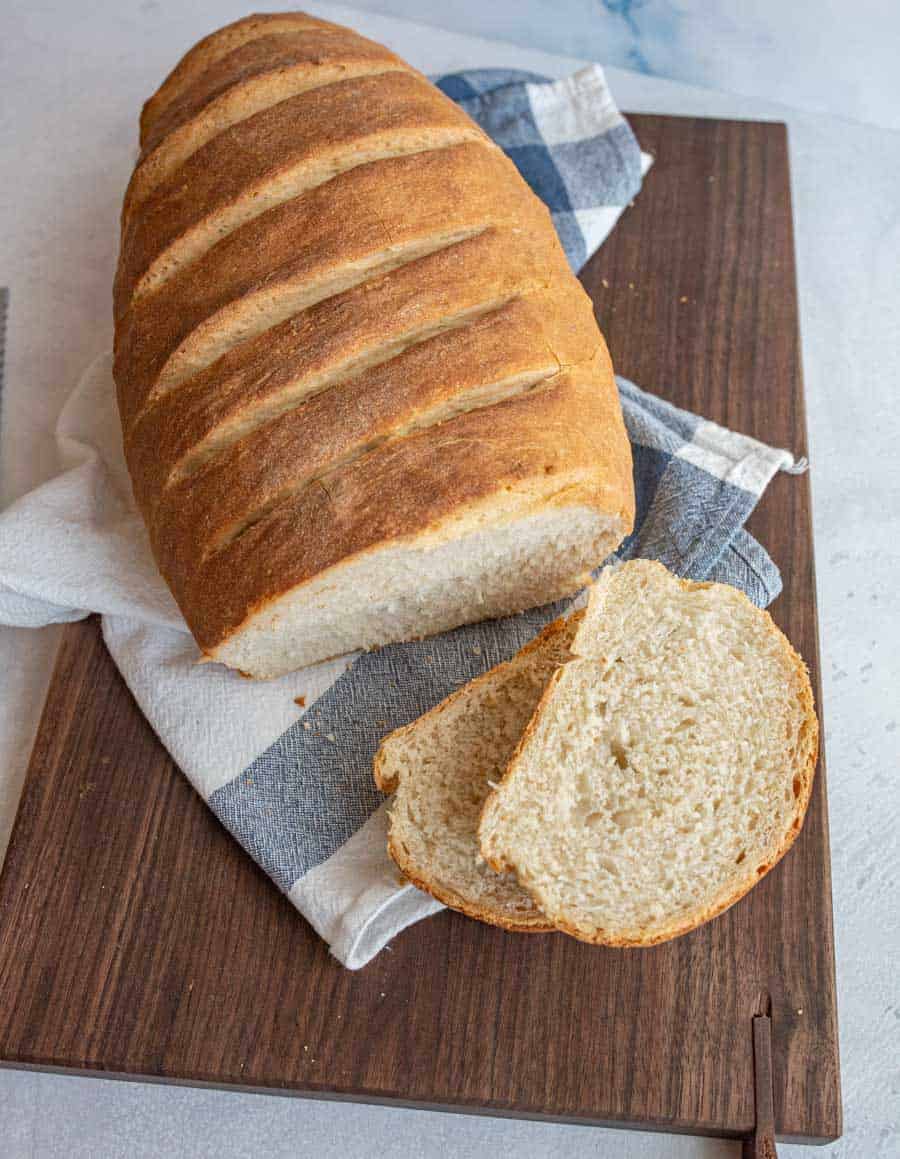
This easyHomemade Italian Breadneeds only 4 simple ingredients. With its crusty exterior and fluffy interior, it’s the perfect side for soups, stews, and chilis!
A-maz-ing. That is the only way to describe this rusticItalian bread. It is dense and wonderfully chewy on the outside while being super soft and fluffy on the inside.
There’s something magical about simple ingredients like flour, water, salt, and yeast working together with time. This bread tastes just like any good loaf of crusty bread you’d find at a high-end bakery but you can make it at home.
This is the best homemade bread forovernight French toast casserole. It is also wonderful alongsideHearty Lentil Soup,White Bean Chicken Chili,Homemade Beef Stew, and my bestCorn Chowderrecipe.
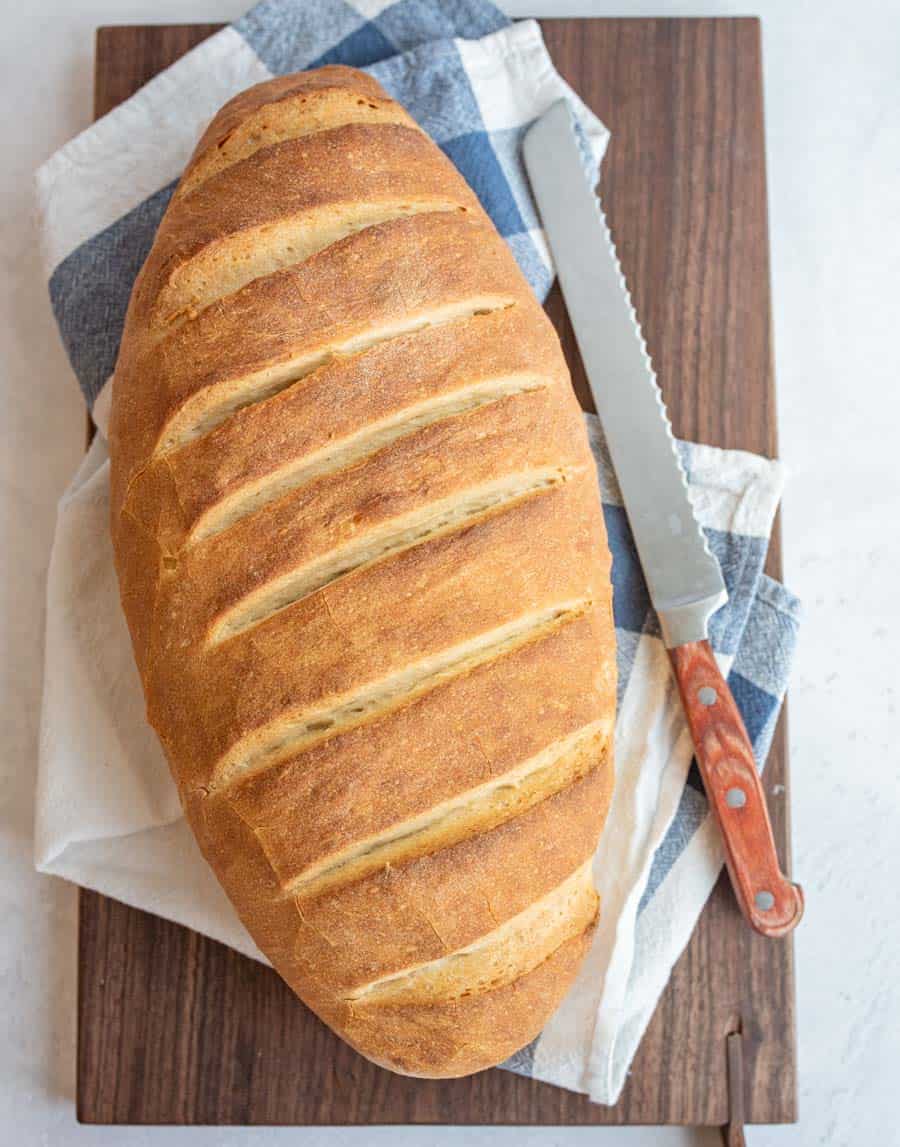
Why You’ll Love This Recipe
- Taste– This is themost delicious loaf of Italian breadyou can make at home.
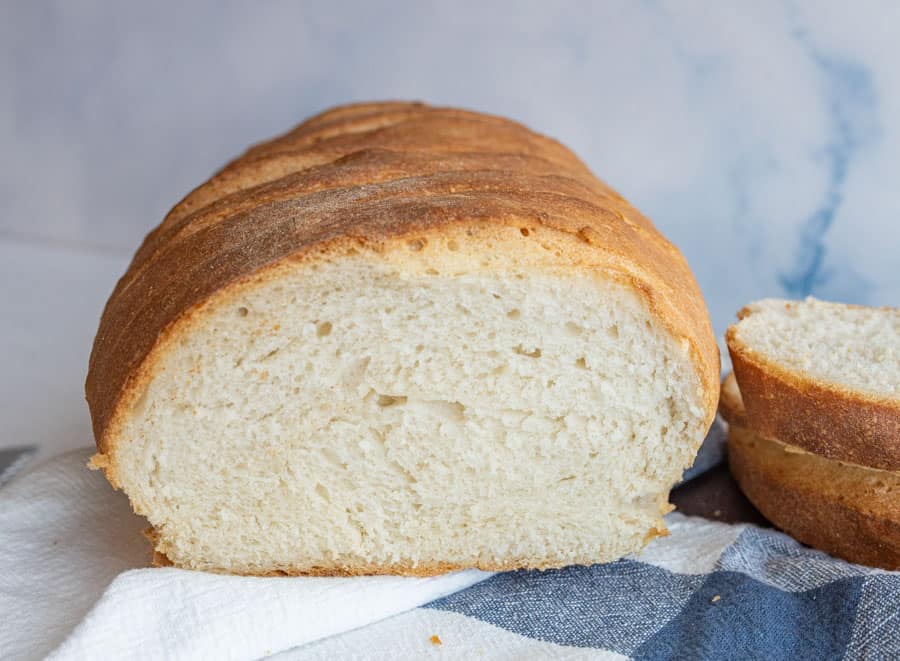
- Texture– Soft andchewy in the middle with a slightly crusty exterior.
- Simple– There are onlyfour ingredientsand all are pantry staples.
Recipe Ingredients
- Bread flour:All-purpose flour will work in this recipe but bread flour is better.
- Warm water:Between 105 and 110 degrees F.
- Instant yeast
- Salt
See the recipe card below for full information on ingredients and quantities.
How to Make Homemade Italian Bread
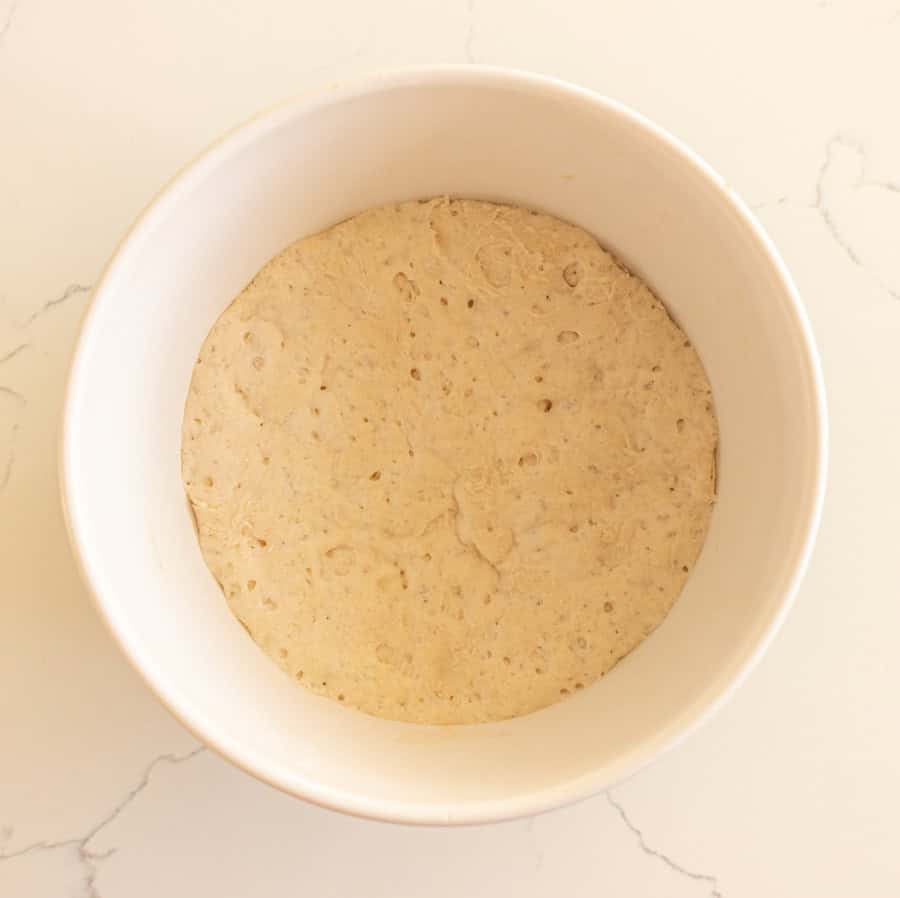
Step #1.Mix together the ingredients for the sponge until it looks like dough. Cover and let it sit for 6 to 24 hours at room temperature.
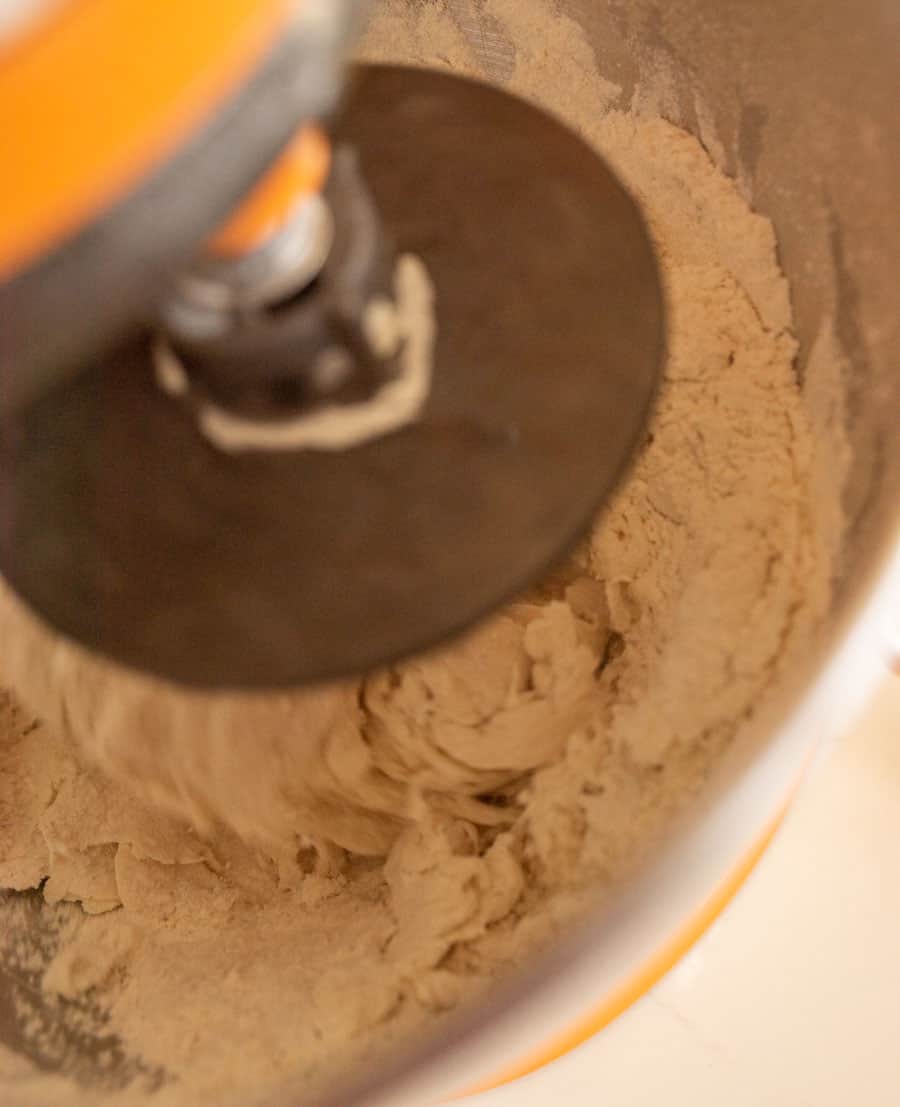
Step #2.Add 3 cups of flour and the yeast to a stand mixer with a dough hook and slowly add the water while the mixer is running. Cover the dough and let it rest for 20 minutes.
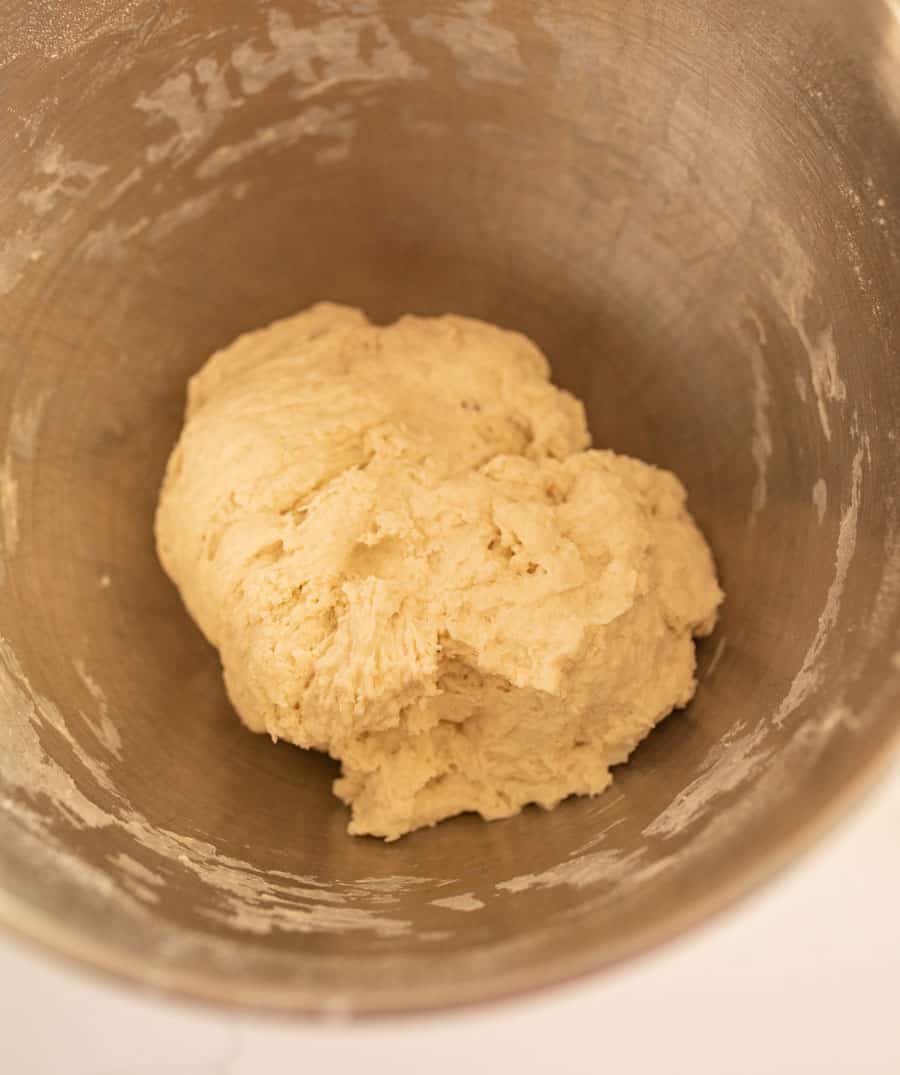
Step #3.Add the sponge and salt to the stand mixer and mixon on medium low speed for 8 minutes adding more flour a little at a time until the dough doesn’t stick to the edges.
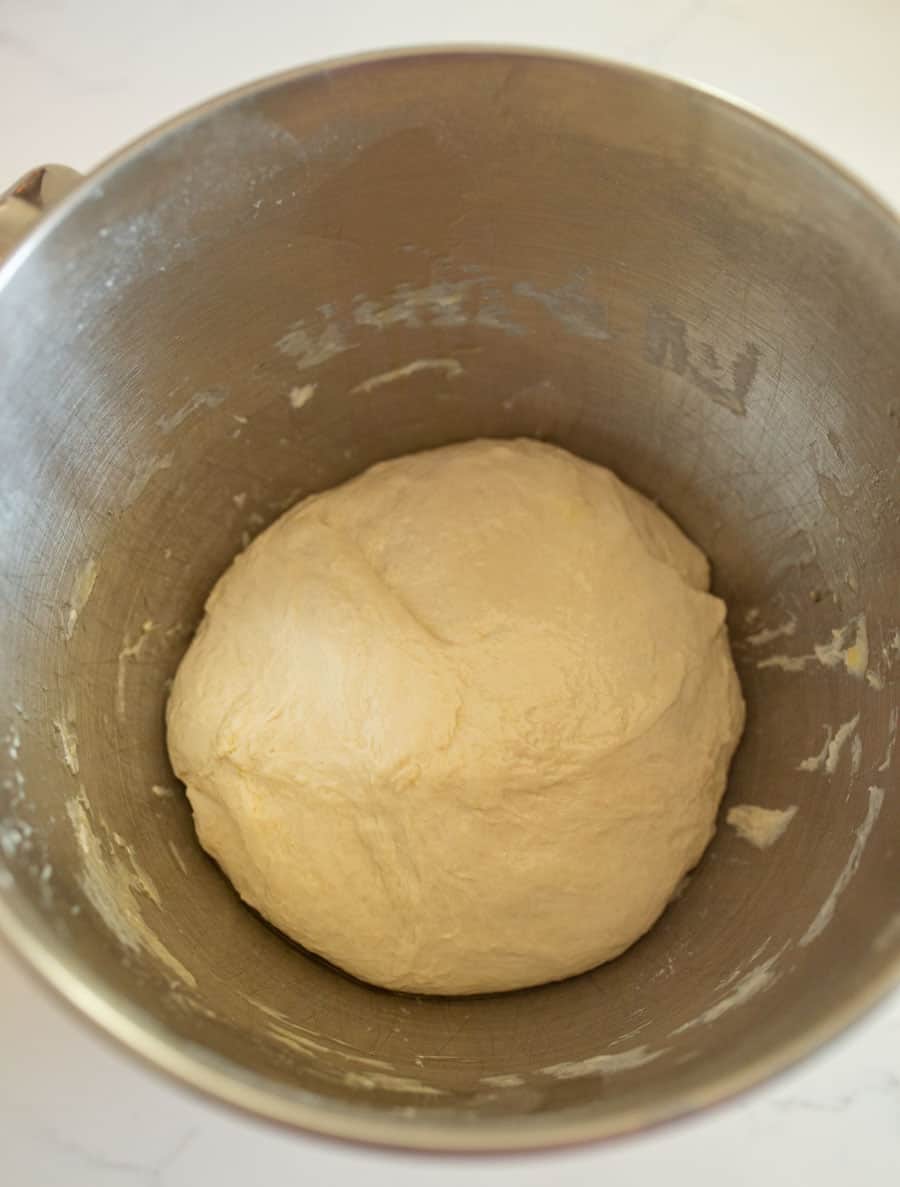
Step #4.Let the dough rise in a covered and lightly oiled bowl in a warm place until doubled, about an hour.
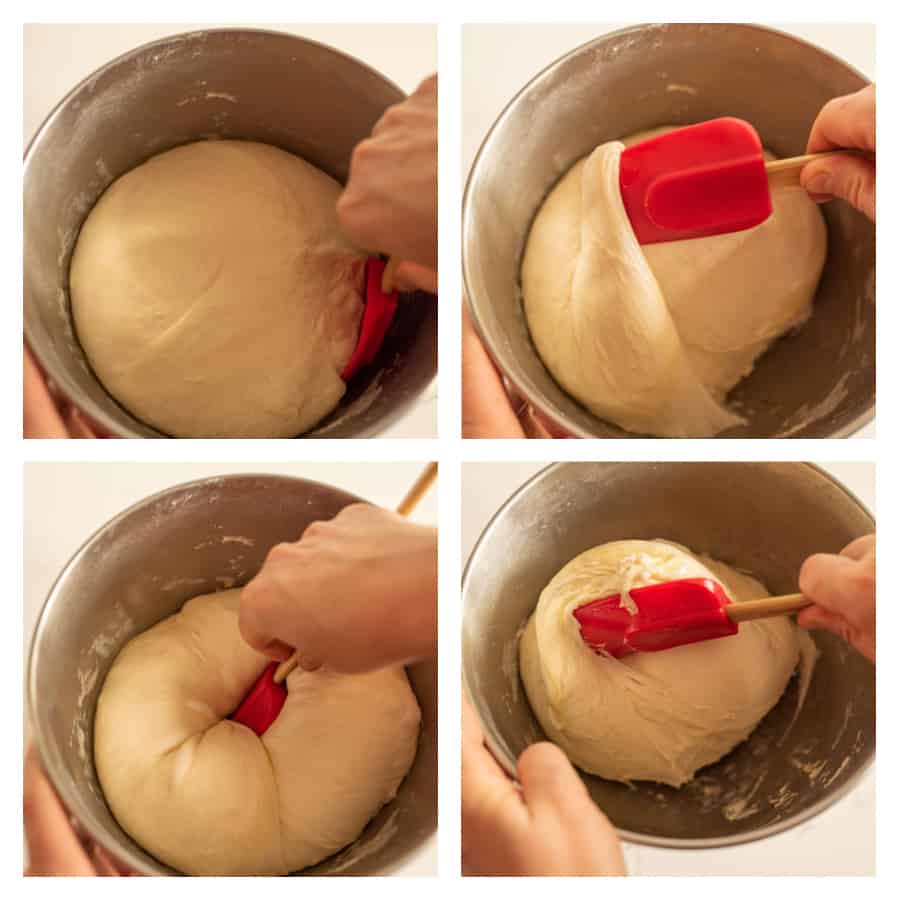
Step #5.Fold the dough a few times in the bowl and then cover it again and let the dough rise for another 30 minutes. Repeat once.
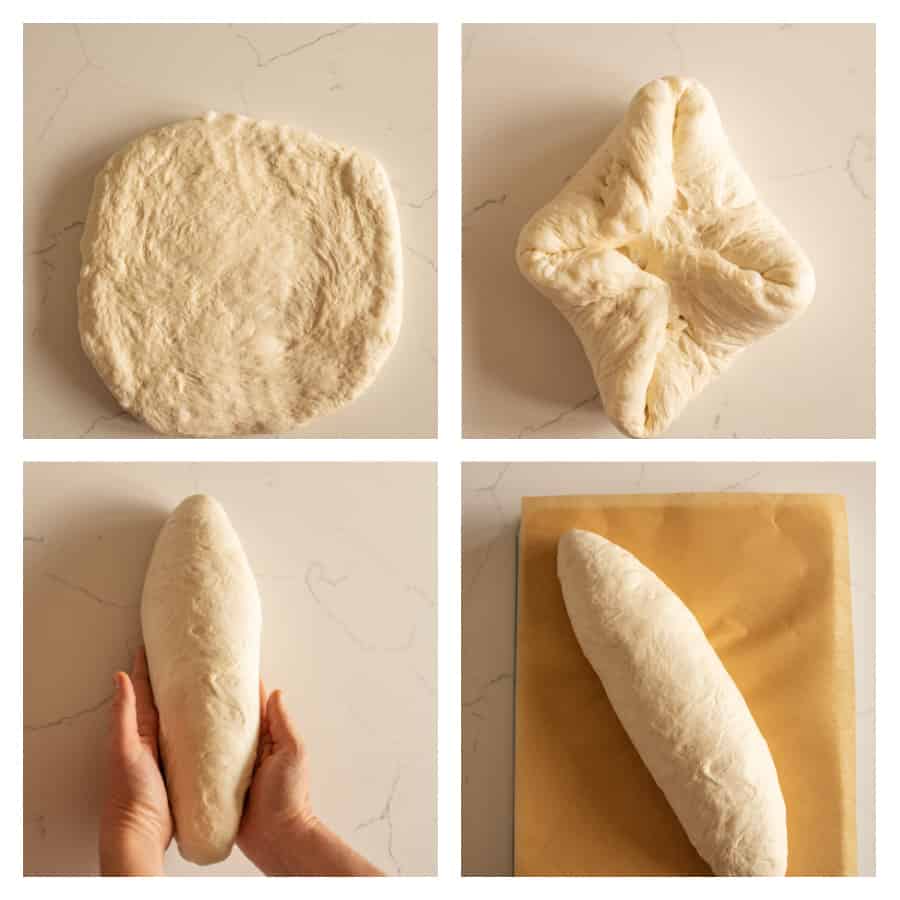
Step #6.Shape the dough into a loaf, place it on parchment paper on a rimless baking sheet, and let it rise for 60 to 90 minutes.
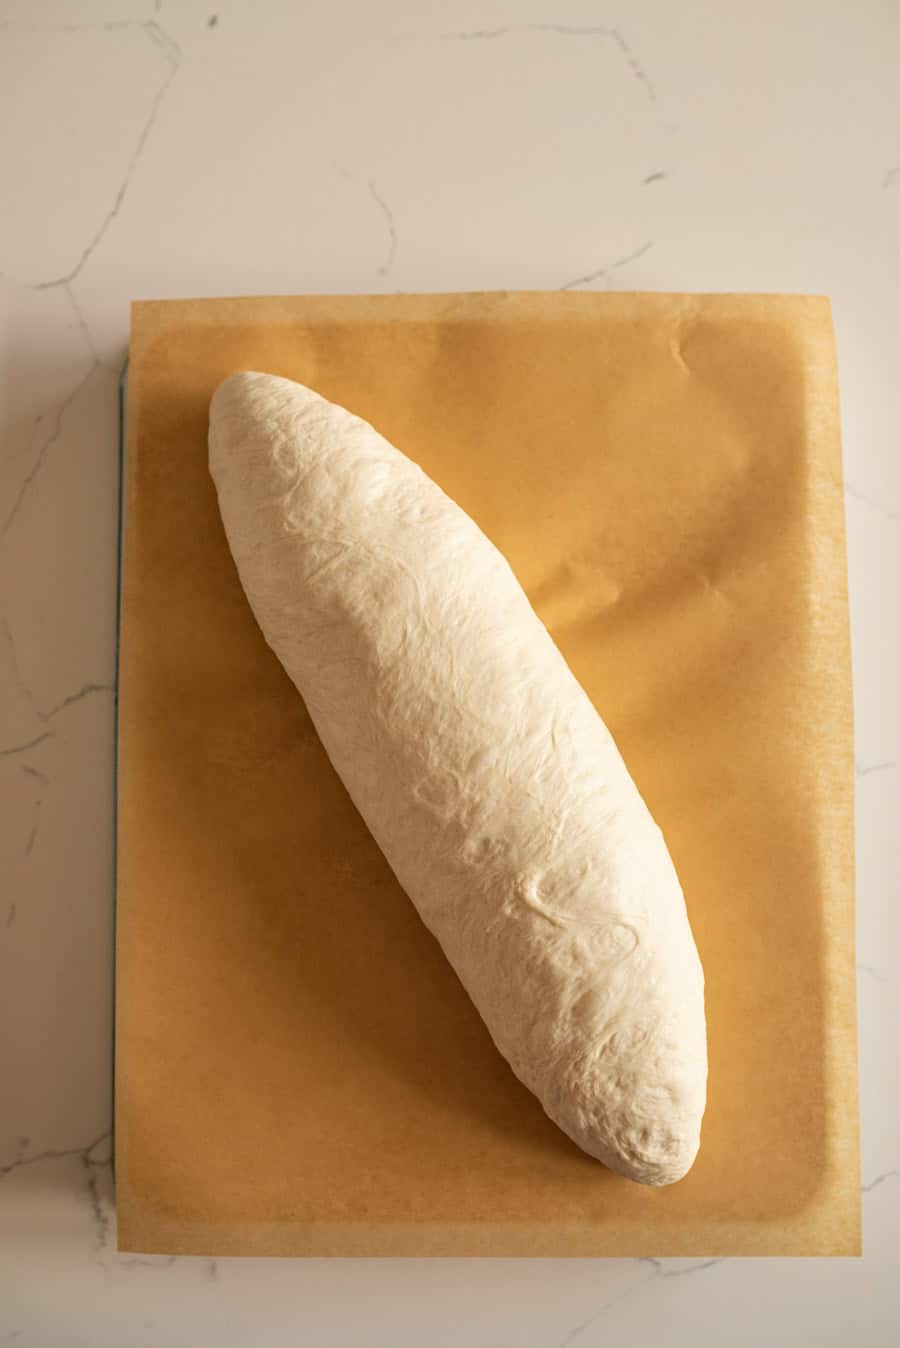
Step #7.While the loaf is rising, preheat the oven to 500 degrees and then put the baking stone in for 30 to 60 minutes.
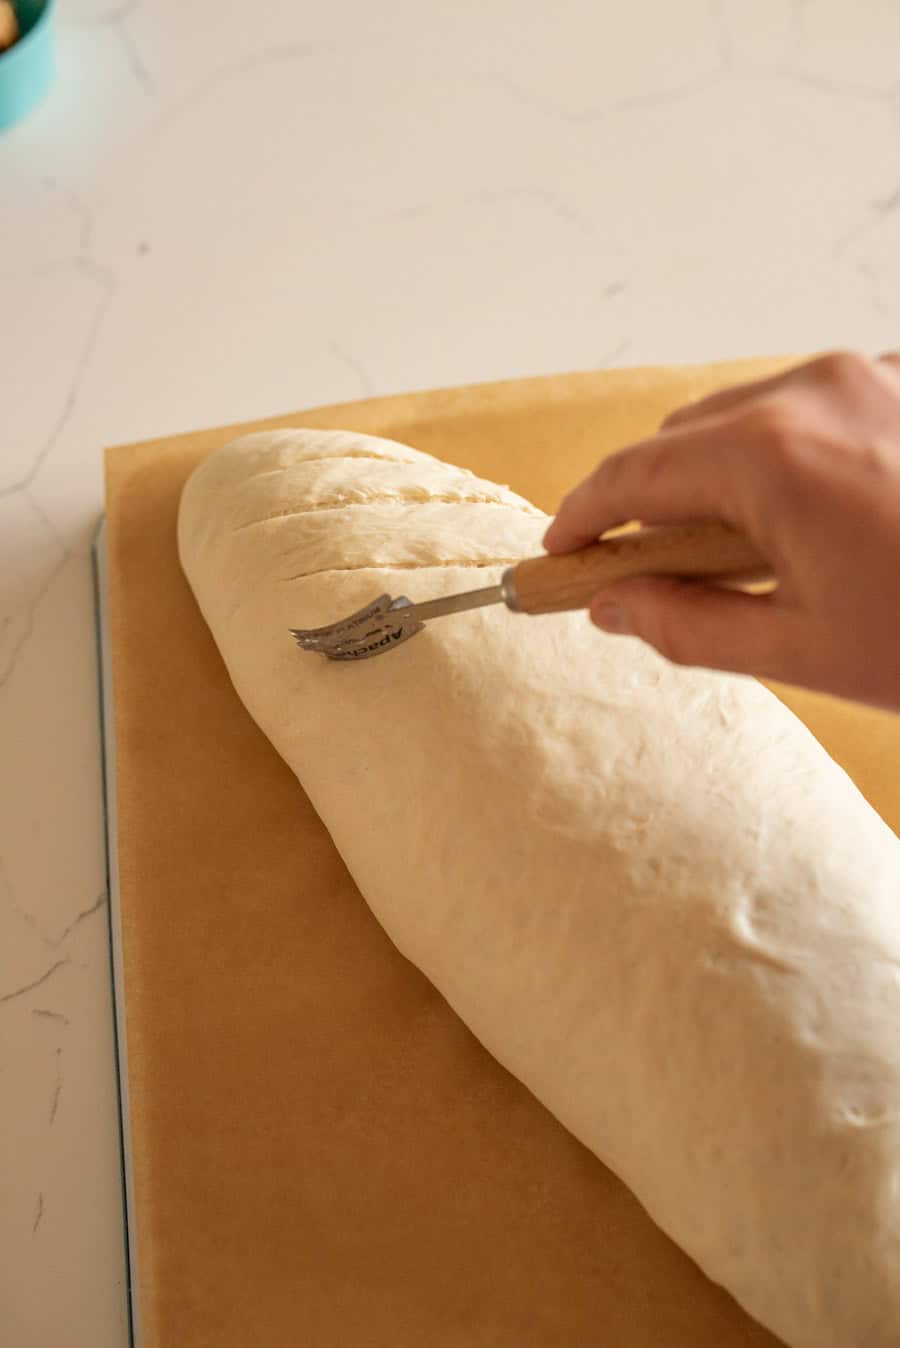
Step #8.Score the loaf of bread and slide it and the parchment from the baking sheet onto the hot stone and bake for 10 minutes at 500 degrees F.
Step #9.Reduce the oven temperature to 400 degrees and bake for 30 to 35 more minutes.
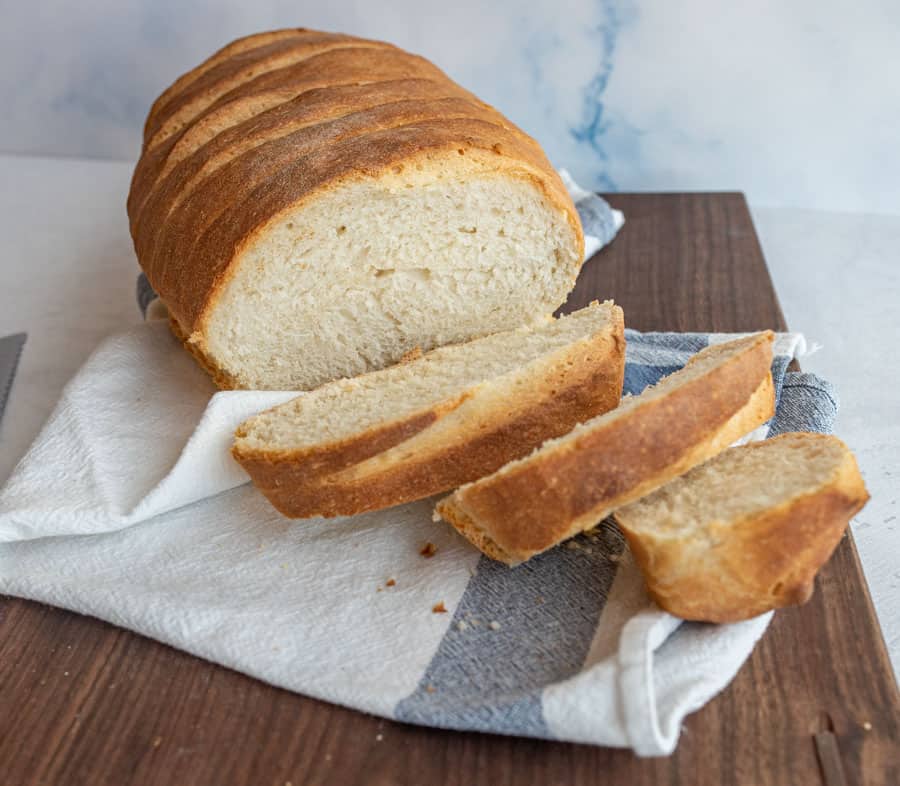
Step #10.When it’s a deep golden brown, remove the loaf from the oven and place it on a wire cool rack and let cool for 2 hours before serving.
Recipe FAQs
What is the secret to making rustic Italian bread like they do in Italy?
You make a sponge by mixing together flour, yeast, and water and let it sit for 24 hours before making the bread. The sponge adds amazing flavor and gives Italian bread its soft and chewy middle while the crust is still dense and delicious.
Do I have to use bread flour?
Yes and no. Bread flour is going to give you the chewiest texture that is traditional for Italian bread. But, I have tested this with all-purpose flour and it still turns out tasting good.
What’s the difference between French bread and Italian bread?
They have different sizes, shapes, and processes. French bread is long and thin while Italian bread is shorter and rounder in nature. French bread typically has a hard crust while Italian bread is chewier.
What type of mixer is best for bread making?
You will have the most success making bread with either a KitchenAid stand mixer or a Bosch. If you don’t have either, you can hand mix the dough by hand.
Expert Tips
- Thebread flour makes for a chewier loaf, but in a pinch I’ve used all-purpose flour and the results were still worth the effort. (Bread flour has a high protein content and a high gluten content which helps the bread to be chewy.)
- The longer the sponge sits, the more developed the flavor will be. Try to let it set for 24 hours if you can.
- Make sure to place the seam side of your bread loaf down. This will create a loaf of bread that is more visually appealing.
- This bread is baked on abaking stone. If you don’t have one, an upside down cookie sheet works well, too!
More Bread Recipes to Consider
Did you make this recipe? Leave a⭐️review and share it onInstagram,Facebook, orPinterest!
More to cook
See the category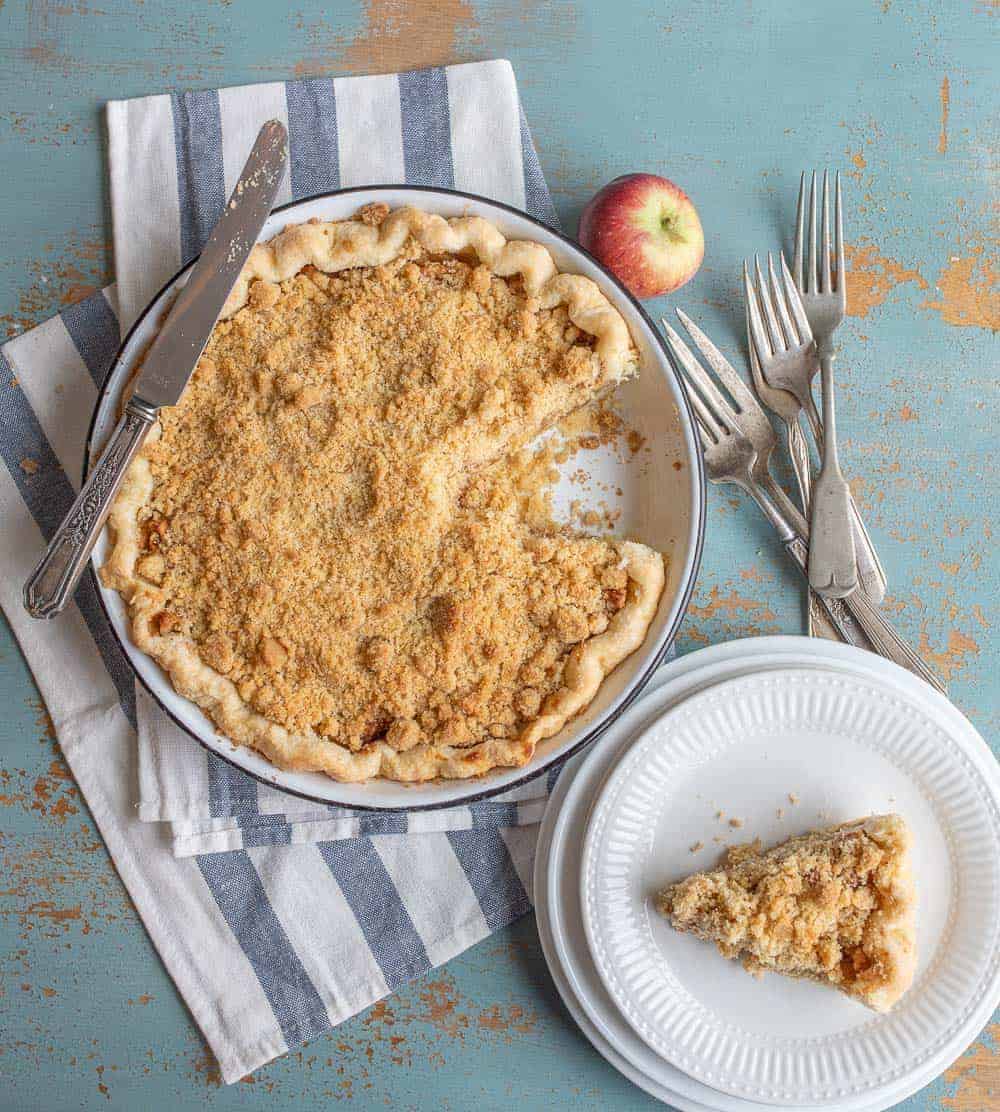 Desserts
18 Fall Recipes With Apples
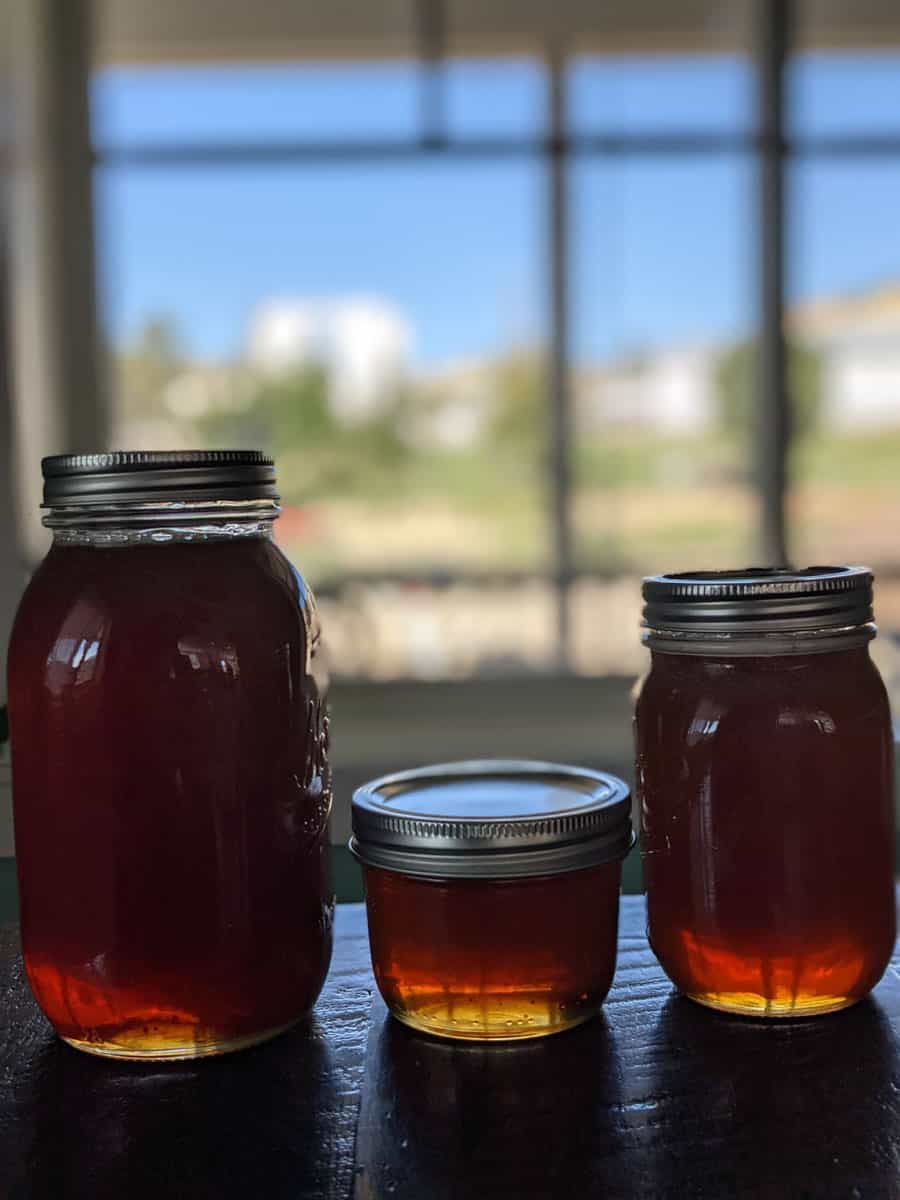 Life on the Farm
Behind the Recipe Farm Update: Our First Honey Harvest!
 Desserts
Fruity Pebbles Treats
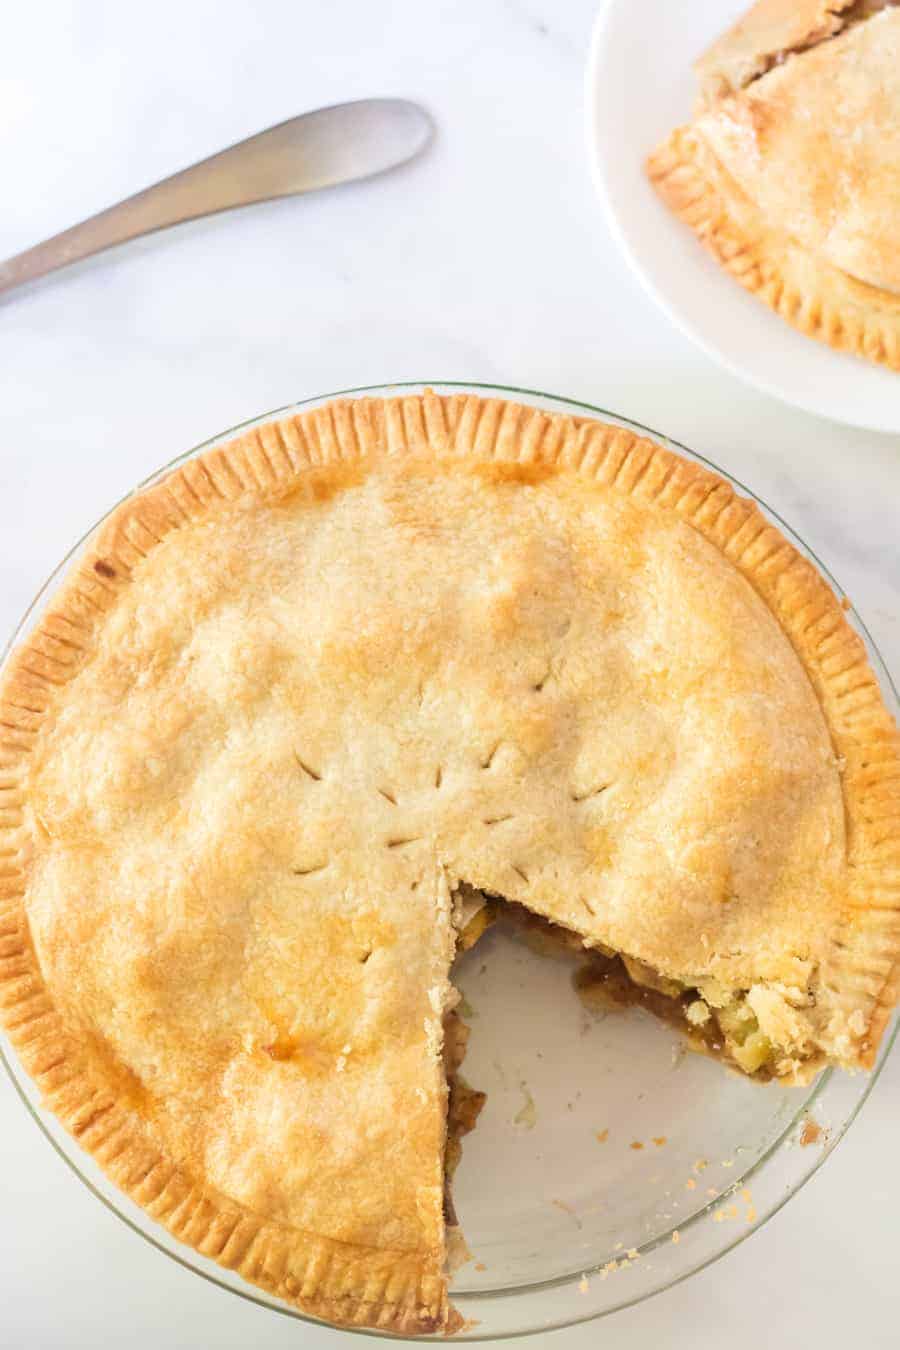 Desserts
Simple Pie Crust (made with shortening and butter)
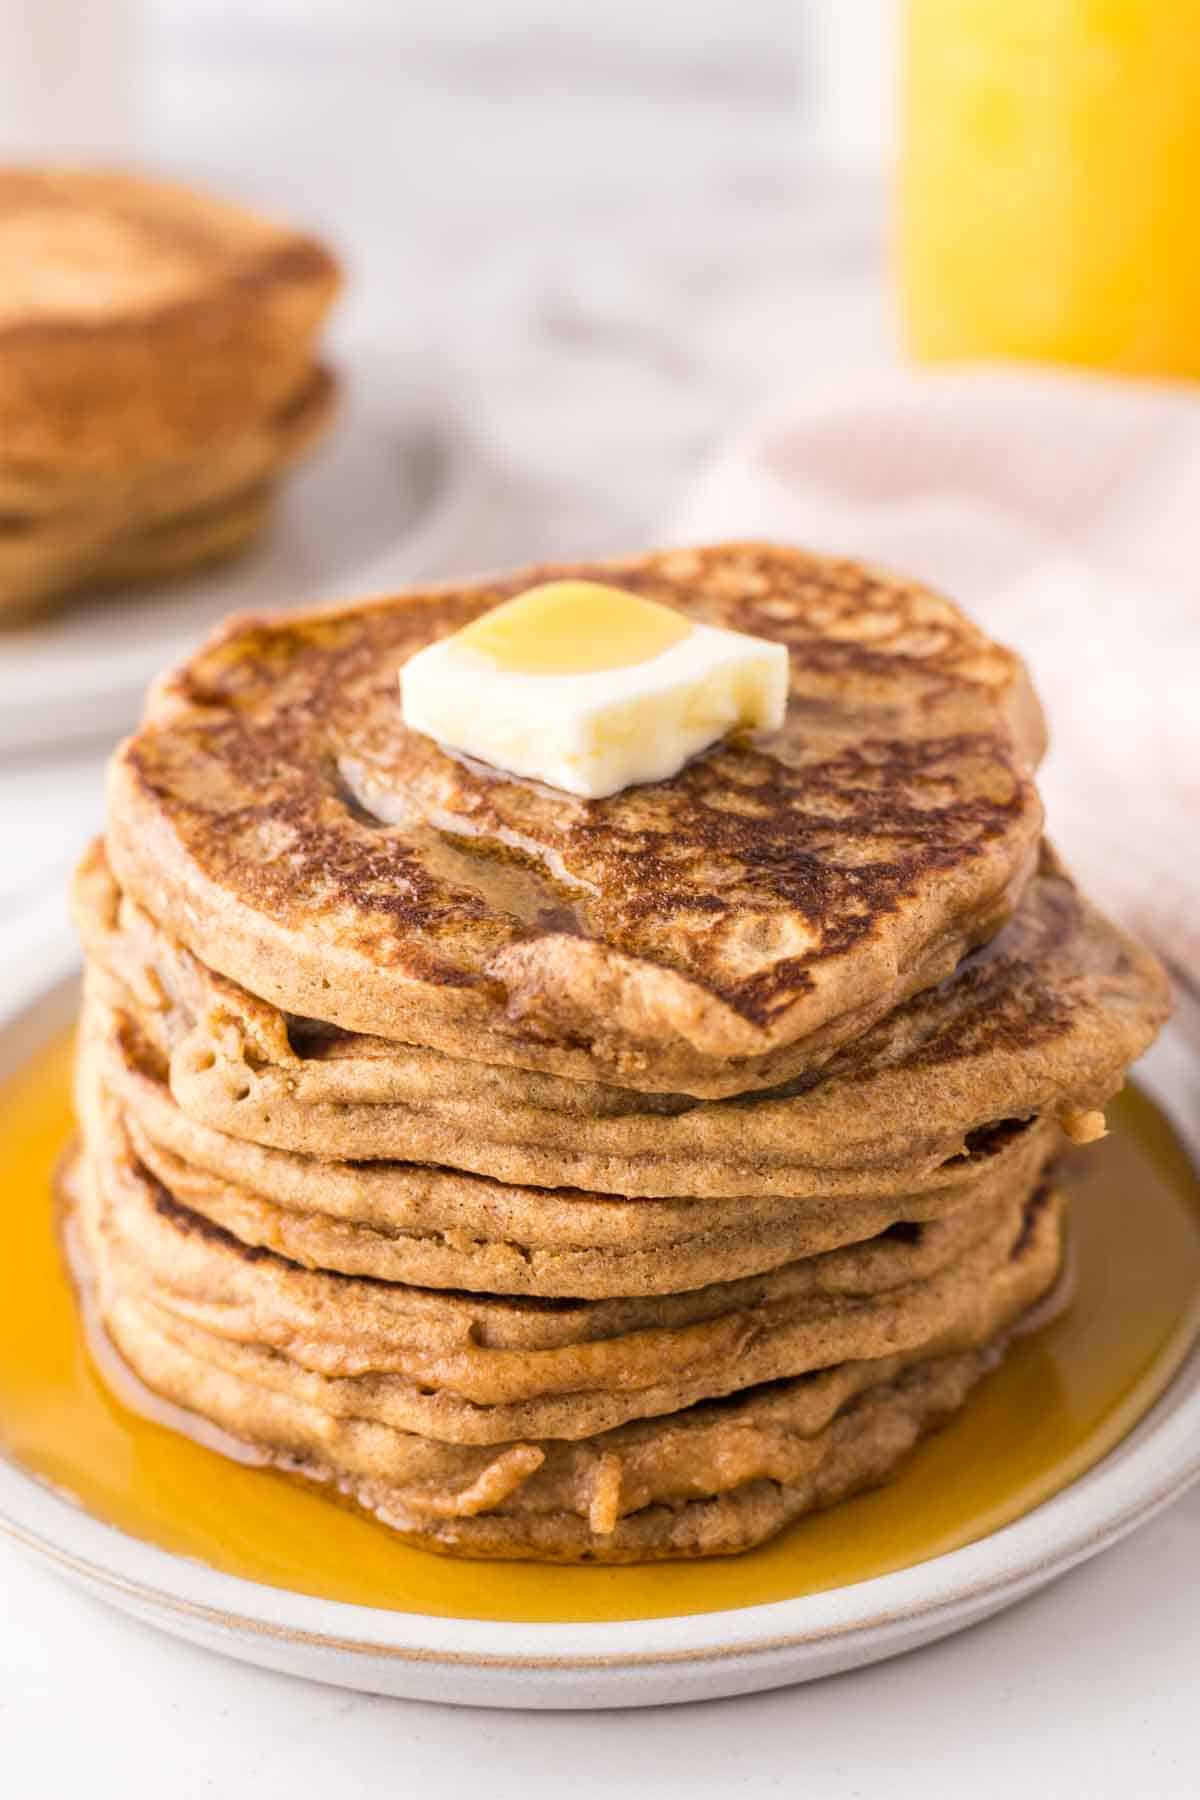 Breakfast
Buckwheat Pancakes
 Side Dishes and Salads
Roasted Cauliflower
 Breads
Chocolate Babka
 Easy Dinners