Home Snacks Grandma-Approved Easy Fermented Pickles Recipe
Snacks
Grandma-Approved Easy Fermented Pickles Recipe
Transform ordinary cucumbers into probiotic powerhouses with this time-tested fermented pickles recipe to enjoy all year long.
- Prep15 min
- Total15 min
- Serves1 /2 gallon of pickles
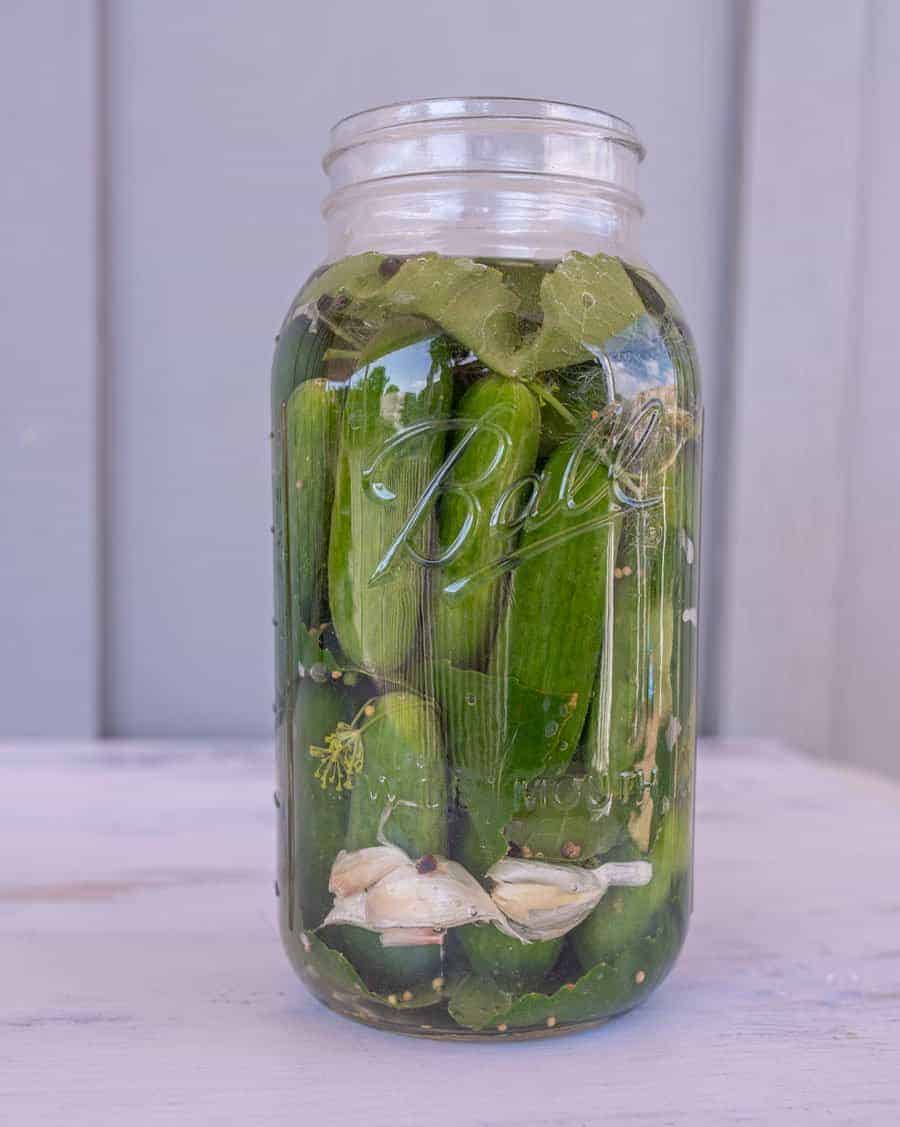
Transform ordinary cucumbers into probiotic powerhouses with this time-tested fermented pickles recipe. Whether you’re harvesting from your backyard garden or supporting local farmers at the market, this preservation method lets you enjoy the bounty of summer all year long.
Based on an old-tradition, this recipe makes lacto-fermented dill and garlic pickles that last ages and are full of flavor.
Themagic of fermentationlies in its simplicity – just salt, water, and time. These aren’t your typical vinegar-based pickles; instead, they’re alive with beneficial bacteria that transform ordinary cucumbers into crunchy, tangy delights.
Perfect for beginners, this recipe harnesses ancient preservation techniques that have kept families fed through winters for generations. Not only will you master an age-old craft, but you’ll also create pickles that are packed with gut-healthy probiotics, rich in flavor, and free from artificial preservatives.
Note:This recipe is not for canning or bottling cucumbers.
Why You’ll Love This Fermented Pickles Recipe
- No Special Equipment: Uses basic kitchen tools you likely already have. If you really get into fermenting, you can always upgrade later!
- Better Than Store-Bought: Crisp, fresh, and free from artificial preservatives, these pickles are my family’s favorite way to enjoy cucumbers from the summer garden all year long.
- Beginner-Friendly: Making fermented pickles is easy — just a few simple steps with reliable results, perfect for first-time fermenters.
- Set-It-and-Forget-It: Just 15 minutes of active prep time, then let nature do the work.
🥒 Once you make these fermented pickles, you must try makingrefrigerator pickled banana peppersandlearn how to make kombucha— some of my fave fermented recipes!
Recipe Ingredients and Supplies
- Clean glass jar: This recipe calls for ahalf-galloncanning jar. You can also make fermented pickles in 2 wide-mouth quart canning jars.
- Sea salt: It’s important that the salt you use does not have additives because your goal is to make an environment for good bacteria to live.
- Unchlorinated water:Feel free to buy distilled water. You are trying to make an environment for good bacteria to thrive; chlorinated and heavily treated tap water make it hard for the things you want to live.
- Cucumbers:You can use garden cucumbers, mini English cucumbers (like the kind they sell in a bag all together), or Kirby cucumbers. Look for cucumbers that are similar in size, about 4 inches long, and about as fat as a quarter.
- Seasoning and spices:Fresh dill and garlic are wonderful to add, but you can play around with the seasonings.
- Tannin-containing leaves:Bay leaves (fresh is best), grape leaves, and oak leaves all work. Adding a few of these to your pickling processhelps to make the end pickles crisp.
See the recipe card below for full information on ingredients and quantities.
How to Make Fermented Pickles
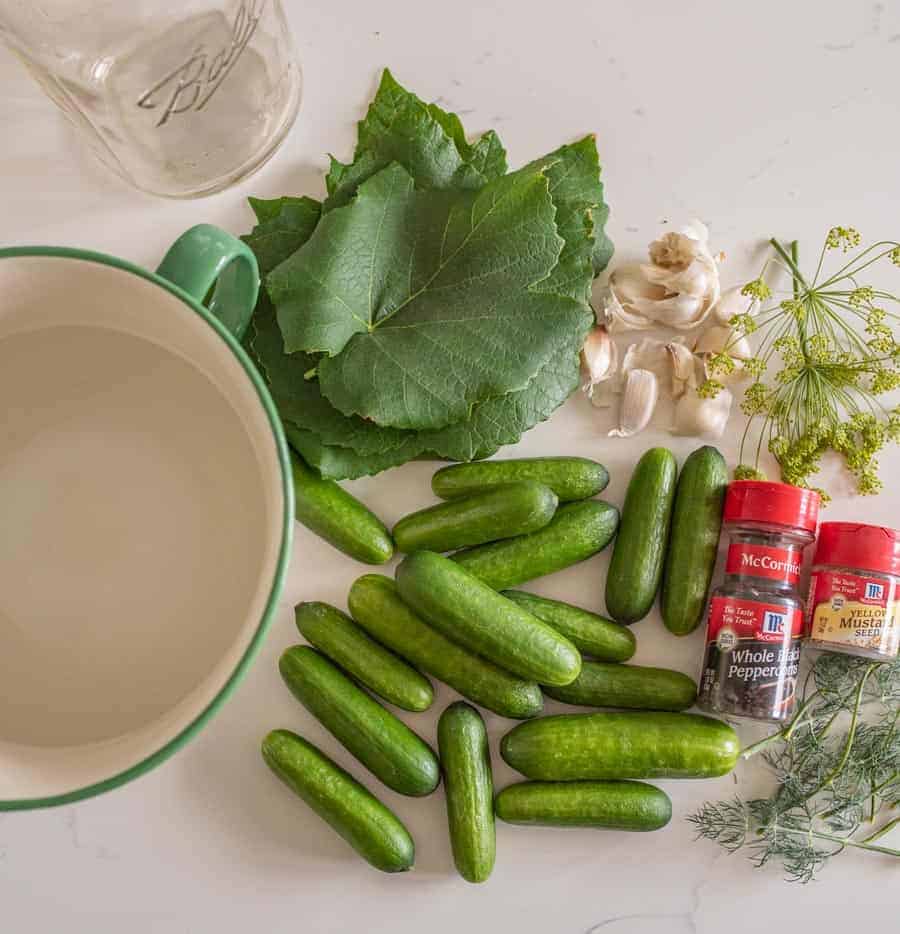
Step 1:Make a brine by dissolving sea salt in water then adding two leaves to the bottom of a clean glass jar.
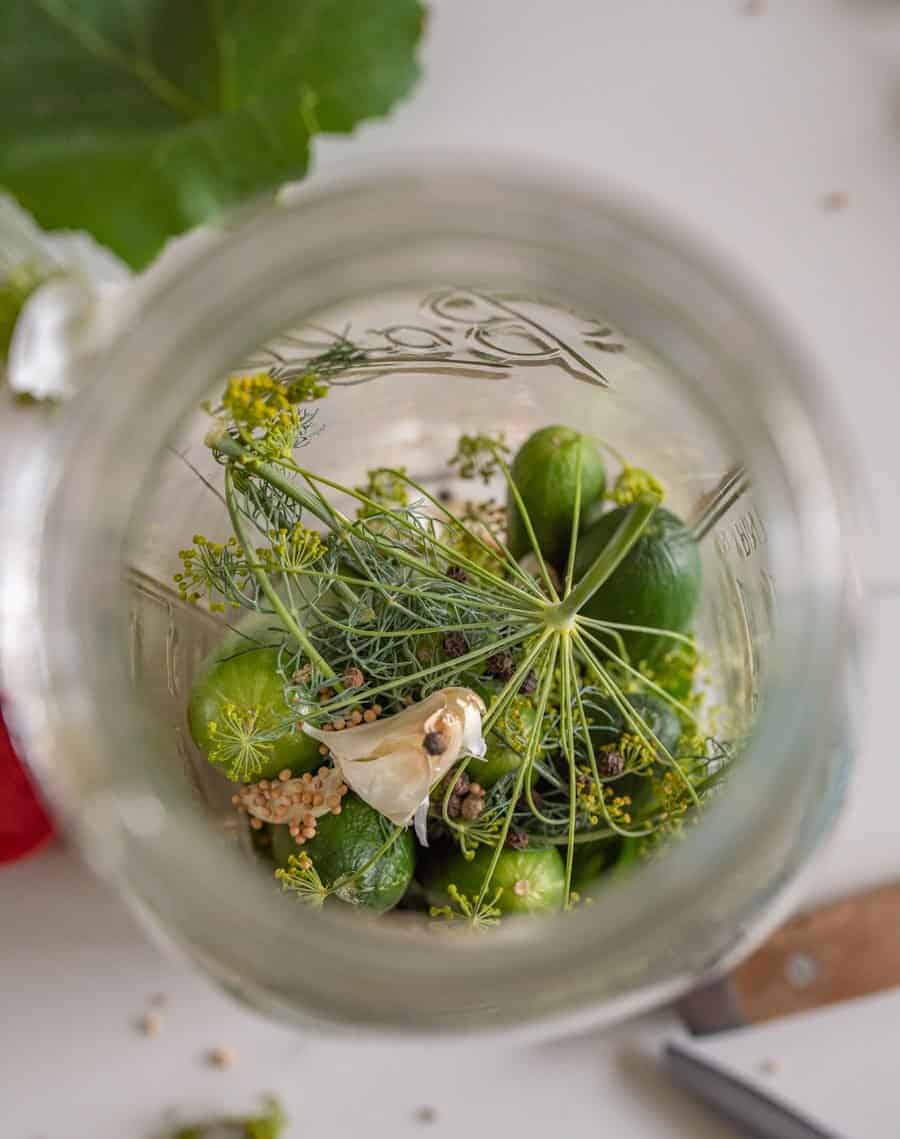
Step 2:Add half of the spices and cucumbers to the jar and add two more leaves. Then, add the other half of the spices and cucumbers.
Step 3:Fill the jar with brine, cover with a leaf and a weight or rock, and place in a cool, dark place.
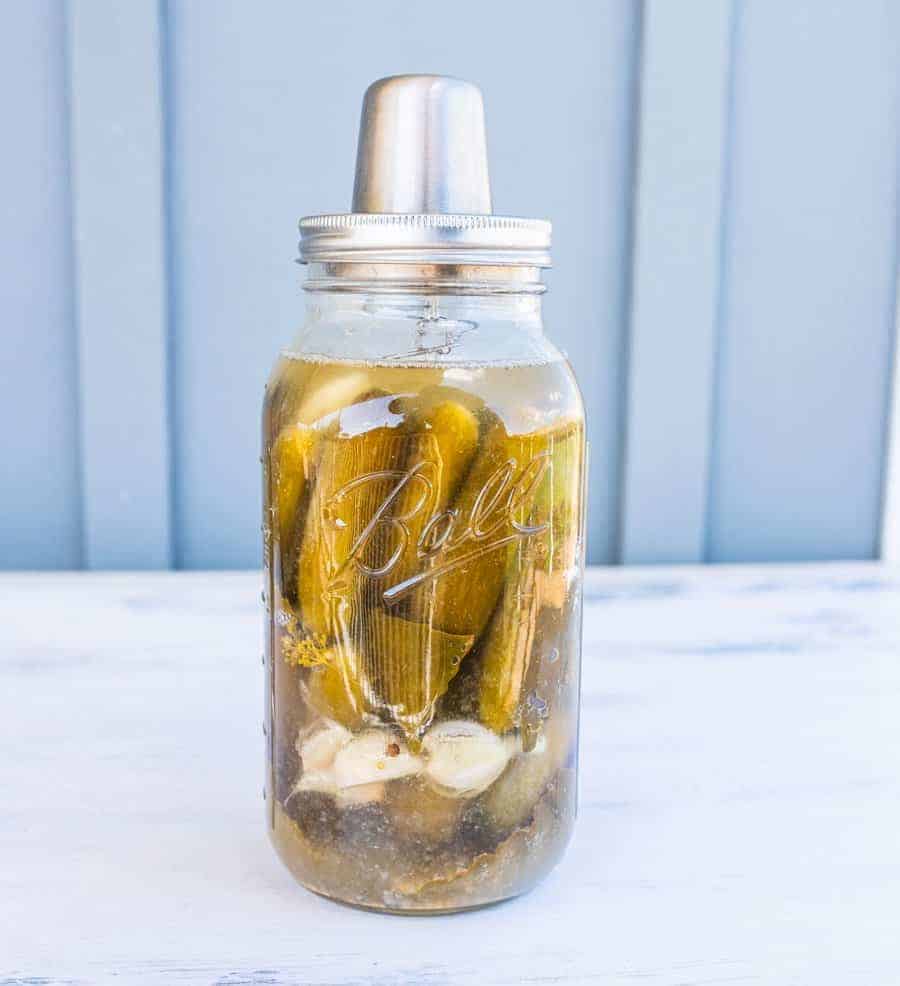
Step 4:Taste after 5-10 days until they reach your desired sourness and then store them in the fridge for up to a year.
Recipe FAQs
Can I slice the cucumbers?
You could but whole cucumbers have the best texture for the end pickles, so pick some cucumbers that are a good eating size for you.
What is fermenting or lacto-fermentation?
Vegetables are placed in a brine and kept submerged there for a few weeks. This allows time for the natural bacteria, especially Lactobacillus, to turn the cucumbers into pickles. You can read more and an in-depth explanation of fermenting here.
How do I know when my pickles are done?
Taste! When they taste like a pickle, they are done. Normal fermentation times are 7-21 days. Let them sit for 10-14 days and then check them daily by tasting until the desired sourness is achieved.
What if I ferment the pickles too long or too short?
You can’t over ferment something. Fermenting for less time makes them less cellar stable, and they may have a few less active cultures. If you ferment your pickles less than a few weeks, keep them in the fridge for longer storage.
Expert Tips
- Bad Mold:If the contents of your jar are fully submerged in the brine you shouldn’t have any issues with mold.If some of the contents are poking out, those will mold. If you find furry mold on something that isn’t fully submerged, you’ll need to toss the whole batch.
- Kahm Yeast:Be aware thatyou can grow kahm yeast. It looks like a cloudy film on the surface of your brine and is a normal thing. Use a clean spoon to remove the film each day. It won’t be fuzzy.
- Start With Weights:Be aware that even if your cucumbers sink to the bottom of the jar in the beginning they might float a bit at the end, souse a weight (rock) or a lid even if it doesn’t look like you need it on the first day.
- Cloudy Brine:Cloudy brine is normaland will typically happen within the first 3 days or so of the fermenting process. No issue there, in fact, plan on it happening, that’s how you know your pickles are live and active.
- Cucumber Types:Don’t worry too much about what type of cucumber you are using, though I do like to use organic or homegrown when possible (again, the less the contents are treated, the happier your beneficial bacteria will be).
- Tannin Leaves:Don’t skip the leaves with tannins.It’s an extra ingredient compared to many recipes you might find, but it’s my little trick to making amazing pickles at home.
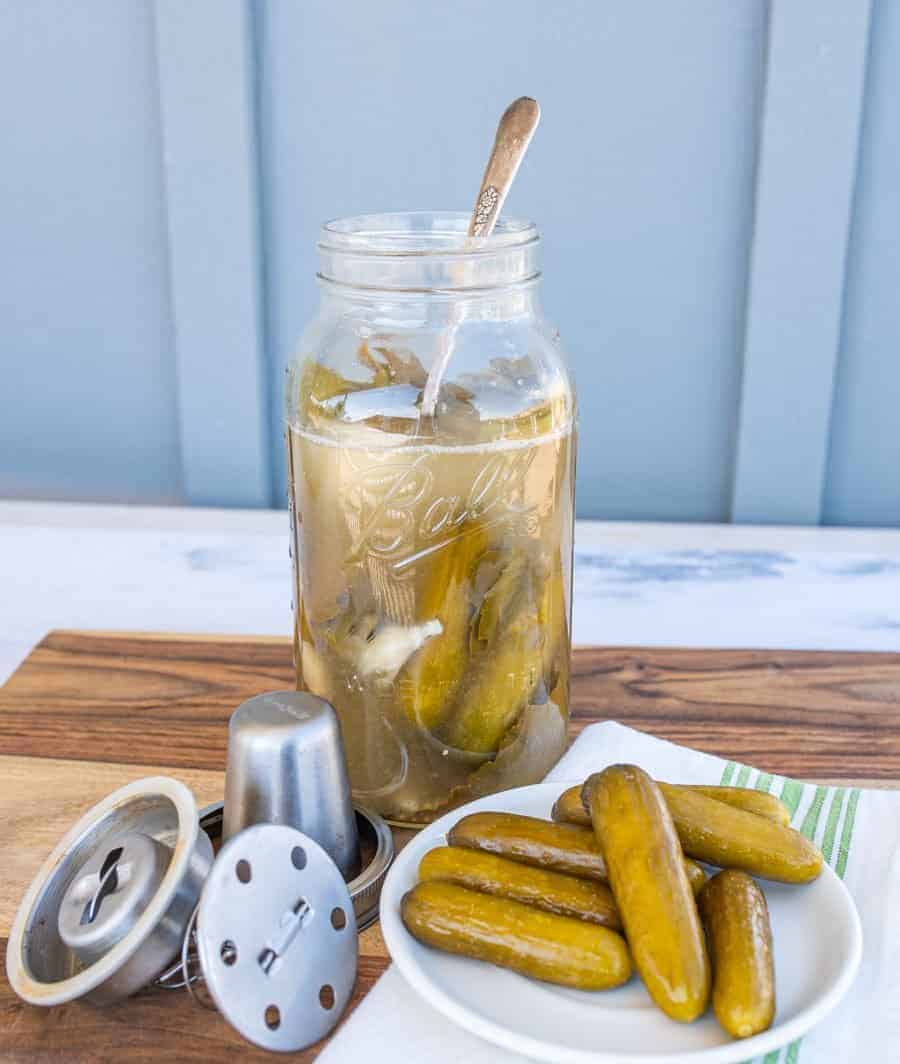
Caps & Lids For Fermenting Food
You can get as complicated as you like for this.The goal for the lid or fermenting tool is to help hold everything in the jar under the brine. Air isn’t good for this process because it will lead to mold, so everything needs to stay fully under the brine.
There are many, many products that are lids or tools for fermenting including:
- Kraut Source lidsare easy to use and easy to clean and it works great.It fits on any wide mouth glass canning jar.
- You can also use a rock that is clean and fits inside the top of your jar. The purpose of the rock is to hold everything in the jar down into the brine and the cover will keep out bugs and dust. The rock has to be submerged below the brine too or it will mold.
- If you are using a rock you’ll also want a piece of fabric and a way to secure the fabric (a rubber band or a screw on canning lid without the flat, both work great). Because the cloth cover is light, the gas it creates will be able to easily escape. That being said, the cloth can also let too much brine evaporate, so you have to keep an eye on it.
- Theseglass weightswork like a rock, but aren’t a rock!
Ultimately, use what you have on hand.If this is your first time, go find a rock.There are many different things you can try or invest in and I think they generally work the same, so do what fits your budget.
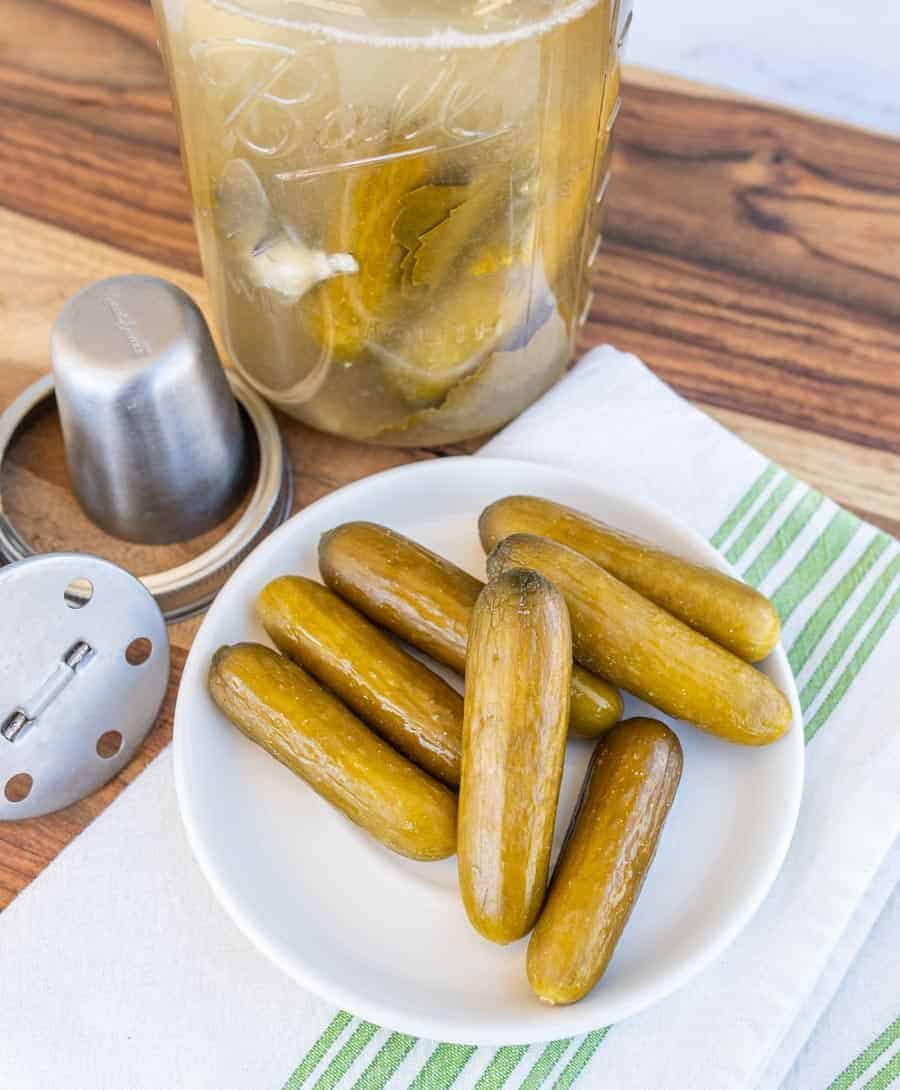
How to Store Fermented Pickles
Once the pickles are to your liking, you can remove the rock or lid and place a traditional lid on the jar.(I like theseone piece screw on lidsa lot, or just use a canning flat and screw on lid.)
Pickles can be stored in cold storage or a root cellar or kept in the fridge.
If you are storing your pickles out of the fridge just be sure to “burp” the jars (unscrew the lids to release built up gas) every few weeks or so.
More Preserving Recipes to Consider
Did you make this recipe? Leave a⭐️review and share it onInstagram,Facebook, orPinterest!
More to cook
See the category Desserts
Breakfast Cookies
 Popular Recipes
Crispy Instant Pot Pork Taco Recipe
 Desserts
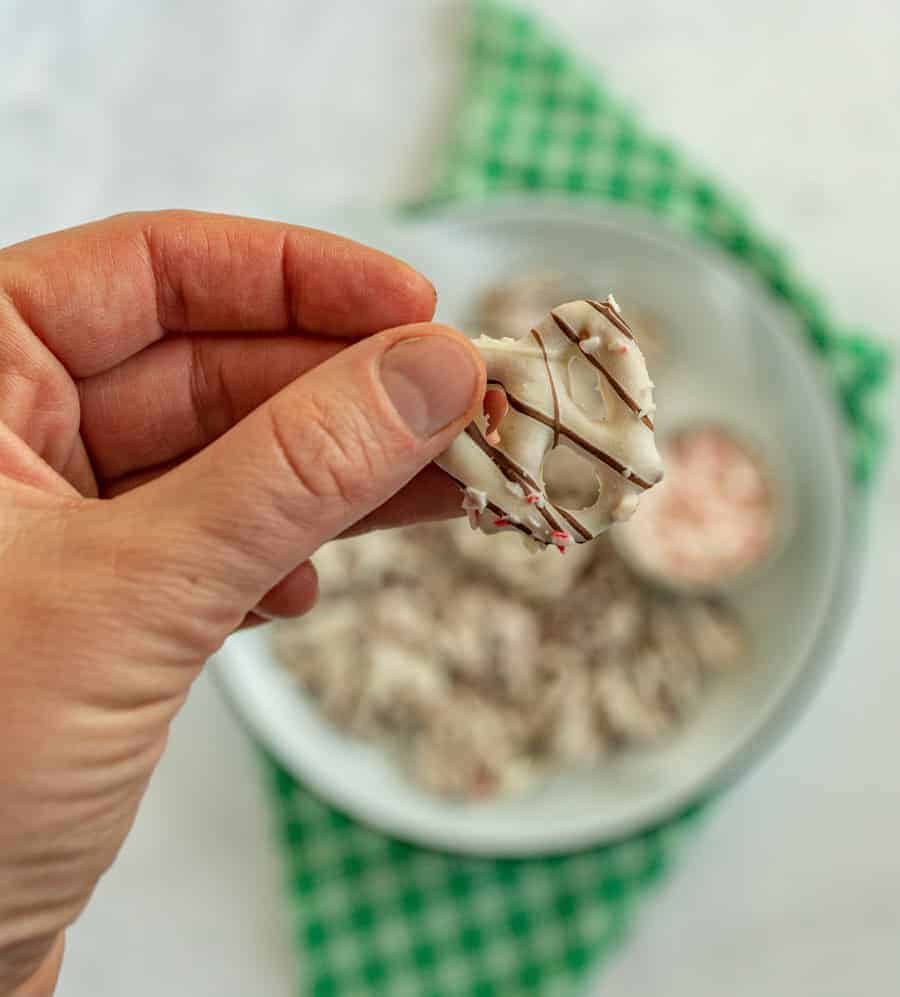
Peppermint Bark Chocolate Covered Pretzels
 Easy Dinners
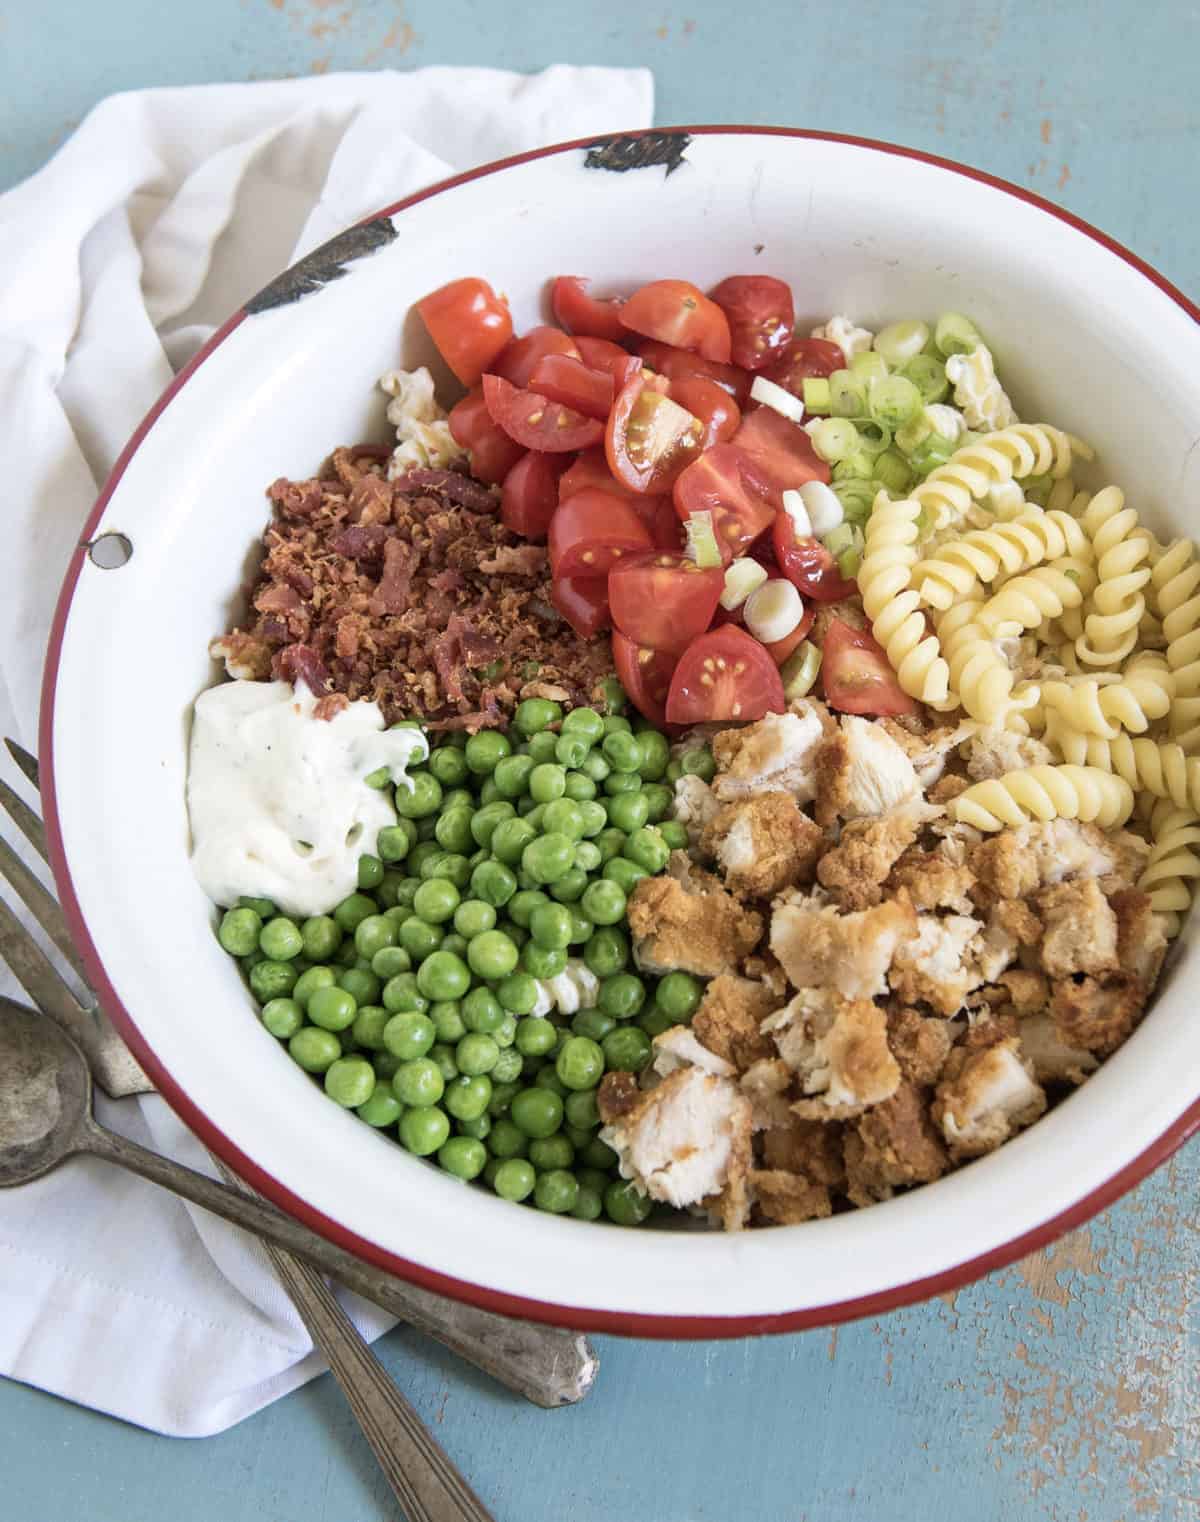
Chicken Bacon Ranch Pasta Salad
 Easy Dinners
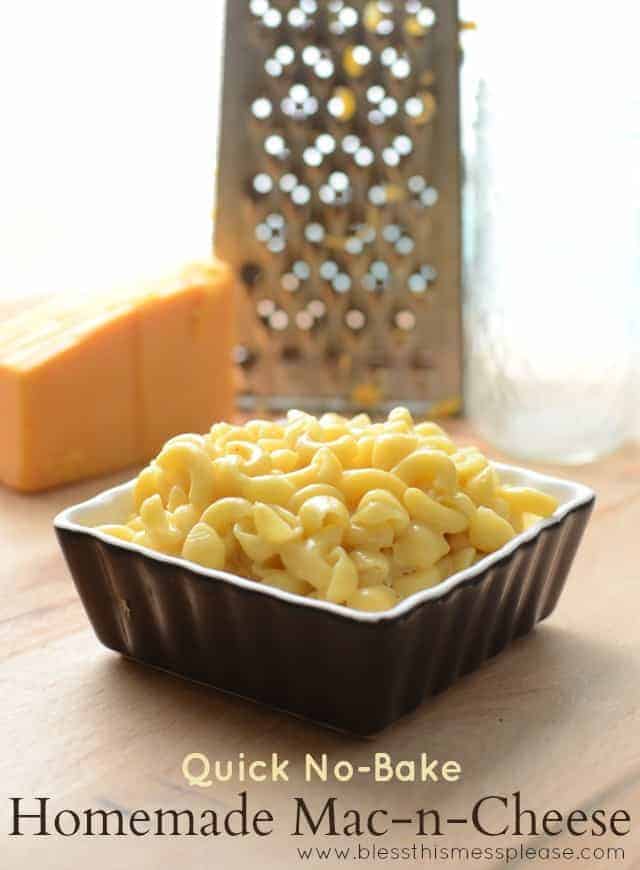
Easy No-Bake Homemade Macaroni and Cheese
Building Our Dream HouseOur Biggest Mess: Stuff we found in the walls
 Desserts
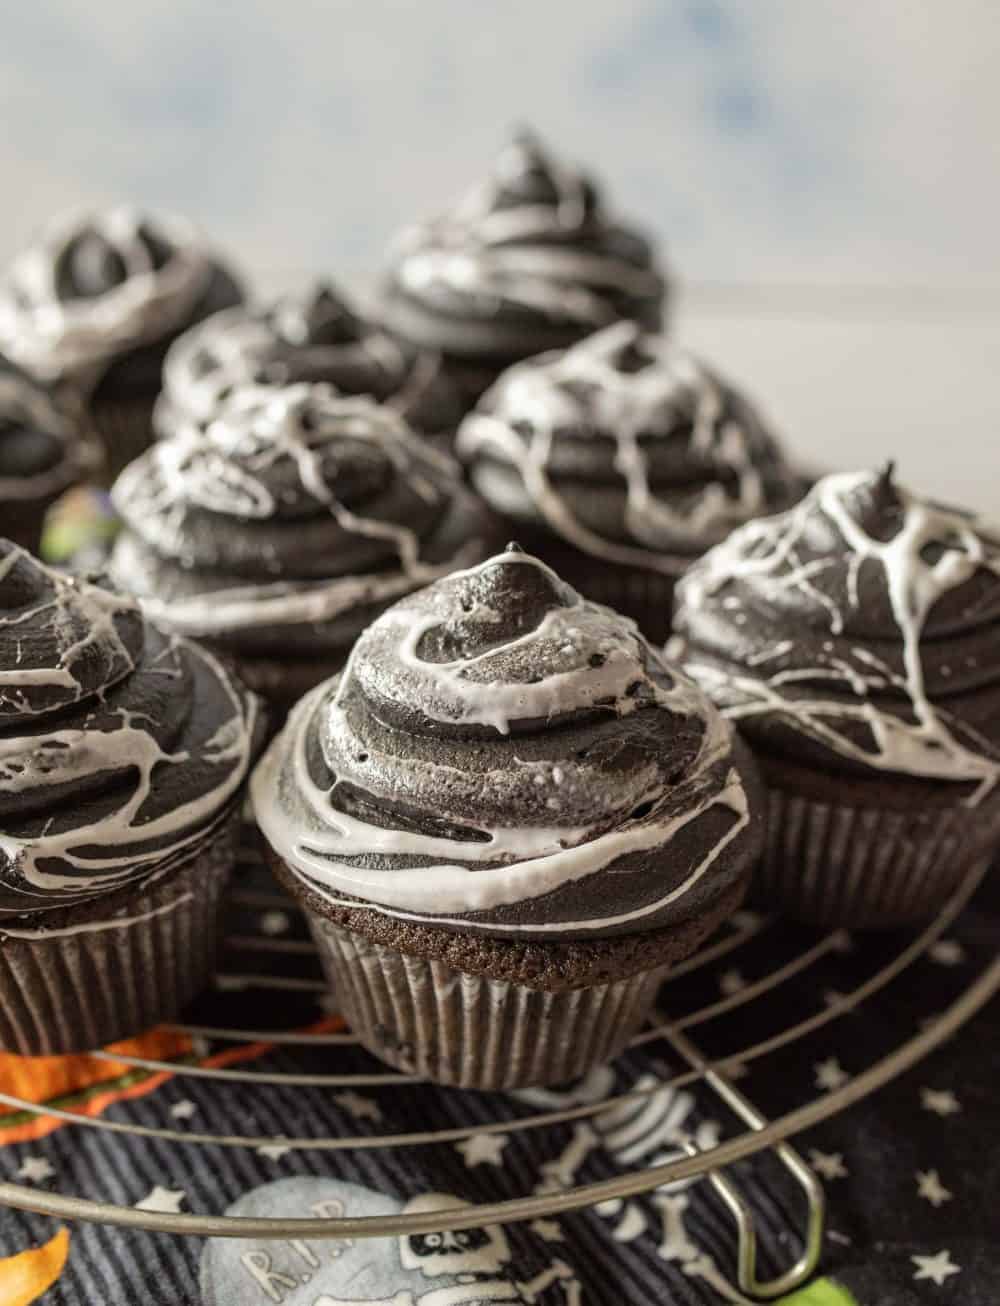
Spiderweb Halloween Cupcakes
 Breads