Home Desserts Easy Snow Ice Cream Recipe
Desserts
Easy Snow Ice Cream Recipe
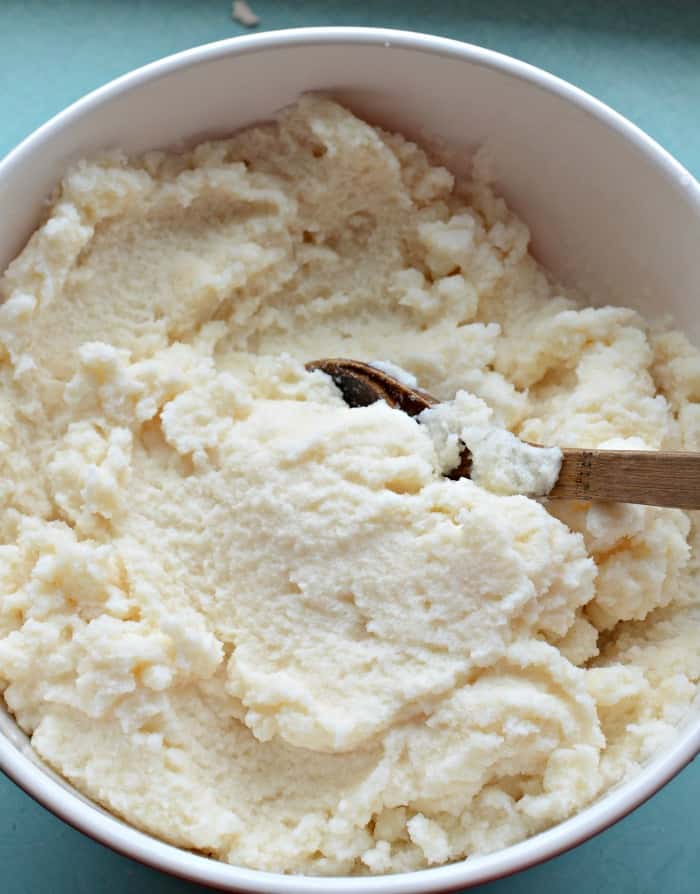
Easy snow ice cream is a fun recipe for cold winter months. You only need four ingredients: evaporated milk, sugar, vanilla, and fresh snow!
- Prep5 min
- Total5 min
- Serves5 cups
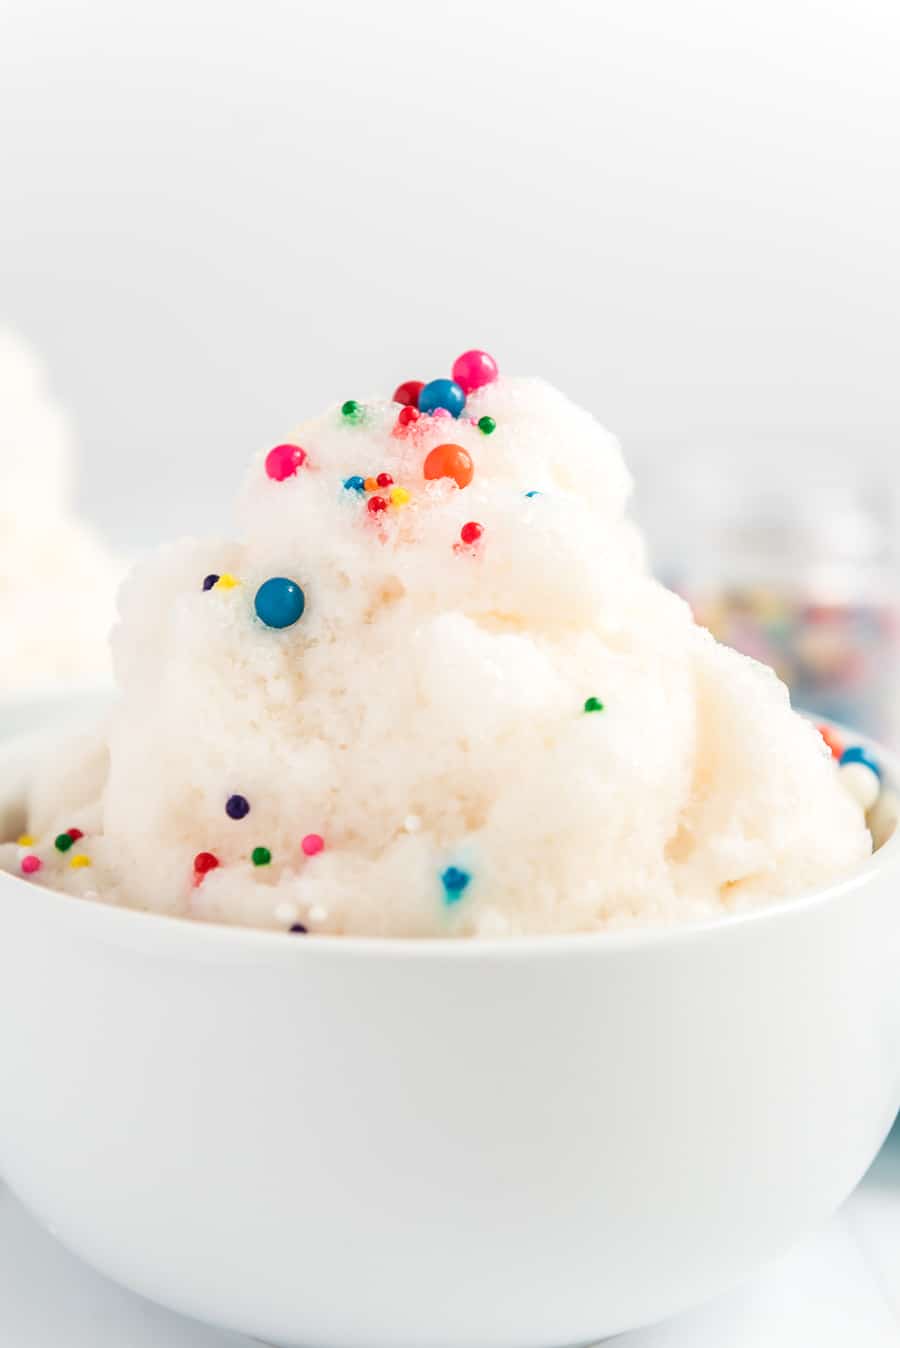
Easy snow ice creamis a fun recipe for cold winter months. You only need four ingredients: evaporated milk, sugar, vanilla, and fresh snow!
Why I Love Making Snow Ice Cream
Have you ever heard of making ice cream out of snow? It’sso fun and simple to do,and it’s one of my family’s favorite winter activities after a big snowstorm! My mom made this for us when we were growing up, so I’ve always been fond of this creative hack formaking ice cream.
My kids were totally amazed the first time I showed themthis easy recipe(extra mom points for the win)! I remember being stunned watching my mom make it, too. She’d let us sit around the bar andeat ice creamstraight out of the giant white bowl she mixed it up in!
It’s become a winter tradition for us over the years, and I’m excited for you to try it, too. This fun snow ice cream recipe takes just 5 minutes and uses ingredients you likely already have in your pantry.
Life Update:In 2025, our family moved from Utah to Vermont and one of the things my kids looked forward to was being able to make snow ice cream a LOT. And boy have we made a lot of it this first winter! 🥶 It’s been one of our favorite first family memories in this new phase of life.
Why You’ll Love This Recipe
- If you live somewhere with snow, thissimple sweet treatwill be everything to you (and your kids) and will get you through to warmer months!
- This recipe only uses four ingredients andtakes about 5 minutes to make.
- Snow Ice Cream is a delightful treat to make after a big snowfall. You’ll love howeasy, sweet, and tastyit is, especially with all yourfavorite ice cream toppings!
Ingredient Notes
Evaporated Milk vs. Heavy cream:Evaporated milk creates a slightly lighter texture and is what I typically use because I always have it in the pantry. Heavy whipping cream makes it richer and more decadent—perfect if you want that ultra-creamy consistency.
Fresh Snow:Use only clean, white, freshly fallen snow. Never use snow that’s been on the ground for days, discolored snow, or snow near roads or driveways where salt and chemicals have been used.
Sweetener:While this recipe calls for granulated sugar, you can substitute with maple syrup, honey, or powdered sugar if you prefer. Each will give a slightly different flavor and consistency.
Vanilla Extract:Pure vanilla extract gives the best flavor, but imitation vanilla works in a pinch. You can also experiment with almond extract or maple extract for different flavor profiles.
See the recipe card below for full information on ingredients and quantities.
Featured Review
Miranda Tullis ⭐️⭐️⭐️⭐️⭐️
January 21, 2025
Excellent flavor! I added about 11 cups of snow.
How to Make Snow Ice Cream
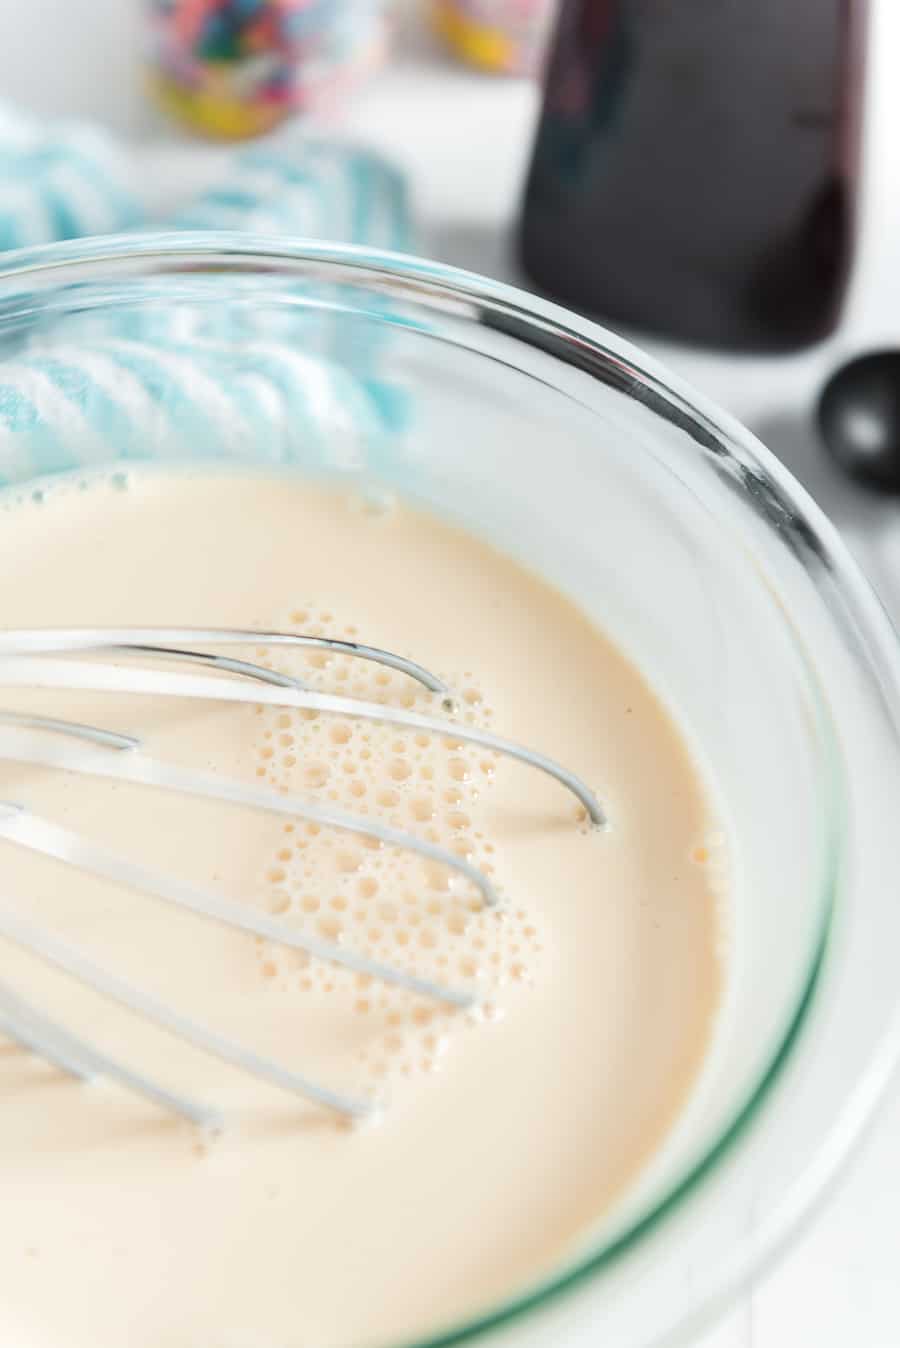
Step 1:Mix the milk, sugar, and vanilla together until well combined.
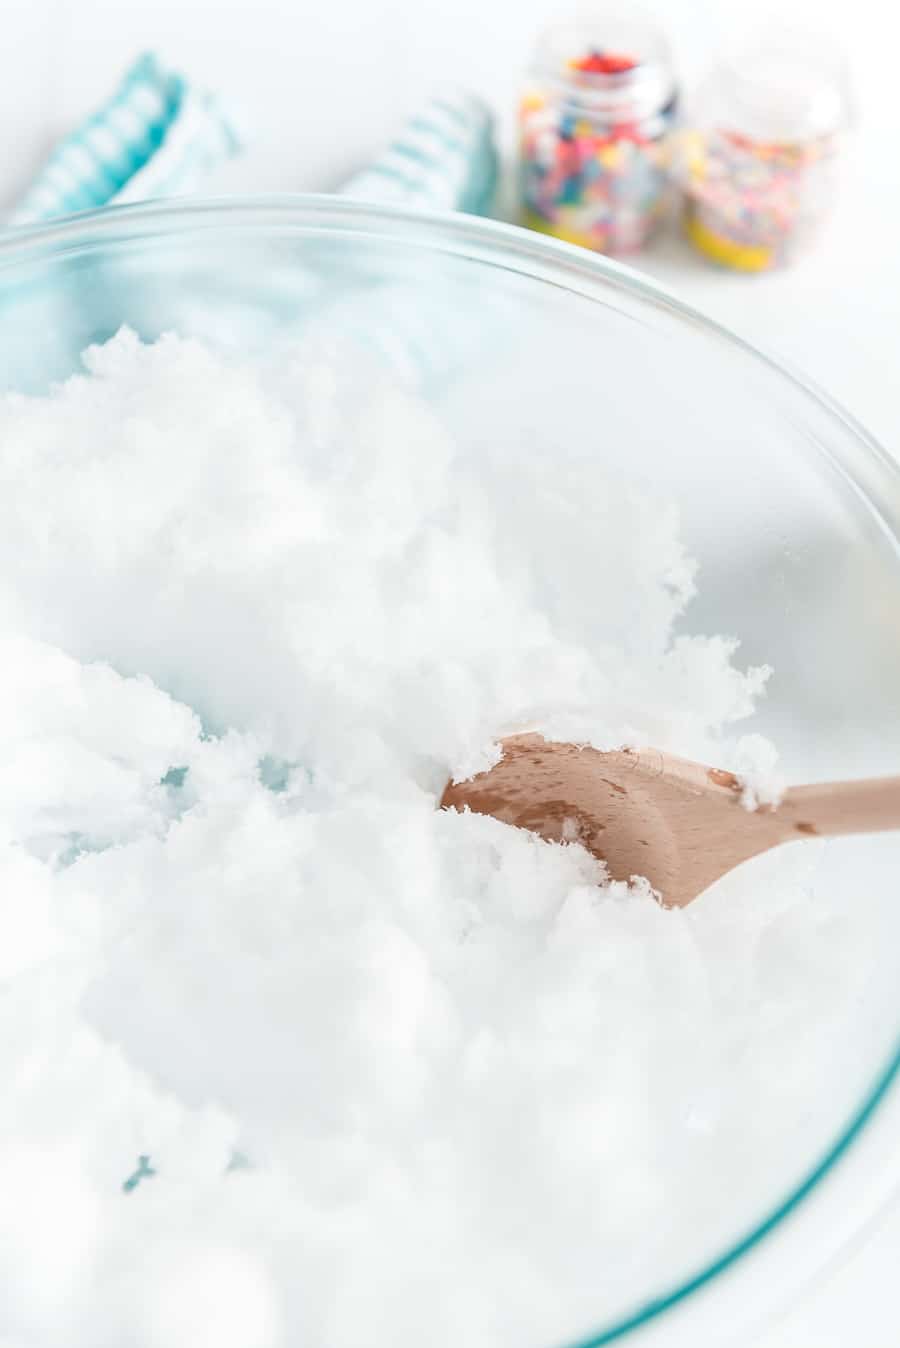
Step 2:Add the snow to a big bowl.
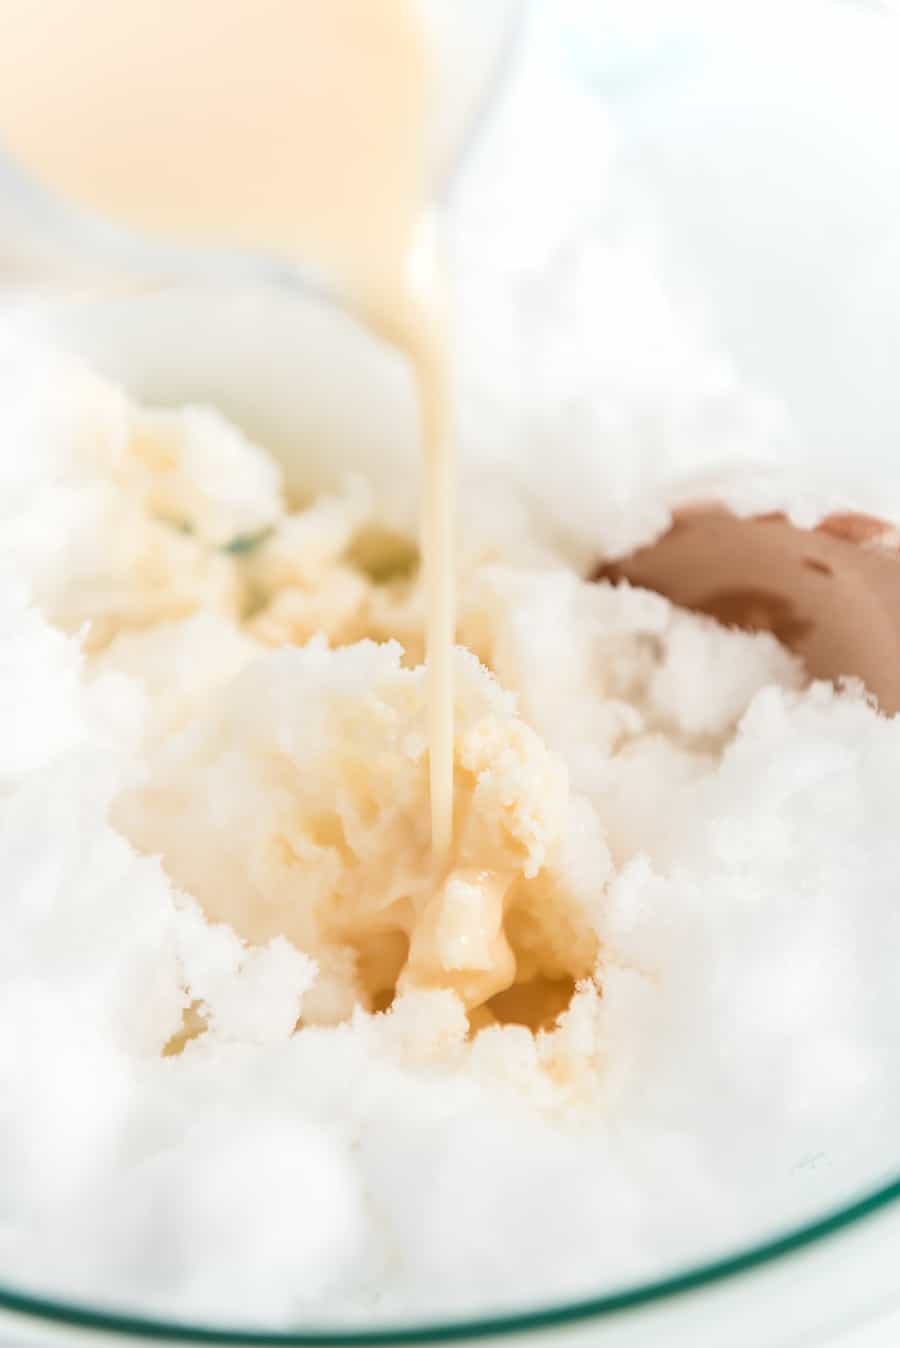
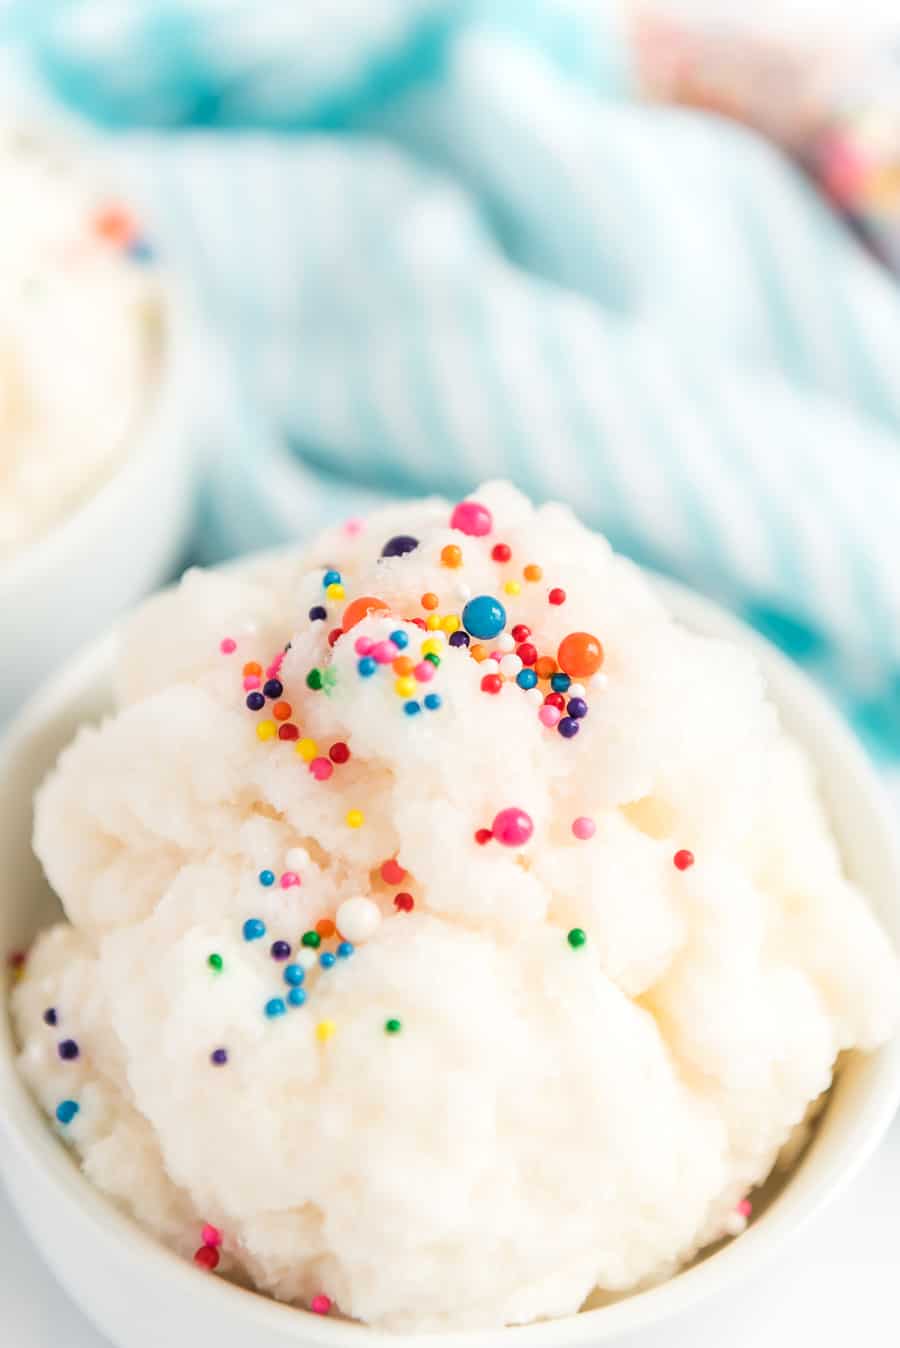
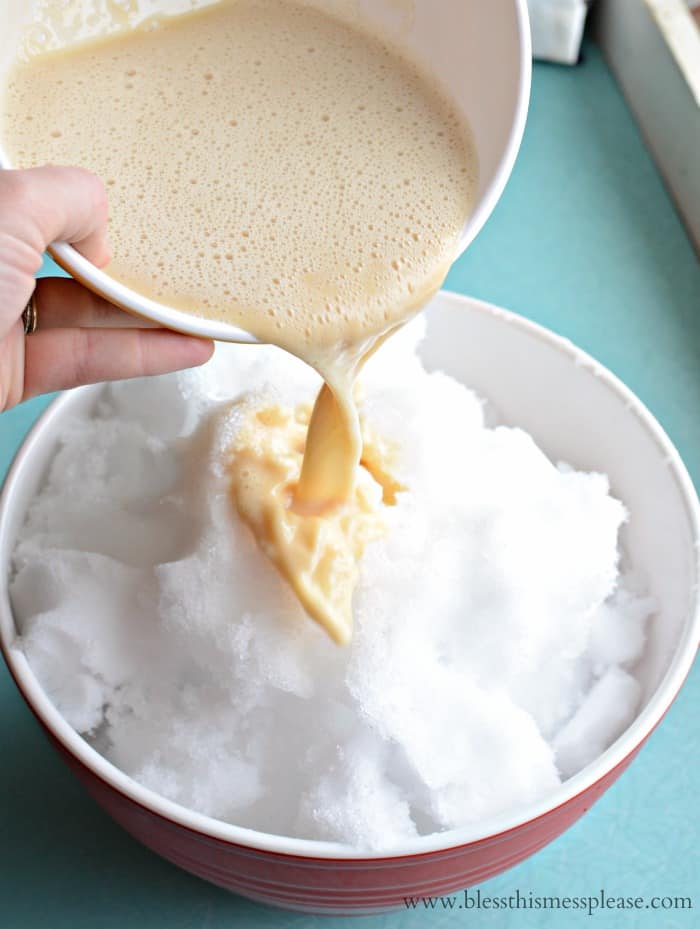
Step 3:Pour the milk mixture over thebowl of fresh snowand stir well to combine.
Step 4:Serve right away, adding sprinkles if you’d like.
Feautured Review
A. Adkins ⭐️⭐️⭐️⭐️⭐️
February 21, 2021
We made this recipe this afternoon and it turned out amazing! Thank you for such a great recipe!!!
Fun Variations & Flavor Ideas
One of the best things about snow ice cream is how easily you can customize it. Here are some family-favorite variations we love to make:
Chocolate Lovers’ Snow Cream
Add 2 tablespoons unsweetened cocoa powder to the milk mixture. Fold in minichocolatechips and top withchocolatesyrup for an extra indulgent treat.
Cookies and Cream
Crush 4-6 Oreos and fold them into the finished snow ice cream. The combination of sweet vanilla cream and crunchycookiepieces is always a hit with kids.
Maple Snow Cream
Replace the sugar with ½ cup pure maple syrup and use ½ teaspoon maple extract instead of vanilla. This gives it a wonderful maple flavor reminiscent of old-fashioned maple candy.
Berry Blast
Fold in ½ cup of frozen berries (strawberries, blueberries, or raspberries) after mixing. The berries add natural sweetness and a burst of color.
Peanut Butter Cup
Add 2 tablespoons of peanut butter to the milk mixture and fold in chopped peanut butter cups after mixing.
Rainbow Sprinkle Party
Add rainbow sprinkles just before serving for a festive look. Remember that sprinkles will bleed their color after a minute or two, so add them at the last moment.
Recipe FAQs
What is snow ice cream?
Snow ice cream is just like it sounds—ice cream made of snow (and three other key ingredients)! This cold, creamy treat makes a snow day all the more fun.
Is it safe to eat snow?
Yep, it’s generally safe to eat snow, but you’ll want to make sure it’s fresh snow, typically right after a snowstorm. Make sure it’s bright white—if it’s colored in any way, then it’s contaminated by dirt, animals, or something else.
How much snow do you need for snow ice cream?
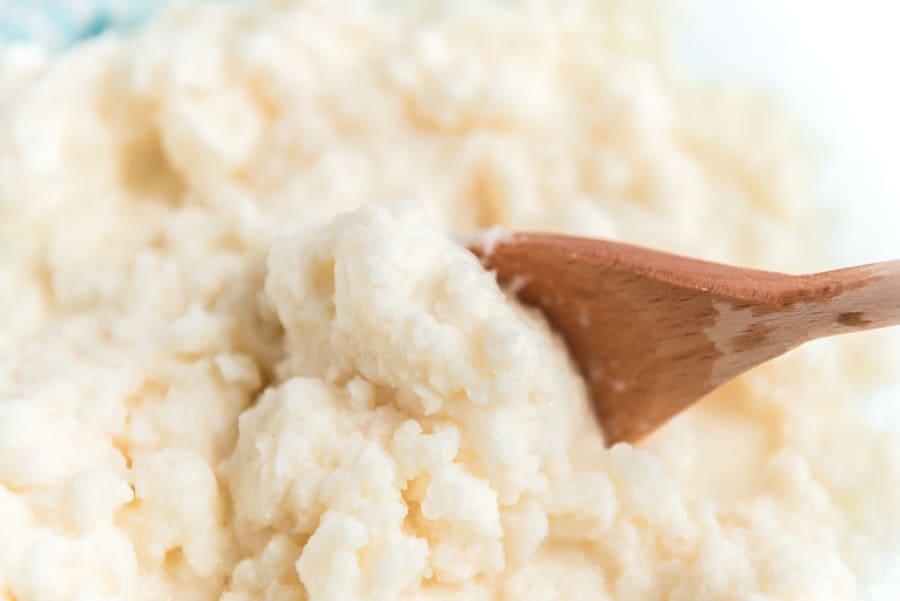
The amount of snow really depends on the texture of the snow itself. Mine was extra wet and heavy when I made this, and about 8 cups were perfect. If your snow is drier and fluffier, you may want to add quite a bit more. The taste and texture should be your guide—it should be thinner than store-bought ice cream but still have some structure when scooped. Don’t be afraid to add a little extra snow as needed.
Is it safe to make snow ice cream from the first snowfall?
Environmental experts recommend waiting a few hours into a snowstorm before collecting snow. The first snowflakes tend to capture more atmospheric pollutants as they fall. After a few hours, the air is “cleaner,” and subsequent snow tends to have fewer contaminants. That said, fresh snow collected carefully from clean surfaces is generally considered safe for occasional consumption.

Expert Tips
- UseA Chilled Bowl:Place your mixing bowl in thefreezerfor 15-20 minutes before making snow ice cream. A cold bowl slows down melting and helps maintain that perfect soft-serveconsistencywhile you work. This small step makes a big difference, especially if your kitchen is warm.
- Collect Snow From Higher Surfaces:When possible, collect snow from elevated surfaces like patio tables, car roofs (before they’re driven), or railings. Snow that’s higher up tends to be cleaner than ground-level snow, which may have more dirt and debris.
- AdjustThe Ratio To Your Snow’s Consistency:Snow comes in different textures. Light, fluffy snow requires more volume (10-12 cups), while wet, heavy snow needs less (6-8 cups). Start with 8 cups and add more snow or milk mixture gradually until you reach the rightconsistency. The final product should hold its shape when scooped but still be soft enough to eat comfortably.
- Make It A Chocolate Lover’s Dream:Forchocolatesnow ice cream, add 2 tablespoons of unsweetened cocoa powder to your milk mixture before pouring it over the snow. Whisk it in thoroughly so there are no lumps. You can also fold in minichocolatechips or crushedchocolate cookiesafter mixing for extra chocolatey goodness.
How to Store Snow Ice Cream
Honestly, snow ice cream is best enjoyed fresh. However, if you have leftovers (which is rare in my house!), you can store them in an airtight container in the freezer. Just know that theconsistencywill change—it becomes much harder and icier than it was originally.
When ready to eat, let it sit at room temperature for 10-15 minutes to soften, or microwave for 15-20 seconds. Leftover snow ice cream is best consumed within 3-5 days for optimal flavor and to prevent freezer burn.
More Ice Cream Recipes to Consider
Did you make this recipe? Leave a⭐️review and share it onInstagram,Facebook, orPinterest!