Home Seasonal DIY Fall Rag Wreath
Seasonal
DIY Fall Rag Wreath
Making a DIY Fall Rag Wreath is a super easy way to celebrate autumn in your house. All you need is some fabric and a wire hanger!
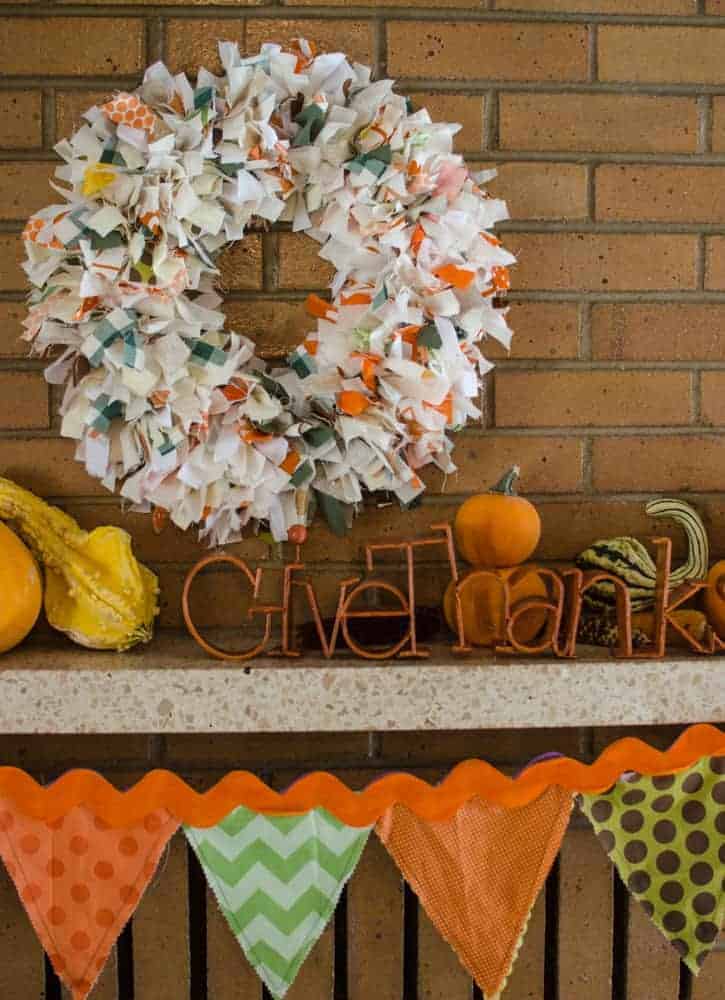
Making aDIY Fall Rag Wreathis a super easy way to celebrate autumn in your house. All you need is some fabric and a wire hanger – you don’t even need a wreath form!
This DIY fall rag wreath project is a fun and easy craft project that is perfect for beginners and seasoned crafters alike. With just a few simple supplies you can create a beautiful wreath that can be used for any season by simply changing up the fabric.
This project is great as a service project at a church or school to give away, or for decorating your own home with a seasonal touch.
If you like this rag wreath, you may also enjoy making a couple of theseFall Crafts for Kids. Or for some easy gifts to make, check outSimple DIY Beeswax CandlesandHomemade Beeswax Lip Balm.
Why You’ll Love This Project
- It’s asuper easyno-fail craft.
- Canmake it for any seasonby changing up the fabric.
- Makes a great service projectfor a church or school to give away.
- Youcannot mess up this craft project– as long as you can tie a knot.
- Stores great– just needs a little fluff before using it again.
Supplies
- 5 fat quarters
- Wire hanger
- Rotary cutter and mator scissors
How to Make a DIY Fall Rag Wreath
- Step #1.Cut 15 strips of fabric that are 2 inches by 6 inches.
- Step #2.Shape the wire hanger into a circle. (The hook makes a perfect wreath hanger.)
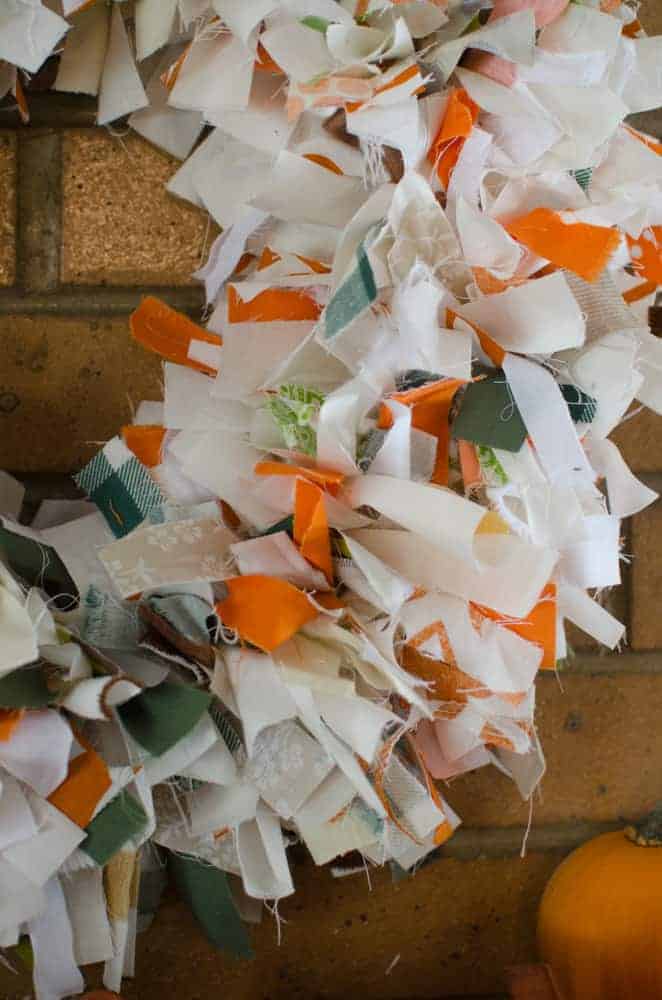
- Step #3.Tie the fabric strips onto the hanger. Scrunch them together tightly as you go. You can single or double knot, it doesn’t really matter.
- Step #4.Continue to tie and scrunch the fabric together until the wreath is as full as you like it.
- Step #5.Fluff and twist the fabric so that it pokes out all over, the messier the better.
- Step #6.You can add a bigger bow to the top where the hanger neck is if you like.
Fabric Suggestions for a Rag Wreath
You have a million and one options when it comes to how your rag wreath looks. I chose to make a fall version by using some neutral colors (beige, tan, off white), and then I threw in some oranges and greens. If I made this again, I would have used a darker tan.
- Youcan use scrapsyou already have or you can pick up fat quarters (the precut squares) at the fabric store.
- Select 5 fabrics with a variety of prints, a couple with big prints, a couple with small prints, one solid (can have a subtle pattern on it or be tone-on-tone).
- Try to findone or two fabrics that catch your eye.
- Yourfabrics don’t have to be super matchybecause some variation is going to make the wreath look more interesting.
- Most importantly,pick fabric you love!
FAQs
How much fabric do I need?
You have a few options… 5 fat quarters, 6 quarter-yard cuts of fabric, or 1.25 yards of one fabric. I wouldn’t recommend using fat eighths with this project because there is a lot more wasted fabric.
What is a fat quarter?
A fat quarter is a piece of fabric that is cut into a rectangle that’s 18 inch by 22 inches (which is a quarter of yard) instead of being cut into a regular quarter of a yard, usually measuring 9 by 44 inches.
Can I use several quarter yard cuts of fabric to make this wreath?
Yes! If you use a normal quarter yard of fabric, you will need 6 quarter yards of fabric because you won’t get quite as many strips from each piece.
Expert Tips
- Using a rotary cutter is really handyhere. If you don’t have one, find someone to borrow it from!
- A 60mm rotary cutter is the best size for this project. The smaller ones take longer to cut the fabric and aren’t quite as sturdy (in my experience).
- Be sure to use a cutting mat under your rotary cutterso that you don’t damage the surface you’re cutting on.
- You canturn this wreath into any season by using a different color schemeof the fabric you use – pastels would be great for spring, red/white/blue for Memorial Day and 4th of July, and red/white/green for aChristmas rag wreath.
Tips for Making a DIY Fall Wreath Rug with Kids
- For preschoolers, have all the fabric cut into the 2×6 inch strips so all they have to do is tie the strips onto the wire hanger.
- For elementary age kids, pre-cut the fabric into strips so that the kids only need to cut across each strip at 6-inch intervals and then tie them on the hanger.
- Most teensshould be able to handle a rotary cutter and mat with supervision and the rest of the instructions.
- If you have a mixed-age groupof kids, you could have stations where different ages are working on different parts of the process.
More Craft Projects to Consider
Did you make this recipe? Leave a⭐️review and share it onInstagram,Facebook, orPinterest!
More to cook
See the category Easy Dinners
Chicken Piccata
 Easy Dinners
Slow Cooker Cranberry Chicken & Rice
 Breads
Orange Cranberry Sourdough Bread with Pistachios
 Breakfast
Egg in a Hole
 Desserts
Easy Lemon Meringue Pie
 Side Dishes and Salads
Creamy Baked Macaroni and Cheese with Bacon
 Easy Dinners
Cheesy Sausage and Pepper Stromboli
 Desserts