Home Breads Classic French Baguette Recipe {Perfectly Crusty}
Breads
Classic French Baguette Recipe {Perfectly Crusty}
Make authentic French baguettes at home with this easy Baguette Recipe. Just 5 ingredients and foolproof techniques for bakery-quality bread!
- Prep15 hr
- Cook25 min
- Total15 hr 25 min
- Serves3 Loaves
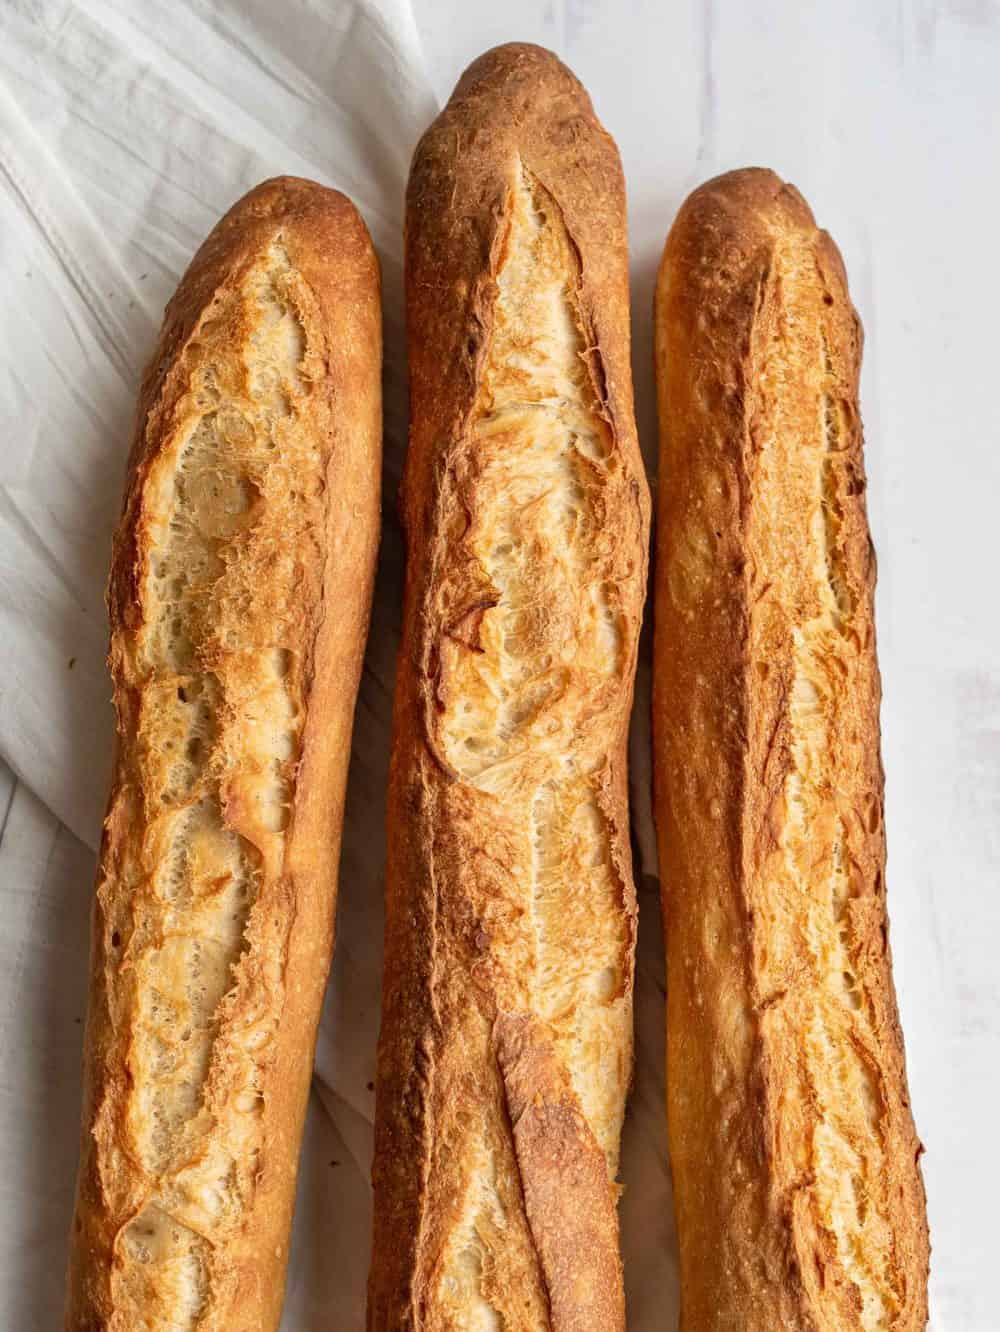
Make authentic French baguettes at home with this easyBaguette Recipe. Just 5 simple ingredients and foolproof techniques for bakery-quality crusty bread every time. The steam method provides the crispy, golden crust, while the stretch-and-fold technique results in an airy, chewy inside—just like from a real French bakery!
Quick Recipe Overview
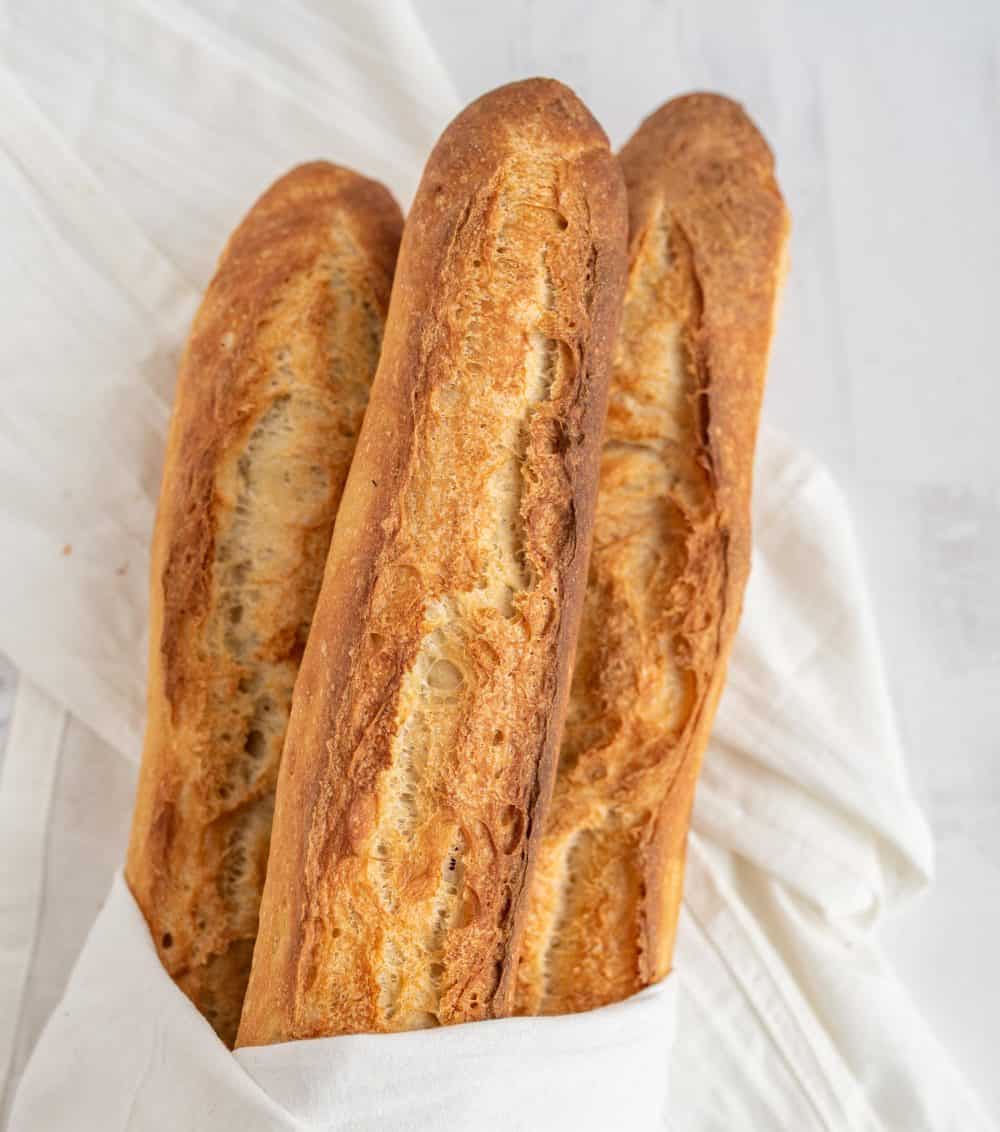
WHAT:A simple homemade baguette using instant yeast, honey, and all-purpose flour with minimal hands-on time.
WHY:No kneading required, flexible timing, and bakery-quality results with crispy crust and perfect texture.
HOW:Mix dough, stretch and fold several times, refrigerate overnight, shape into loaves, and bake until golden.
Why I Love Making Baguette
There’s something incredibly satisfying about pulling golden baguettes from your own oven. The crispy crust crackles as it cools, the aroma fills your kitchen, and you realize you’ve created bakery-quality bread at home.
The perfect baguette is crispy on the outside, perfectly chewy on the inside, has a complex flavor, and is one of those breads that feel like such a simple pleasure in life. The ingredient list is short, but the flavor is amazing.
This Classic French Baguette Recipe looks a bit time consuming, but it really is basic, I promise. If you’re new to bread baking, you might want to check out more info onhow to make homemade breador try out thiseasy French bread recipe.
🩷
Even if you’re new to bread making, this recipe breaks down professional techniques into simple, manageable steps that anyone can do, I promise!
The stretch-and-fold method is easy to master and creates the gluten structure needed for perfect baguettes without traditional kneading.
The long fermentation process gives you incredible flexibility. You can adjust the timing to have fresh baguettes ready for lunch, dinner, or whenever you need them. The 12-18 hour cold fermentation window means you can easily fit bread-making into your routine.
Plus you only need five basic ingredients: flour, water, honey, yeast, and salt!
Ingredient Notes
Flour:Bob’s Red Mill or King Arthur all-purpose flour work beautifully for this recipe. Bread flour can be substituted if you want a chewier texture.
Honey:Adds subtle sweetness and helps with browning. The yeast loves it too, which aids fermentation.
Instant Yeast:Sometimes called rapid-rise yeast, it can be mixed directly into dry ingredients without proofing first.
See the recipe card below for full information on ingredients and quantities.
Video: How to Make Baguettes
How To Stretch and Fold Your Dough
First, you’ll mix up your dough; it comes together really easily just by stirring it with a wooden spoon. Then, over the next 3 or so hours, you’ll “stretch and fold” your dough every 30 to 45 minutes or so for a total of 4 times.
Don’t overthink this part, the timing isn’t a huge deal, so don’t sweat it if you do it a little more or less and a little faster or slower than at the 30 to 45 minute mark. The idea is that you knead the dough just a bit, a few times, over the course of a couple of hours. It’s way flexible. This helps to make the inside of your baguette perfectly chewy.
When I say “stretch and fold,” here’s what you do:Put your hand between the dough and the bowl on one side and grab the dough, gently pull it up to give it a good stretch (if the dough starts to break, stop pulling, you are just stretching the dough as far as it wants to stretch without breaking it) and then fold it back down into the middle of the bowl.
Give the bowl a quarter turn and repeat the process, working your way around the bowl. I normally think of the bowl as a square and stretch and pull the dough 4 times, once on each side of my square. It’ll take 15 or so seconds to do this.
Do this a few times over the next few hours. Then, cover up the bowl well with a beeswax wrap or a piece of plastic wrap and put it in the fridge for the next 12-18 hours.
After your dough has chilled for 12-18 hours, remove it from the bowl and divide it into three even pieces.
Pat the pieces of dough out into rectangles (don’t worry too much about the shape, the cold dough is pretty stiff, just pat it out) and are about 1 inch thick. Cover with a towel and let rise for 1 hour.
Substitutions & Variations
For Whole Wheat Baguettes
Replace up to half the all-purpose flour with whole wheat flour. The loaves will be denser but have wonderful nutty flavor.
For Herb Baguettes
Add 2 tablespoons of fresh rosemary, thyme, or herbs de Provence during the initial mixing stage.
Sugar Instead of Honey
Use 1 tablespoon of granulated sugar as a direct substitute.
Sourdough Variation
Replace the yeast with 1 cup of active sourdough starter and reduce the water to 1 cup. Extend the bulk fermentation time.
Special Equipment Needed
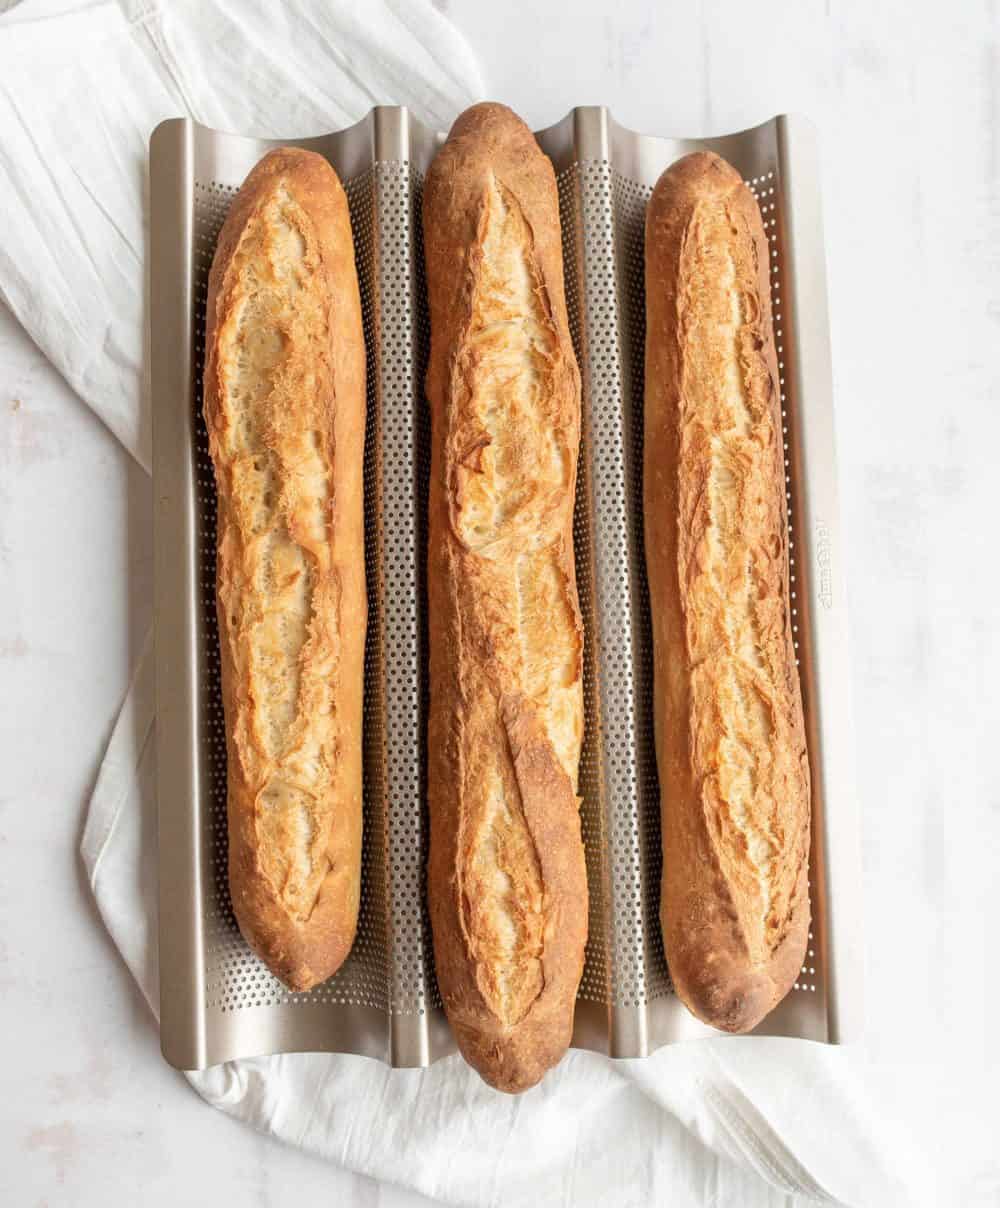
After much trial and error, I did decide that buying a baguette pan was worth it. The bread rises right in the pan, and the pan goes right in the oven. It doesn’t take up a lot of room to store and I’ve liked the results. The pans aren’t expensive either.
You’ll need a razor blade or a bread-slashing tool called a lame. You can use a very sharp serrated knife to cut the slits in your bread before baking, but I’ve found a razor blade or lame just to work so much better. It will cut deeply without tearing the bread or roughing it up too much (you can deflate the risen dough by using a knife that doesn’t cut well for scoring).
FAQs for Baguette Recipe
How are baguettes shaped?
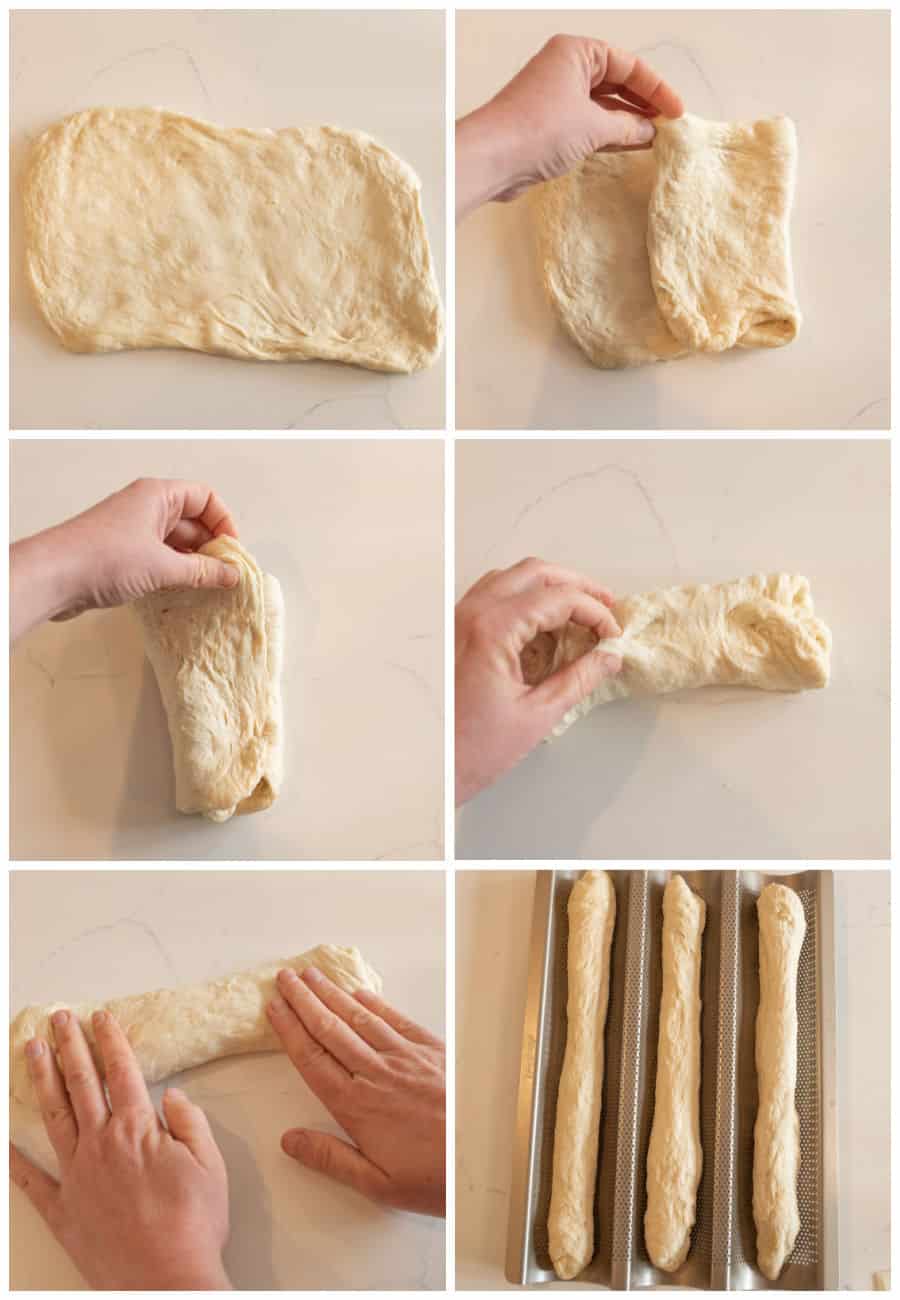
Once the dough has rested at room temperature for an hour, pull it into a rectangle that is about 11 inches by 8 inches. Then, fold the dough into thirds, as shown in the pictures above. Once the dough has been folded, pinch the seem shut.Gently use your hands to roll the dough log out into a baguette that is 15 inches long. Use your hands and the rolling motion to taper the ends gently. Then, place the baguettes in a baguette pan. Repeat with the remaining dough. Let the dough rise for about an hour in the baguette pan, and then bake!
What’s the best way to store homemade baguettes?
Baguettes are best enjoyed fresh on the day they are baked. To store them, wrap them tightly in a kitchen towel or paper bag to prevent them from getting too soft. Avoid storing them in plastic bags, as this can make the crust lose its crispness.
How do I achieve the perfect baguette texture?
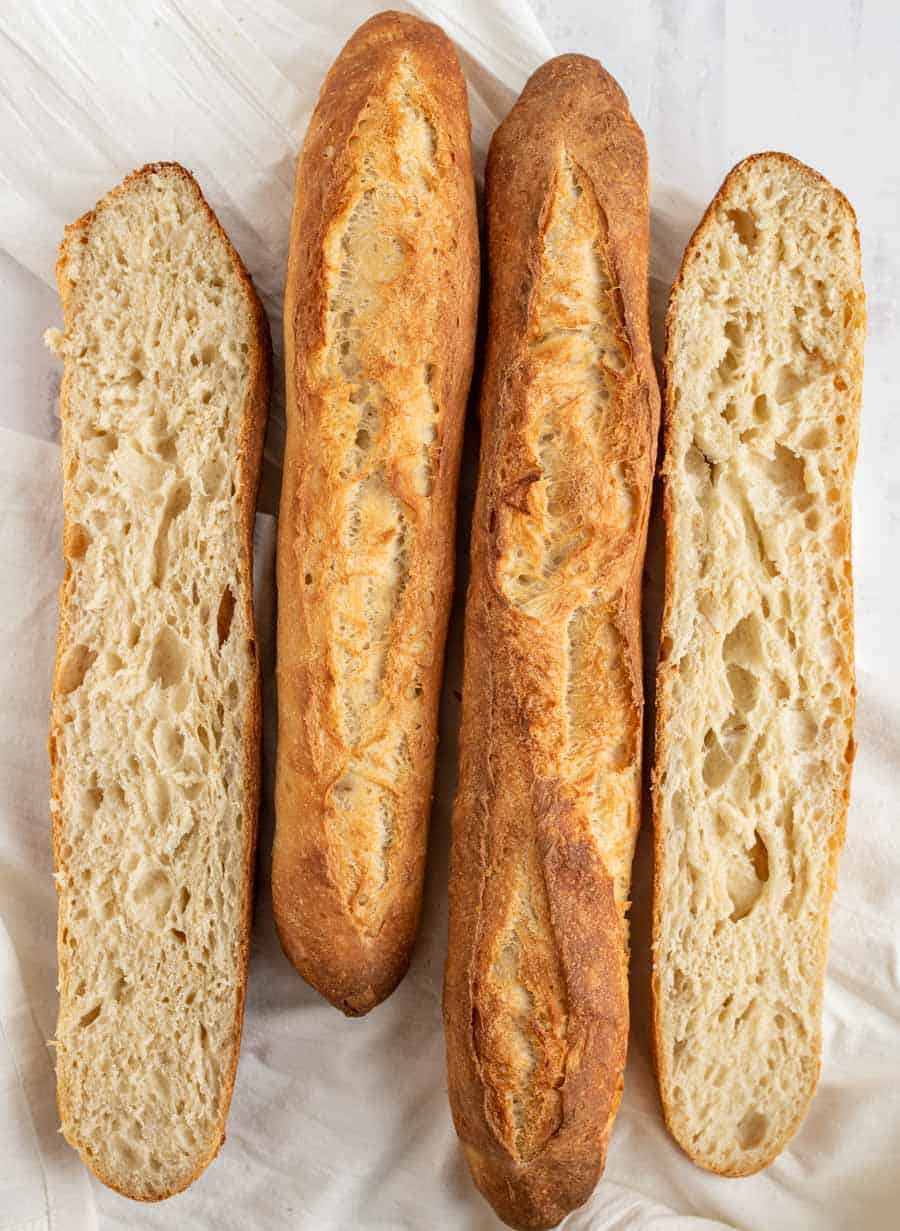
The outside texture is achieved by cooking the dough at a very high temperature AND by adding a pan of water to the oven so that it creates steam. The steamy cooking environment mixed with the high temperature are the things that make perfect baguettes.
How do I get the perfect baguette flavor?
By using a slow fermentation process for this dough, you develop the flavor of the dough. After the dough has been made and you’ve kneaded it a few times over a few hours, you’ll cover it well and pop it in the fridge for 12 to 18 hours (depending on your time schedule). This method of cold retarding the dough is where so much of the magic is made. This slow rise is also changing the texture of the dough! So it’s a double win.
My Best Tips for Making Baguette
☞Weight, Not Measure:I like using a scale to measure ingredients for this recipe, the more I use a scale for baking the more I love it. It’s a lot more consistent!
☞Make Extra:You can double this recipe, it works great. I always make a double batch for my family. I like to bake the pans separately though (they bake up better one pan at a time in my oven).
☞Baguette Pans:You can find lots ofbaguette pans online.I like the ones that are carbon steel and this is the one that I bought.
☞Scoring Tool:You’ll want to use a razor blade orlamefor slashing your bread before baking. A lame is just a razor blade on a stick but you might like the feel of it better. This tool is also used for scoringsourdough bread.
What to Serve With Baguette
These crusty loaves pair beautifully with almost anything! Serve alongside French onionsoup,hearty stews, orroasted chicken. They’re perfect for acheese board, dunking in olive oil andbalsamic, or making incrediblesandwiches. Try them withpasta dishes,salads, or simply with butter and jam for breakfast.
Storage & Reheating Tips
Room Temperature
Baguettes are best enjoyed fresh on the day they are baked. To store them, wrap them tightly in a kitchen towel or paper bag to prevent them from getting too soft. Avoid storing them in plastic bags, as this can make the crust lose its crispness. They’ll stay decent for up to 1 day this way.
Refrigerator Storage
Not recommended, as it dries out the bread quickly.
Freezer Storage
Wrap cooled baguettes in foil, then place in freezer-safe bags for up to 3 months. Thaw at room temperature when you’re ready to enjoy them.
Reheating
Wrap in foil and warm in a 350°F oven for 15 minutes to restore the crust’s crispness. It brings them back to life beautifully!
Make Ahead
The dough can stay in the fridge for up to 24 hours if needed, giving you even more flexibility with your baking schedule.
Similar Recipes to Try
- Parmesan Focaccia Bread:It’s a a thin, cheesy bread recipe
- Sourdough Sandwich Bread:It’s a chewy, tender bread with that tart flavor
- Homemade Italian Bread: It needs only 4 simple ingredients
More Yeasted Bread Recipes to Consider
Did you make this recipe? Leave a⭐️review and share it onInstagram,Facebook, orPinterest!
More to cook
See the categoryPlaces I love: Grandma’s Farm
 Easy Dinners
Easy Grilled Salmon Recipe
 Desserts
Spiced Gingerbread Bars with Vanilla Frosting
 Breakfast
Banana Smoothie
 Appetizers
Easy Halloween Spiderweb Bean Dip
 Easy Dinners
Cafe Rio Cilantro Lime Rice
 Side Dishes and Salads
The Best Corn Muffin Recipe
 Breads