Home Breakfast Foolproof Instant Pot Yogurt – Only 2 Ingredients
Breakfast
Foolproof Instant Pot Yogurt – Only 2 Ingredients
Instant Pot yogurt is surprisingly easy to make with just 2 ingredients and not a whole lot of hands-on time, plus it's healthier and cheaper!
- Prep10 min
- Cook8 hr
- Total8 hr 10 min
- Serves16 cups
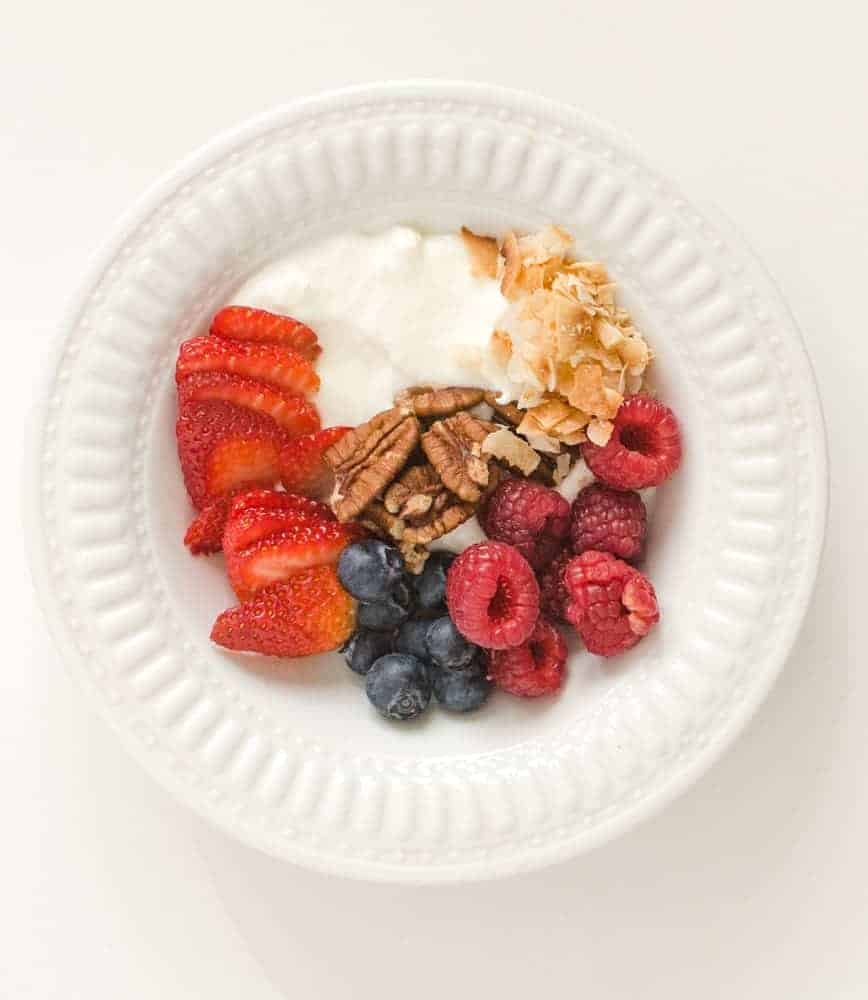
Instant Pot yogurtis surprisingly easy to make with just 2 ingredients and not a whole lot of hands-on time! This foolproof method makes homemade yogurt that’s healthier, more affordable, and much more customizable than store-bought options. If you love yogurt like we do, this is a great way to make a big batch of it at a way lower cost.
My 2 Best Tips For Making Instant Pot Yogurt
Use A Good Yogurt Starter:Any plain store-bought yogurt will work as your starter as long as it contains active bacterial cultures. Check the label for ingredients like Lactobacillus bulgaricus or Streptococcus thermophilus. Never use flavored yogurt as your starter! After making your first batch, you can save a few tablespoons in the freezer to use as starter for your next batch.
Perfect Milk Temperature:For successful yogurt, milk must be heated to the right temperature (around 180°F) and then cooled to the proper culturing temperature (about 110°F) before adding your starter. Aninstant-read thermometeris invaluable for this process. If you don’t bring the milk to the right temperature initially, the yogurt might not set properly.
🩷
This is SUCHan easy recipeand you only need three things: milk, a couple tablespoons of plain yogurt with live and active cultures, and an Instant Pot!
Store-bought yogurt can be pricey, especially if you get it all the time and use it almost daily like we do.
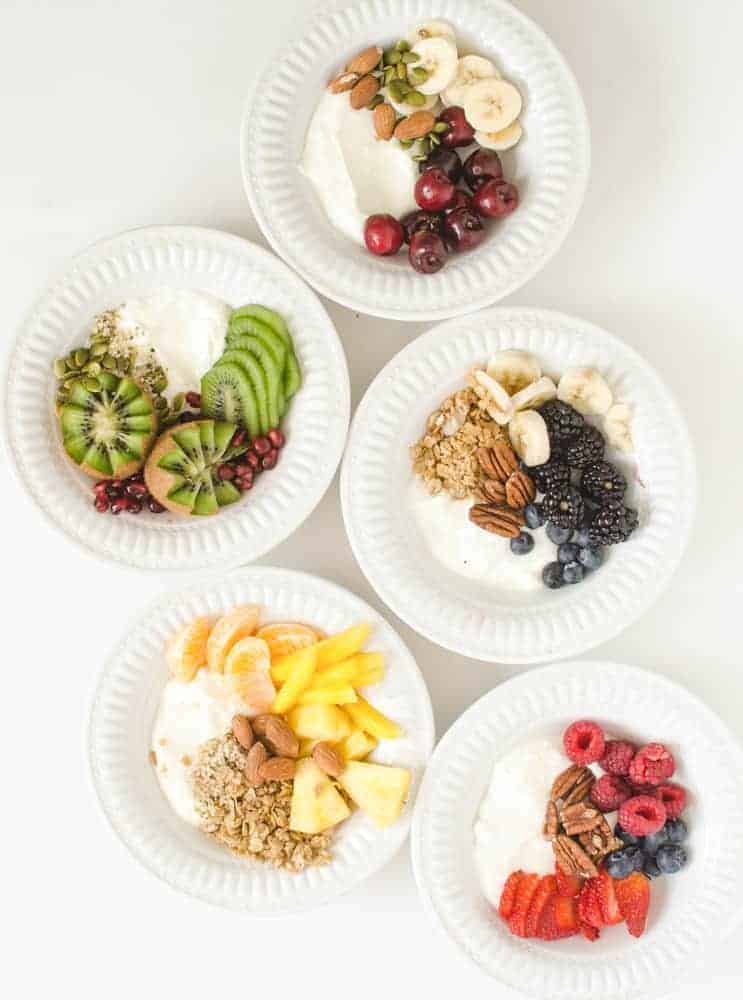
Whether you love yogurt in parfaits, fruit salad,smoothies, as a sour cream substitute, or any other way, this recipe yields a big batch for a lot lower price than buying yogurt in bulk from the grocery store!
The amazing thing is that your Instant Pot has a yogurt setting, and all you have to do is add milk and yogurt to the pot, turn on the yogurt setting, and let it do its thing for 8 hours.
Recipe Ingredients
- Milk:Whole milk makes the thickest and creamiest yogurt in my opinion, but you can also use 2% or skim.
- Plain yogurt with live and active cultures:The live, active cultures are important because these are what mix with the milk to turn it into yogurt!
See the recipe card below for full information on ingredients and quantities.
Homemade Yogurt Variations
Low-fat:Use low-fat or skim milk to make low-fat yogurt.
Sweet:Stir in 2 to 3 tablespoons honey or brown sugar after the yogurt is done in the Instant Pot for sweet yogurt.
Vanilla:Add 2 teaspoons vanilla to the yogurt once it’s done in the Instant Pot.
Recipe FAQs
What kind of milk works best for Instant Pot yogurt?
You have many options when it comes to milk for your homemade yogurt! Whole milk yields the thickest and creamiest results, but you can also use 2% or skim milk with good results. If using lower-fat milk, you may want to add some nonfat dry milk powder to help thicken the final product. Some people successfully make yogurt with lactose-free milk as well. The higher the fat content, the creamier and thicker your yogurt will be.
What yogurt starter should I use?
Any plain store-bought yogurt will work as your starter as long as it contains active bacterial cultures. Check the label for ingredients like Lactobacillus bulgaricus or Streptococcus thermophilus. Never use flavored yogurt as your starter! After making your first batch, you can save a few tablespoons in the freezer to use as starter for your next batch.
Why do I need to remove the rubber ring from the Instant Pot lid?
The silicone ring on the Instant Pot lid tends to absorb odors from previous cooking. If you don’t remove it, your yogurt might end up tasting like the last thing you cooked, such as chili or curry! Since you don’t need pressure for making yogurt, it’s perfectly fine to use the lid without the ring. **I actually bought the same lid with the silicone ring for my Instant Pot at a yard sale and since it didn’t have the strong smells from cooking (like mine does!), I save it for using only on things like yogurt and sweet things to keep out the smell!
How do I make yogurt in an Instant Pot without a yogurt setting?
If your Instant Pot does not have a yogurt button, here’s how to make it:Pour the milk into inner pot of pressure cooker. Turn on the Sear/Sauté button. Heat milk to 180°F, and use a thermometer to check the temperature often. Be sure to stir very often so milk does not scorch. Once the milk reaches 180°F, turn off the pressure cooker. Remove inner pot and cool to 110° F, and then whisk in the yogurt until incorporated. Put inner pot back into the pressure cooker and add the lid. Wrap in a large towel, or two regular towels, and incubate for 8 hours.
How do I store homemade yogurt?
Store homemade yogurt in covered containers in the fridge for 7-10 days. (I use mason jars.) Reserve 3 tablespoons, which can be frozen, to make your next batch.
Fabulous Recipes Using Homemade Yogurt
Other Yummy Breakfast Recipes To Try
Did you make this recipe? Leave a⭐️review and share it onInstagram,Facebook, orPinterest!
More to cook
See the category Side Dishes and Salads
Instant Pot Brown Rice
 Desserts
Homemade Angel Food Cake
 Easy Dinners
Lemon Chicken Pasta
 Side Dishes and Salads
How To Pickle Peppers (Hot Water Bath Canning Method)
 Easy Dinners
Baked Denver Omelet
 Easy Dinners
Instant Pot Loaded Baked Potato Soup
 Life on the Farm
Things to Sell at a Farmer’s Market that go way beyond produce!
 Recipes Organized by Cooking Equipment