Home Holidays Painted Sharpie Mugs (that won’t wash off!)
Holidays
Painted Sharpie Mugs (that won’t wash off!)
Painted Sharpie Mugs (that don’t wash off) make great gifts. All you need is a mug, some oil-based paint markers and your creativity!

Whether you are looking for a budget-friendly teacher appreciation gift, a personalized holiday gift, or a fun weekend craft to do with the kids, learninghow to make painted Sharpie mugs that won’t wash offis going to be a game-changer! Custom mugs are thoughtful, creative, and inexpensive, but there is nothing more disappointing than watching your creation disappear in the dishwasher.
As a mom and craft-lover who has made many homemade gifts over the years, I’ve tested all the hacks for custom mugs, and this one works! The secret to a design that stays permanent isn’t complicated, but it does require crucial material choices that many people overlook.

What are Painted Sharpie Mugs?
Painted Sharpie mugsare customized, ceramic coffee mugs decorated using oil-based paint markers and heat-set in the oven. Unlike regular permanent marker designs that wash off in hot water, heat-cured oil paint fuses directly to the ceramic glaze, creating a permanent, scratch-resistant, dishwasher-safe design.
Why You’ll Love This Project
- Makes a great giftfor friends, family members, or teachers.
- Easy project for kidsto do (with supervision).
- Use the secret ingredientto make the best mug!
- Budget-friendly!
- Wonderfuladdition to a gift basket.
Project Supplies
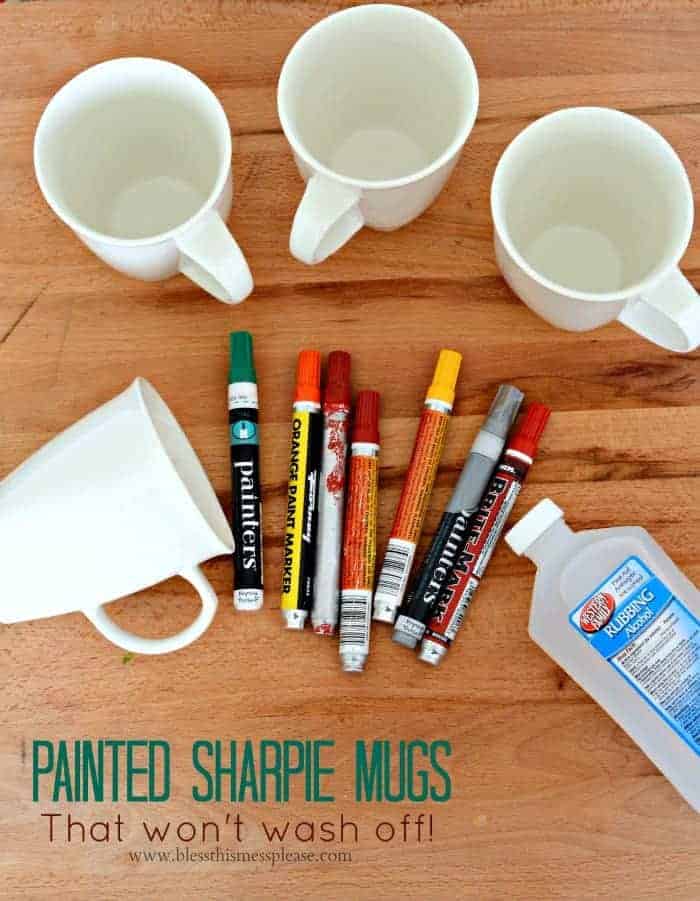
- Mugs:White is a good color because the paint shows up well.
- Rubbing alcohol: Used to clean the surface.
- Cotton balls: Needed for cleaning and wiping down the surface.
- Sharpie oil-based paint markers:Regular Sharpies will not work! They must be oil-based paint markers.
How to Make a Sharpie Painted Mug
- Step #1.Wash the mug in warm soapy water to remove any stickers. Rinse and dry.
- Step #2.Put some rubbing alcohol on a cotton ball and rub it all over the outside of the mug where you’ll be painting it.
- Step #3.Decorate the mug with paint pens however you’d like.
- Step #4.Let your painted mug dry for 24 hours.
- Step #5.Place your mugs on a rimmed baking sheet (makes getting them in and out of the oven easier) and place them in a cold oven.
- Step #6.Turn the oven on to 375 degrees F. Once it’s heated, let the mugs bake for 25 minutes.
- Step #7.Turn the oven off and leave the mugs inside until they cool down.
- Step #8.Once the mugs are cool, wash them again in warm soapy water and then use them!
Frequently Asked Questions
Can I paint the inside of the mug?
No. While Sharpie’s website says they are made from non-toxic materials, it also says they have not been tested for food safety. So it’s best to only use the paint on the outside of the mug.
What should I put on my Sharpie painted mug?
Personalizing a mug for yourself or a friend or family member is half the fun. Add a monogram or a name, write a favorite quote, or draw a series of stick figures that represent your family. The options are endless!
Why do I have to bake the Sharpie painted mugs?
It’s what helps the paint set more permanently on the mugs.
Can Sharpie painted mugs go in the dishwasher?
Yes! Mine have held up well with regular trips through the dishwasher. Remember they must be oil-based and heat set first.

Expert Tips
- If you’re making a Sharpie painted mug with kids, be sure toprotect all surfaces and put on old clothes or smocks.
- If you make a mistake,dip a cotton swab in rubbing alcohol and wipe away anything you don’t want on the mug.
- The process forbaking the mugs takes about 2 hours to complete,so make sure you have enough time. You could let them dry a little longer than 24 hours if you need to.
- Pay attention to the size of the markers you’re buying. Medium, fine, or thin markers work the best for this mug project because larger marker tips make it harder to add details.
Variations and Design Ideas
- Monogram and Name Mugs– Trace bold letter outlines and full names with stencil cutouts; use dots around the border with contrasting colors.
- Polka-Dot Patterns– Dip the blunt end of a pencil or paintbrush into the paint pen ink and stamp it on for uniform dots all over the mug.
- Quotes– Write classic quotes on the cups, for example, “World’s Best Teacher” for teacher appreciation.
Washing Care
These heat-set mugs are dishwasher-safe; however, hand-washing can keep the colors more vibrant for a longer period of time. Remember, do not use any harsh steel wool or abrasive scouring pads on the mugs.
What to Gift with Your Custom Mug
Various Giftcards
More Craft Projects to Consider
Creating custom gifts for loved ones doesn’t have to be complicated or full of technical skills. With just a simple ceramic mug and a few oil-based paint markers, you can easily make thebest personalized keepsakeand pair it with freshly baked homemade goods.
Did you make this recipe? Leave a⭐️review and share it onInstagram,Facebook, orPinterest!
More to cook
See the category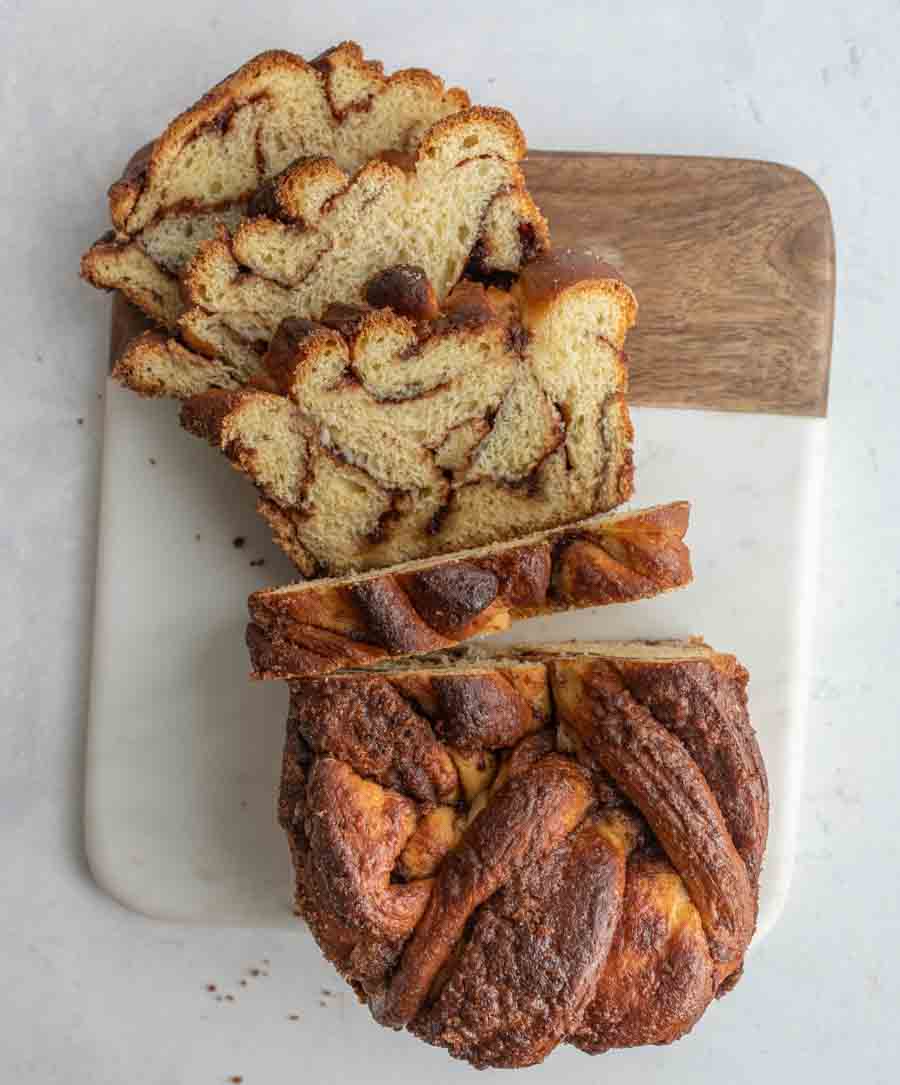 Breads
Cinnamon Babka
 Desserts
Butterbeer
 Desserts
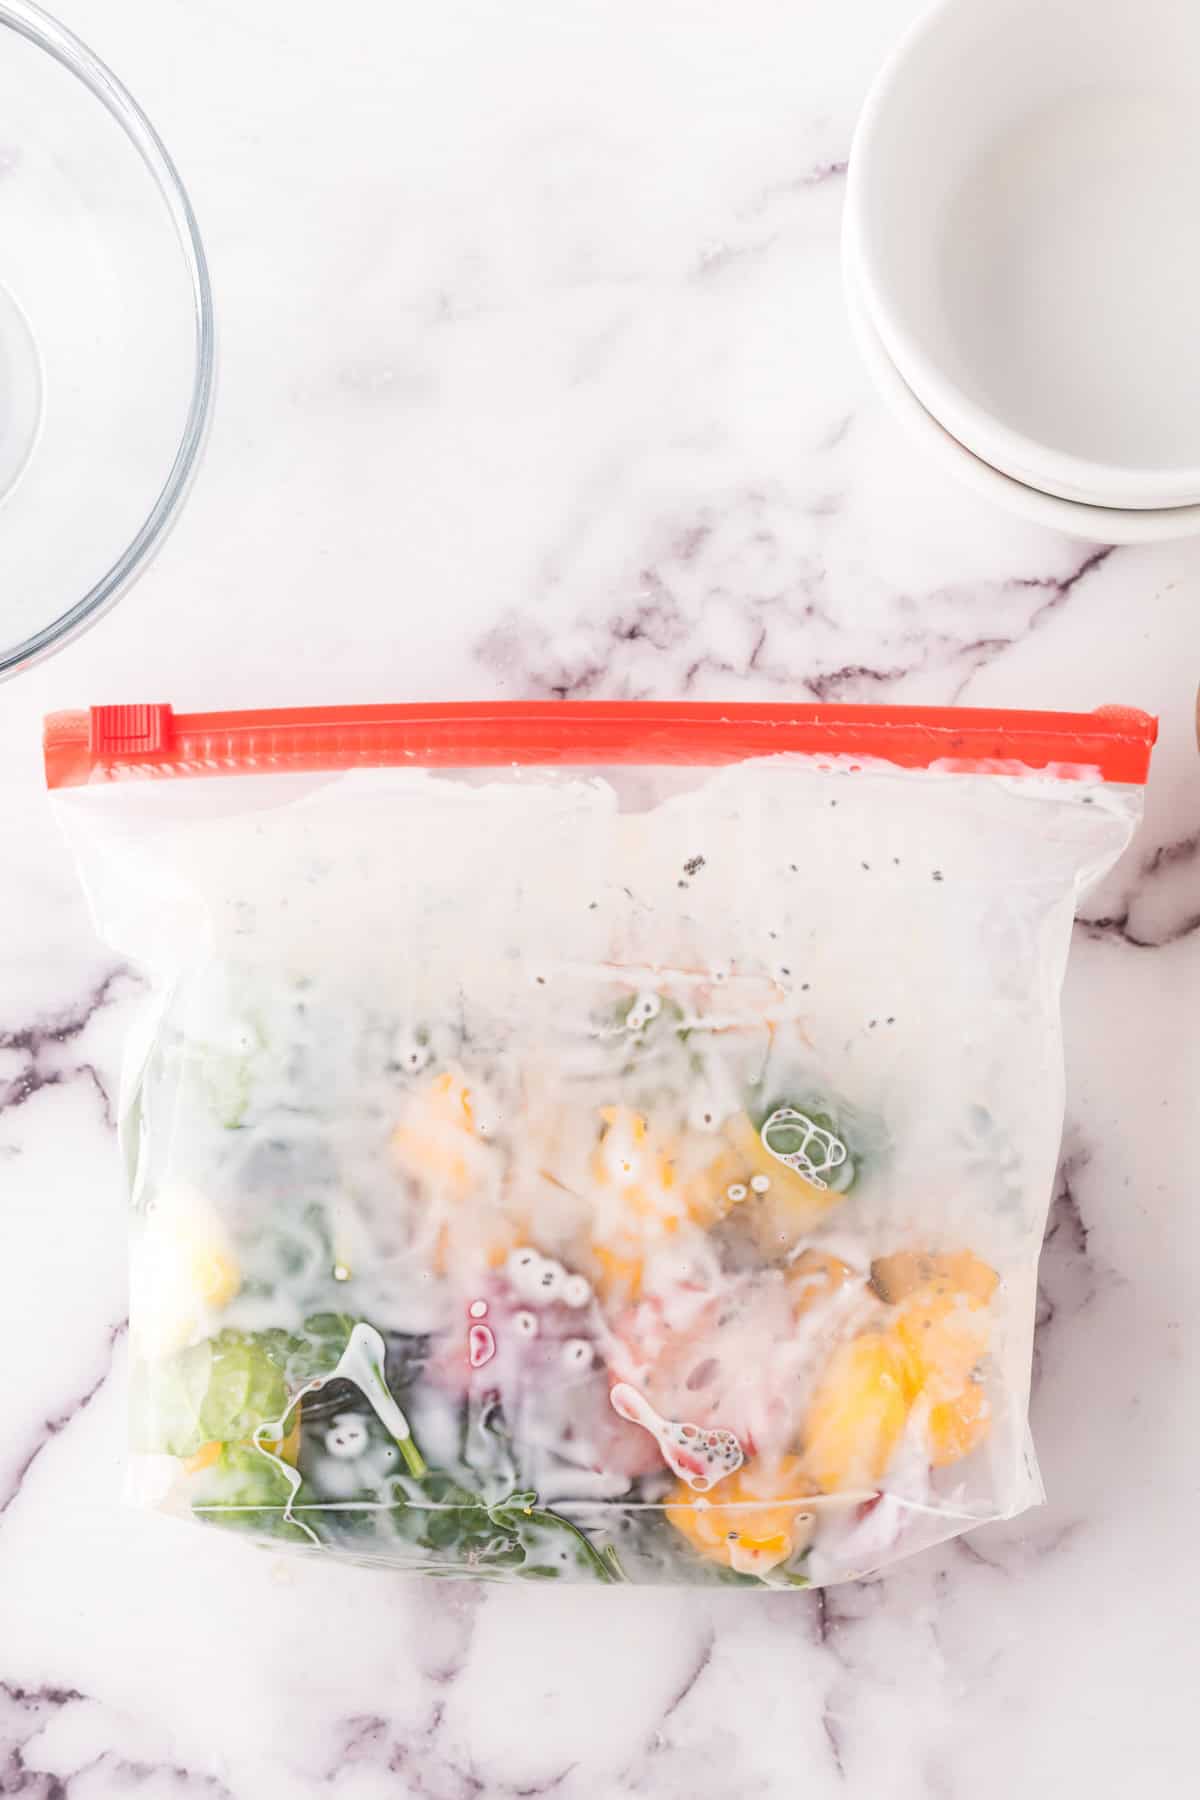
Frozen Smoothie Bags (the easiest smoothies ever!)
 Desserts
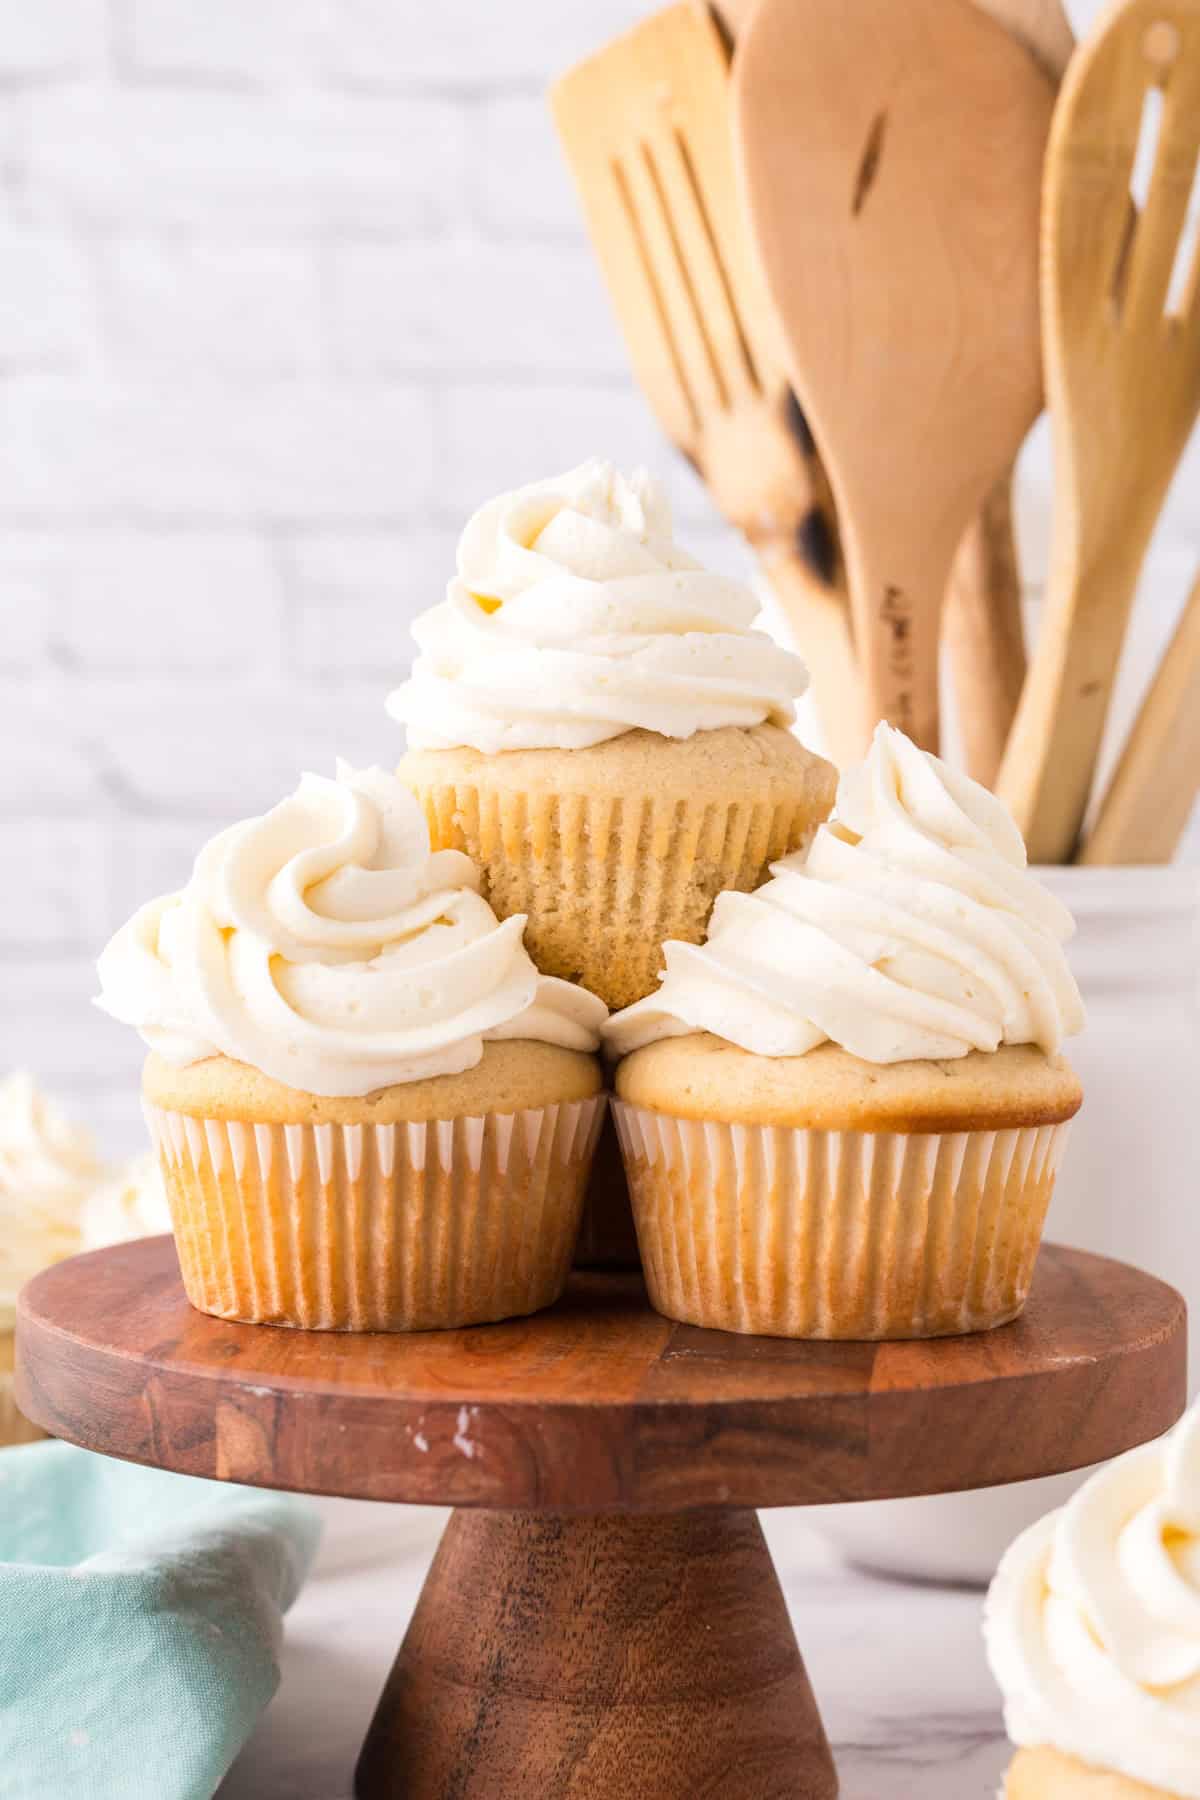
Copycat Sweet Tooth Fairy’s VaNIElla Squared Cupcake
 Easy Dinners
Slow Cooker Pork Roast With Apples & Cider
 Breakfast
Banana Chocolate Chip Muffins
 Desserts
18 Fall Recipes With Apples
 Desserts