Home Desserts Kid-Friendly No-Bake Halloween Treats
Desserts
Kid-Friendly No-Bake Halloween Treats
These easy No Bake Halloween Treats are perfect for parties and so simple kids can make them. Perfect party or after school treat!
- Prep20 min
- Total20 min
- Serves10 (as much as you'd like to make)
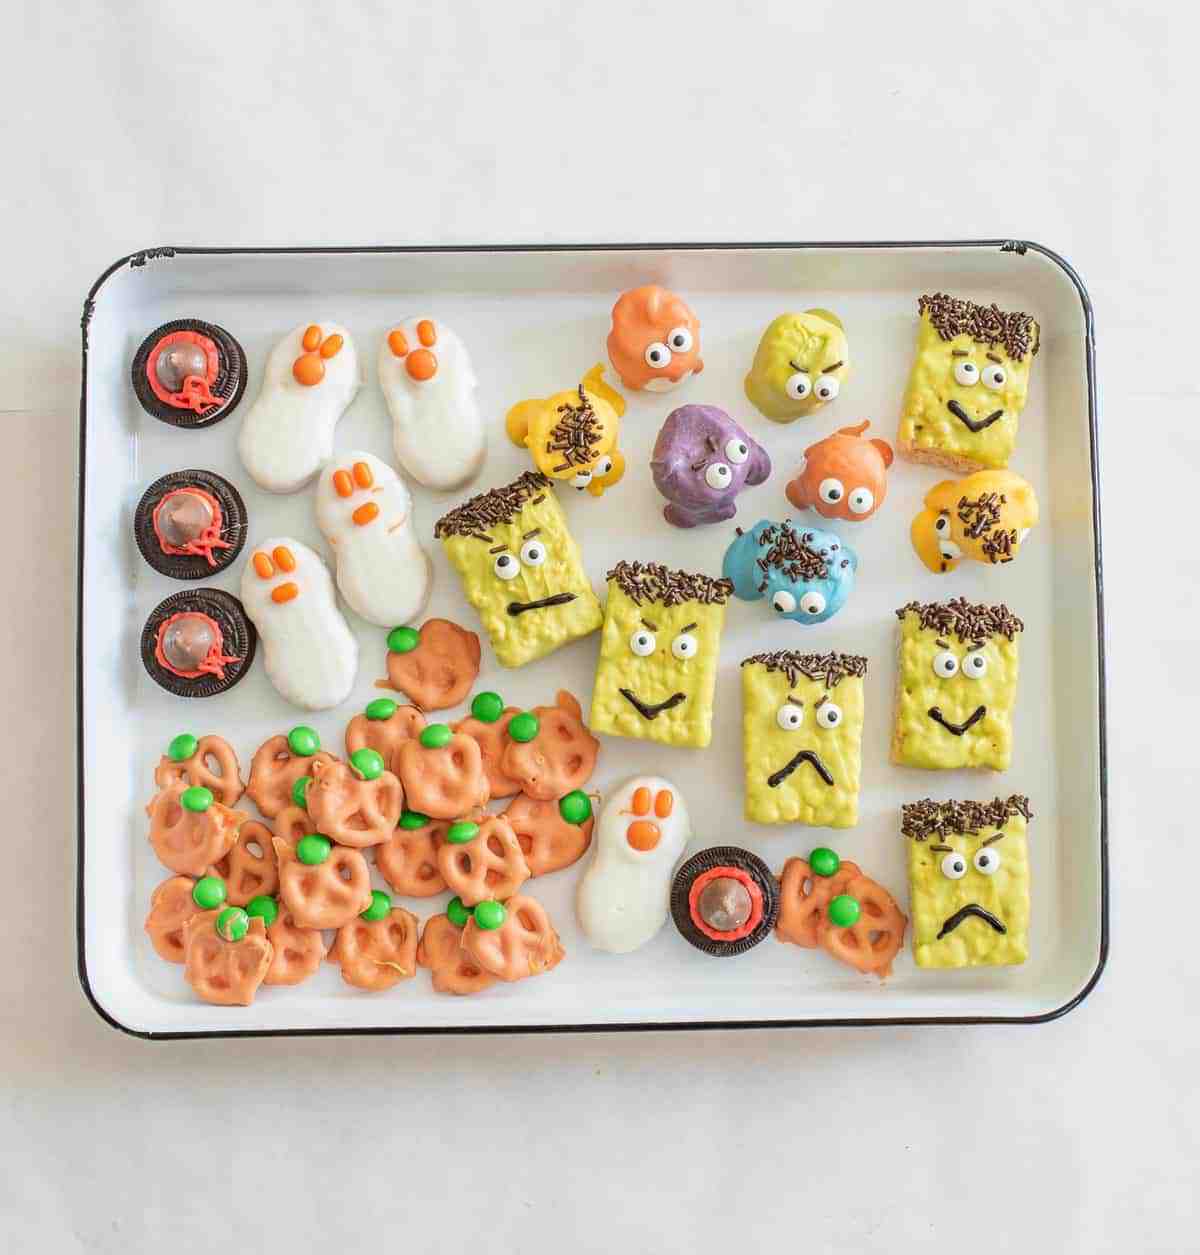
These easyNo Bake Halloween Treatsare perfect for parties and so simple kids can make them. Five spooky recipes using premade ingredients ready in just 20 minutes!
Quick Recipe Overview
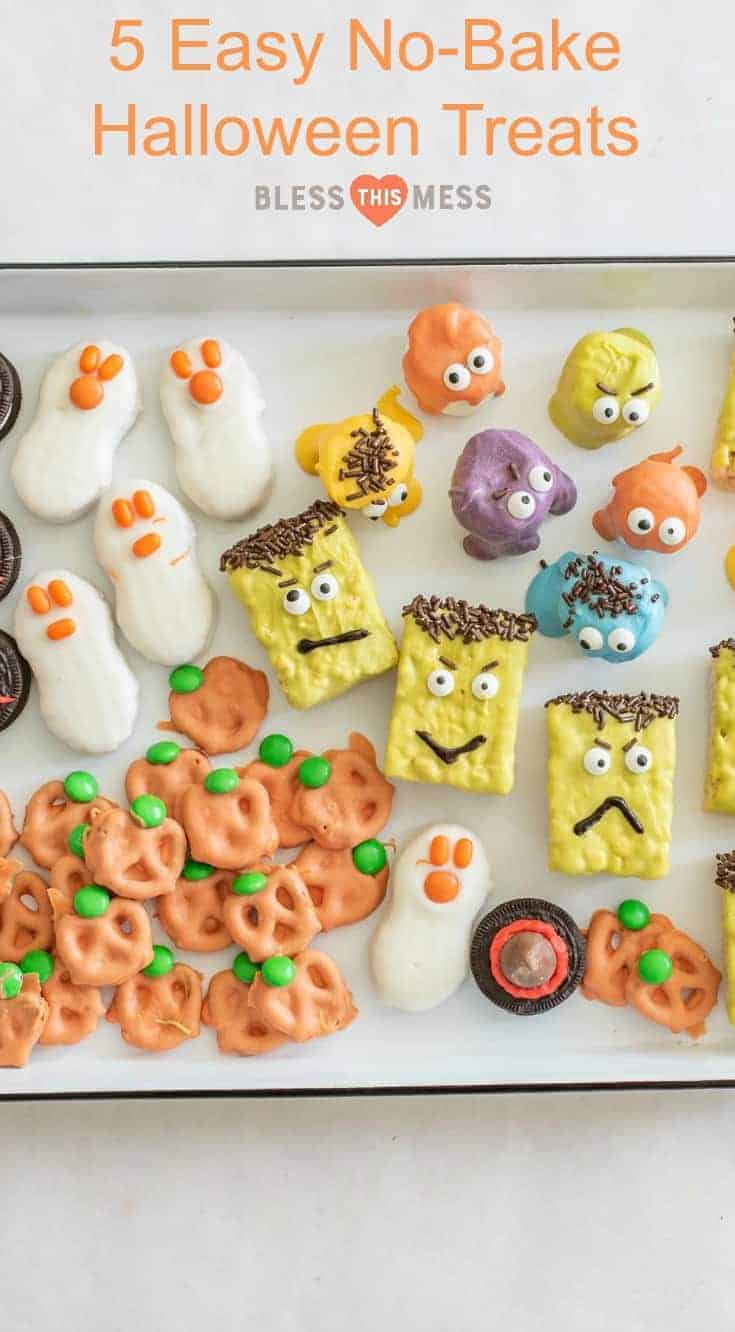
WHAT:Five adorable no-bake Halloween treats including pumpkin pretzels, ghost cookies, marshmallow monsters, witch hats, and Frankenstein Rice Krispies treats.
WHY:Perfect for parties, kid-friendly, requires no baking, uses simple premade ingredients, and ready in just 20 minutes.
HOW:Melt candy coating, dip store-bought items like pretzels and cookies, add candy decorations, then let set on wax paper.
Why I Love Making No Bake Halloween Treats
Who else loves all things October?!Bring on the pumpkins, parties,homemade donuts, and all things fall!
These super easy no-bake Halloween treats are my little gift to you to bring more fun and joy to your fall season. These are so easy, super cute, and perfect to take to a party or to plan for your kids to make after school.
These Halloween treats feature store-bought items so that you really don’t have any prep to do ahead of time.
You probably don’t need a lot of instructions to make these, but I’ve gone ahead and written it all out for you including tips and tricks on where to find everything you’ll need to make your Halloween treat-making party a success.
🩷
Fun & Easy to Make:I love little treats like these because they feel like they are almost an edible craft project – fun to make and fun to eat!
Low Effort:You can be the “fun mom” without much stress or fuss. 🤣 Plusthese treats are no bake!
Whether you’re hosting a Halloween party, need something quick for a school event, or want an easy activity for a rainy October afternoon, these five no-bake treats deliver maximum fun with minimum stress.
Ingredient Notes
Candy Melts vs. Almond Bark:Candy melts offer vibrant colors and are easy to work with, while almond bark (white melting candy coating) provides a neutral base you can tint yourself with oil-based food coloring.
Candy Eyes:These edible decorations come in various sizes. Stock up when you see them, as they can be harder to find outside the fall season.
Pre-made Rice Krispies Treats:Using store-bought Rice Krispies treat bars saves significant time. They’re the perfect base for your Frankenstein creations.
See the recipe card below for full information on ingredients and quantities
How to Make No-Bake Halloween Treats
Here are the general steps and then there are images and note for each treat below!
Step 1: Prepare Your Workspace
Line baking sheets with wax paper and arrange all ingredients within easy reach. Set up separate bowls for different candy melt colors and gather all your decorating supplies before you begin.
Step 2: Melt Your Candy Coatings
Melt candy melts or almond bark according to package directions, using 15-30 second microwave intervals and stirring thoroughly between each. For stovetop, use a double boiler for gentle, even melting.
Step 3: Dip and Coat Your Treats
Working with one type of treat at a time, dip items (pretzels, cookies, Rice Krispies treats) into melted candy using a fork to lift them out. Tap the fork gently on the bowl edge to remove excess coating, then transfer to wax paper.
Step 4: Add Decorations Immediately
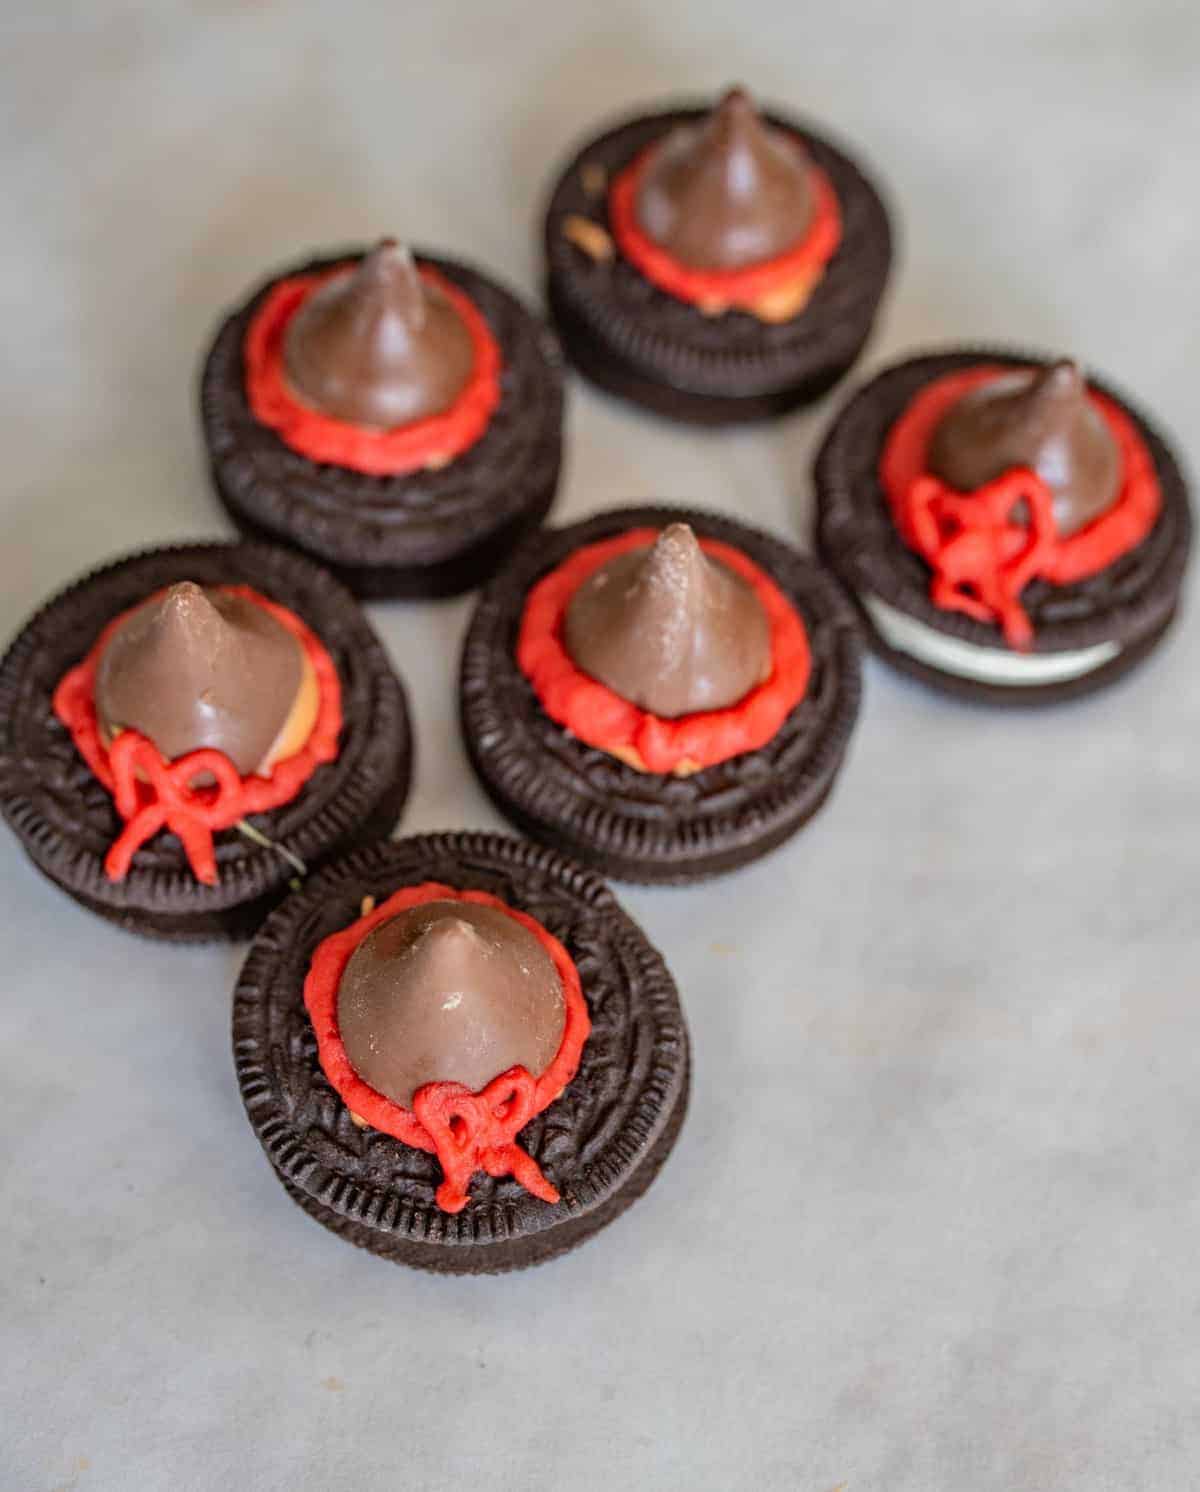
While candy coating is still wet, place candy eyes, M&Ms, sprinkles, or other decorations. Work quickly as candy melts set fast. For witch hats, attach Hershey’s Kisses to Oreos using packaged icing.
Step 5: Let Treats Set Completely
Allow all treats to harden at room temperature for 15-20 minutes. Avoid refrigerating, as this can cause condensation and make candy coatings sticky.
Step 6: Add Final Details
Once base coating has hardened, use black icing gel to draw Frankenstein mouths or add other fine details that need a steady hand.
For the Pumpkin Pretzels
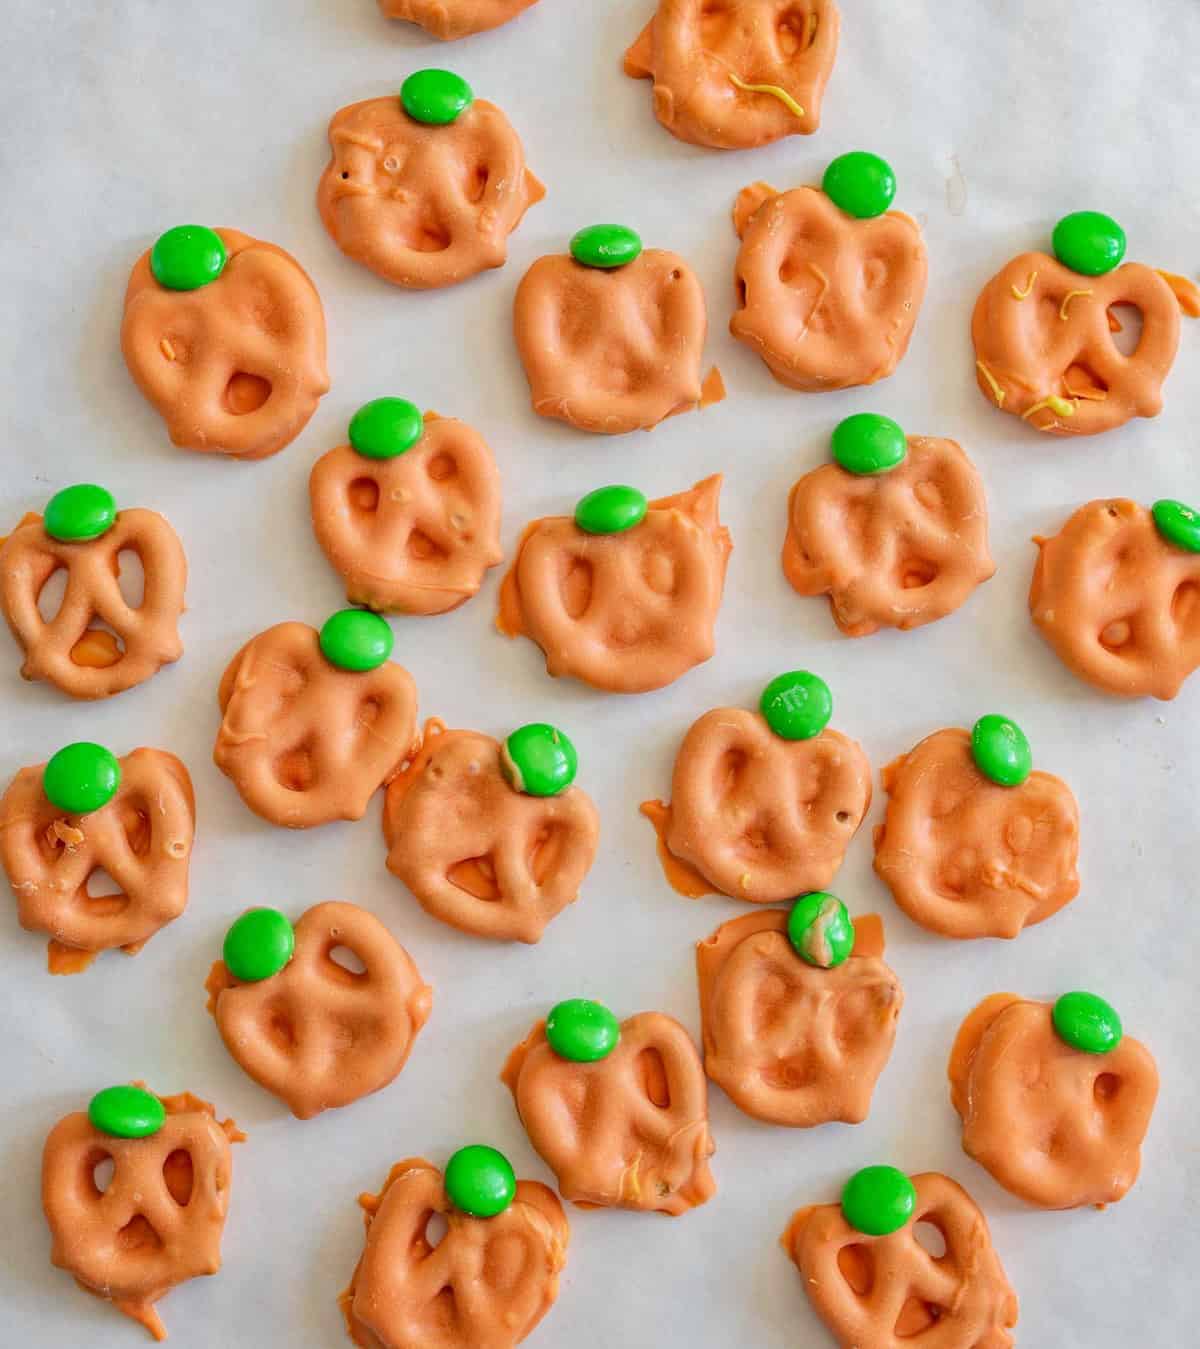
Dip the pretzels in melted orange candy melts. Place a green M&M at the top for the stem.
For the Nutter Butter Ghosts
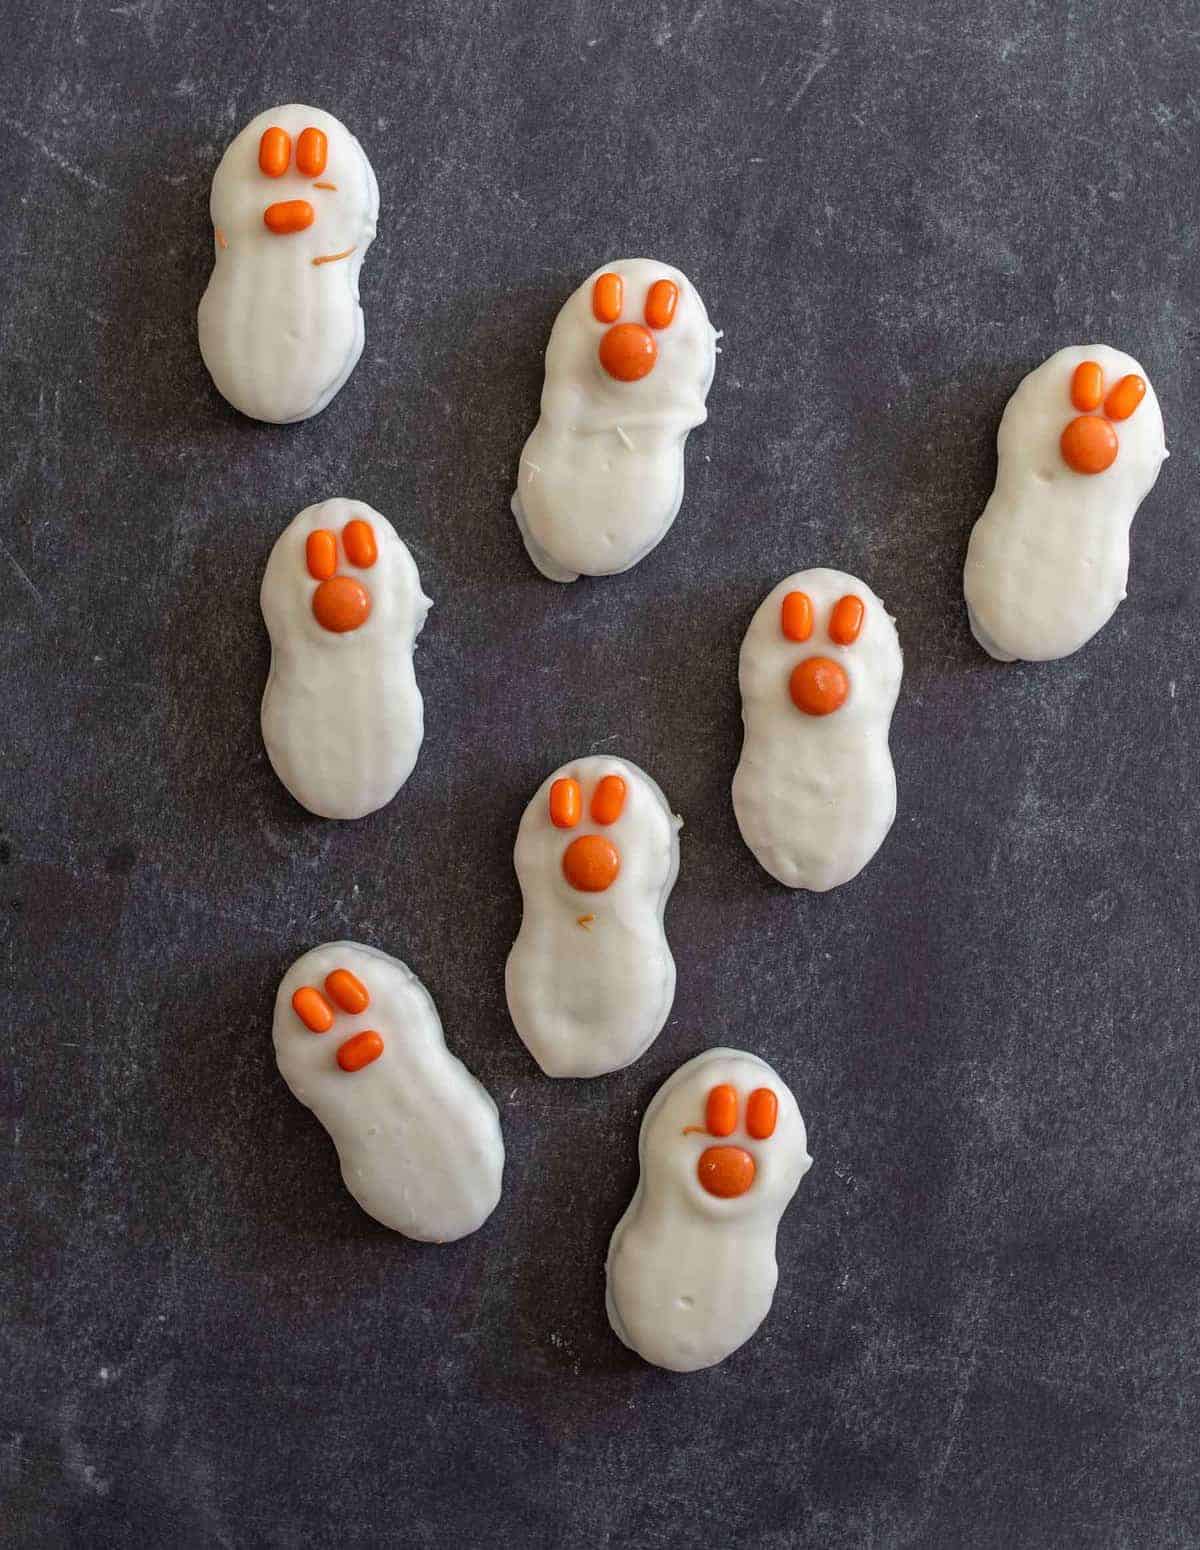
Coat the Nutter Butter cookies in a melted almond bark. Place on waxed paper. Arrange M&M candies at the top to make a face.
For the Marshmallow Monsters
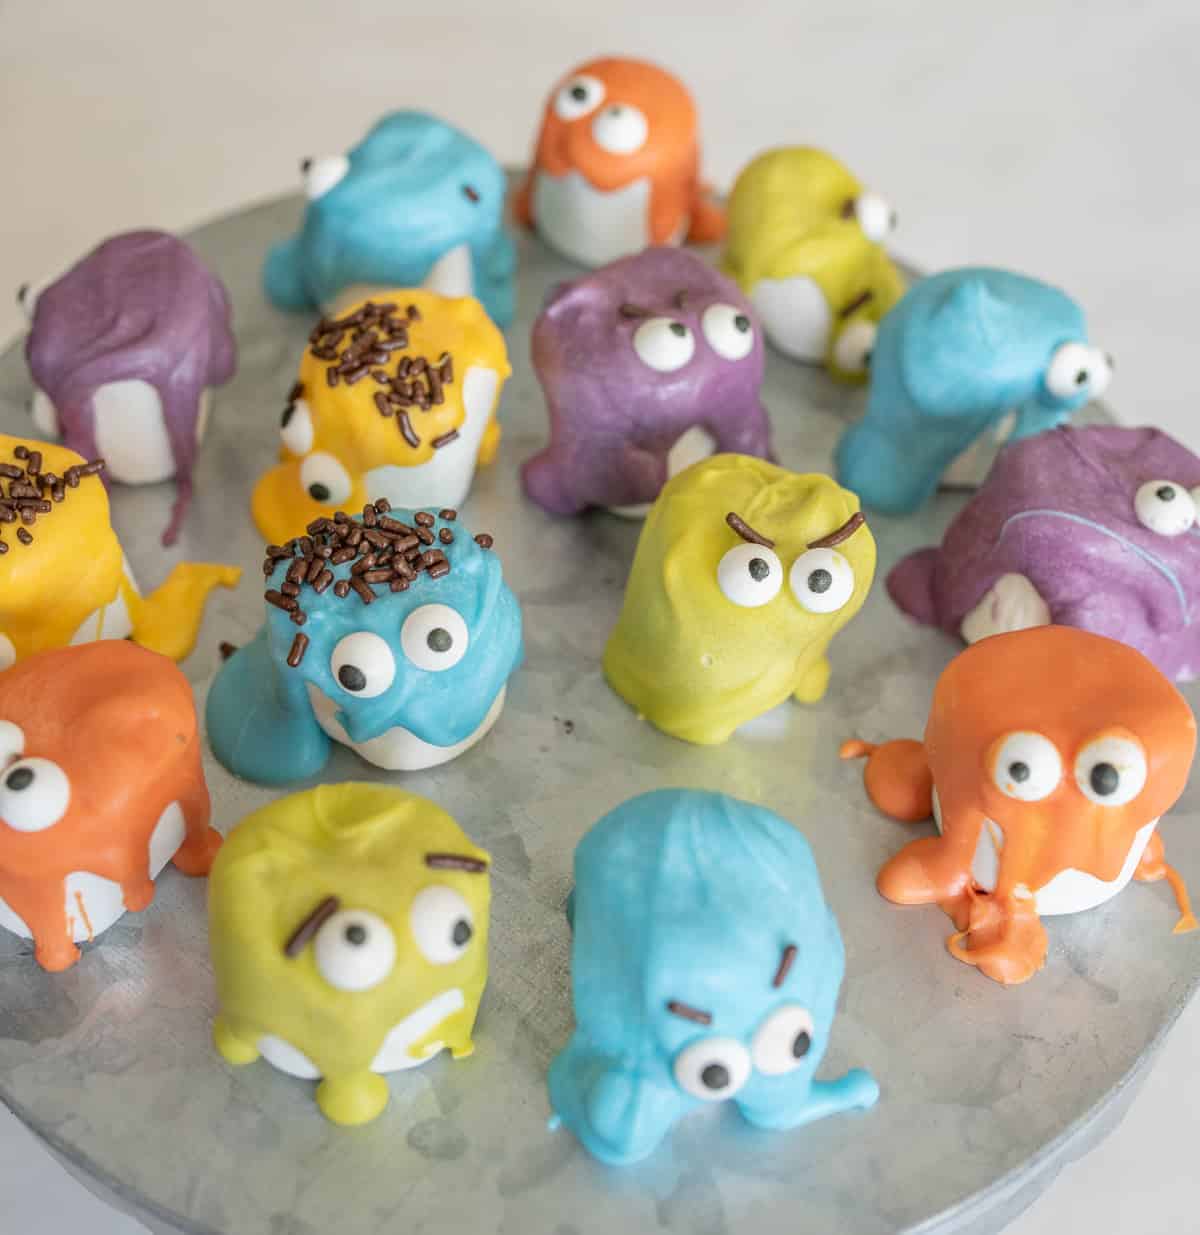
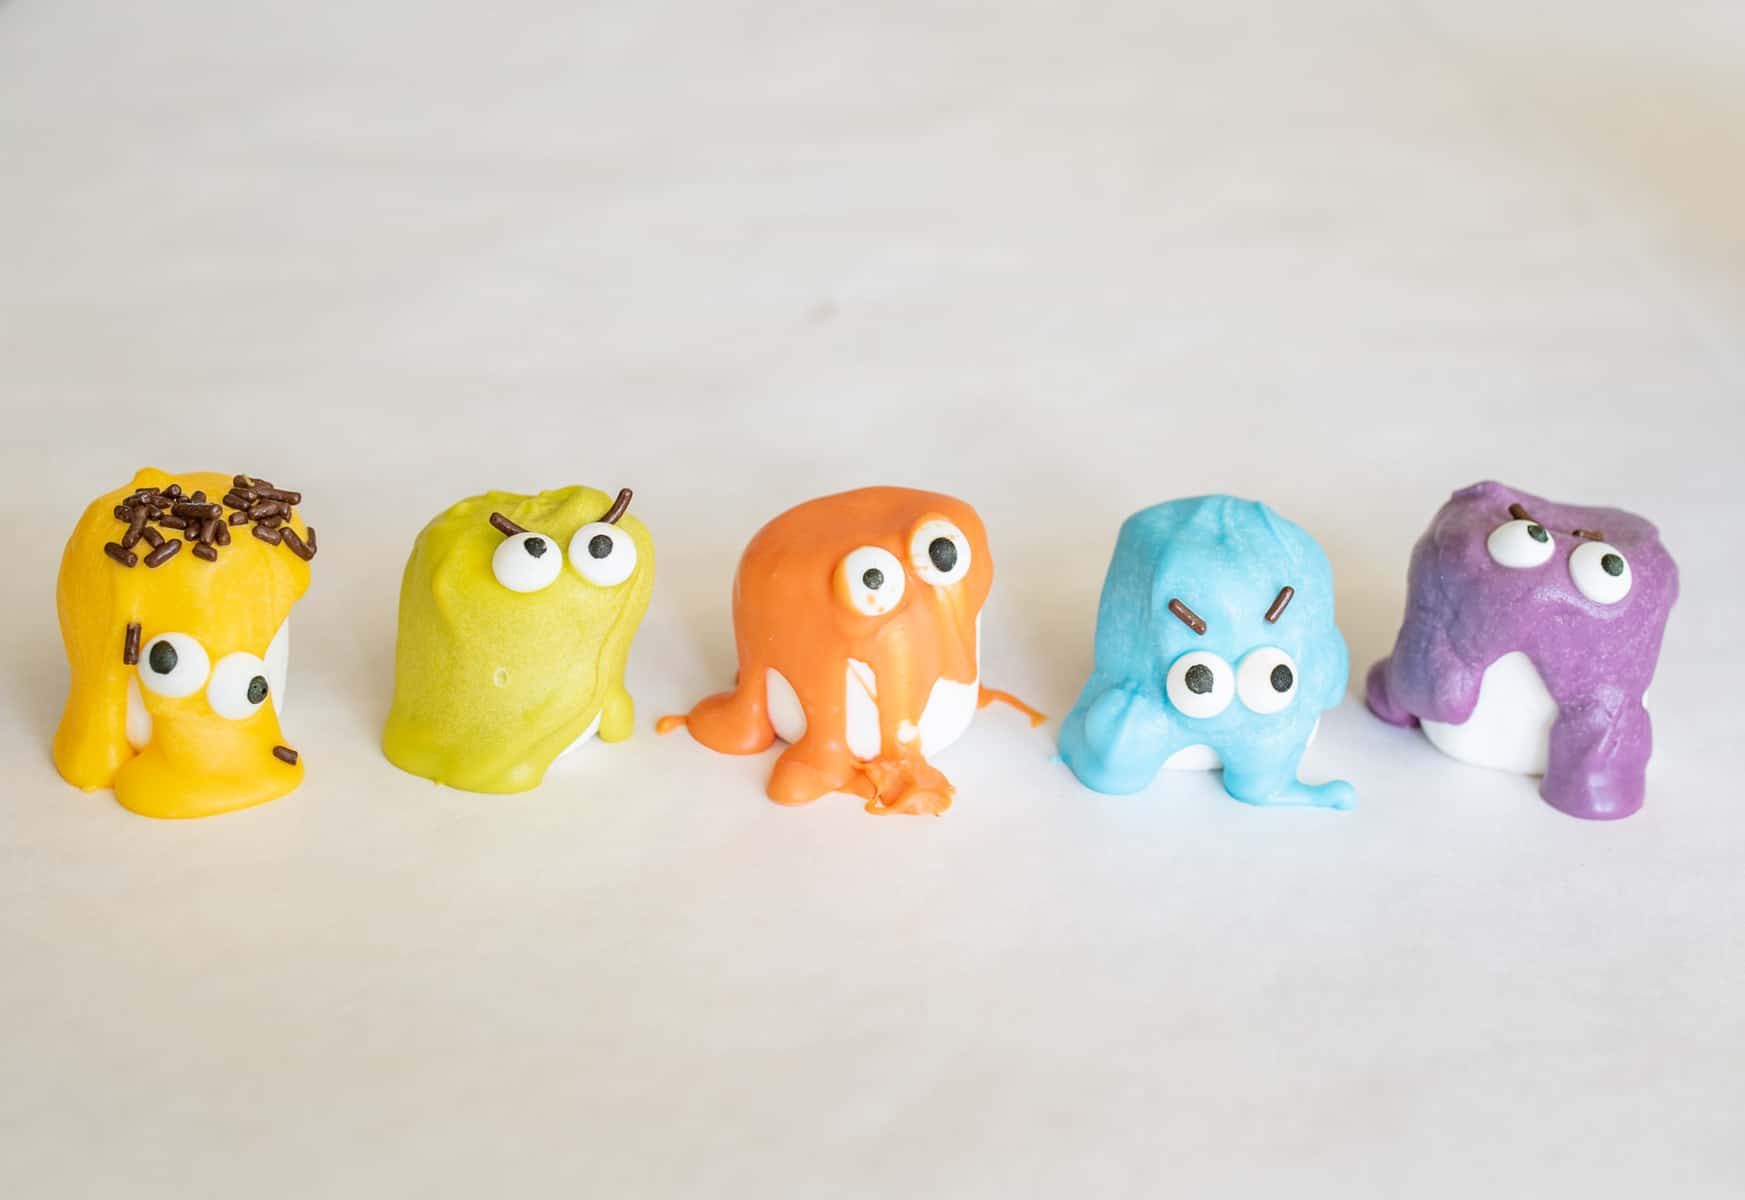
Stand the marshmallows on some waxed paper. Spoon melted candy melts over the top so that it runs down the side a little. Place candy eyes before it hardens.
For the Oreo Witch Hats
Place some red icing in the center of an Oreo. Place an unwrapped Hershey’s Kiss on top of the icing so that some squishes out.
For the Rice Crispy Frankensteins
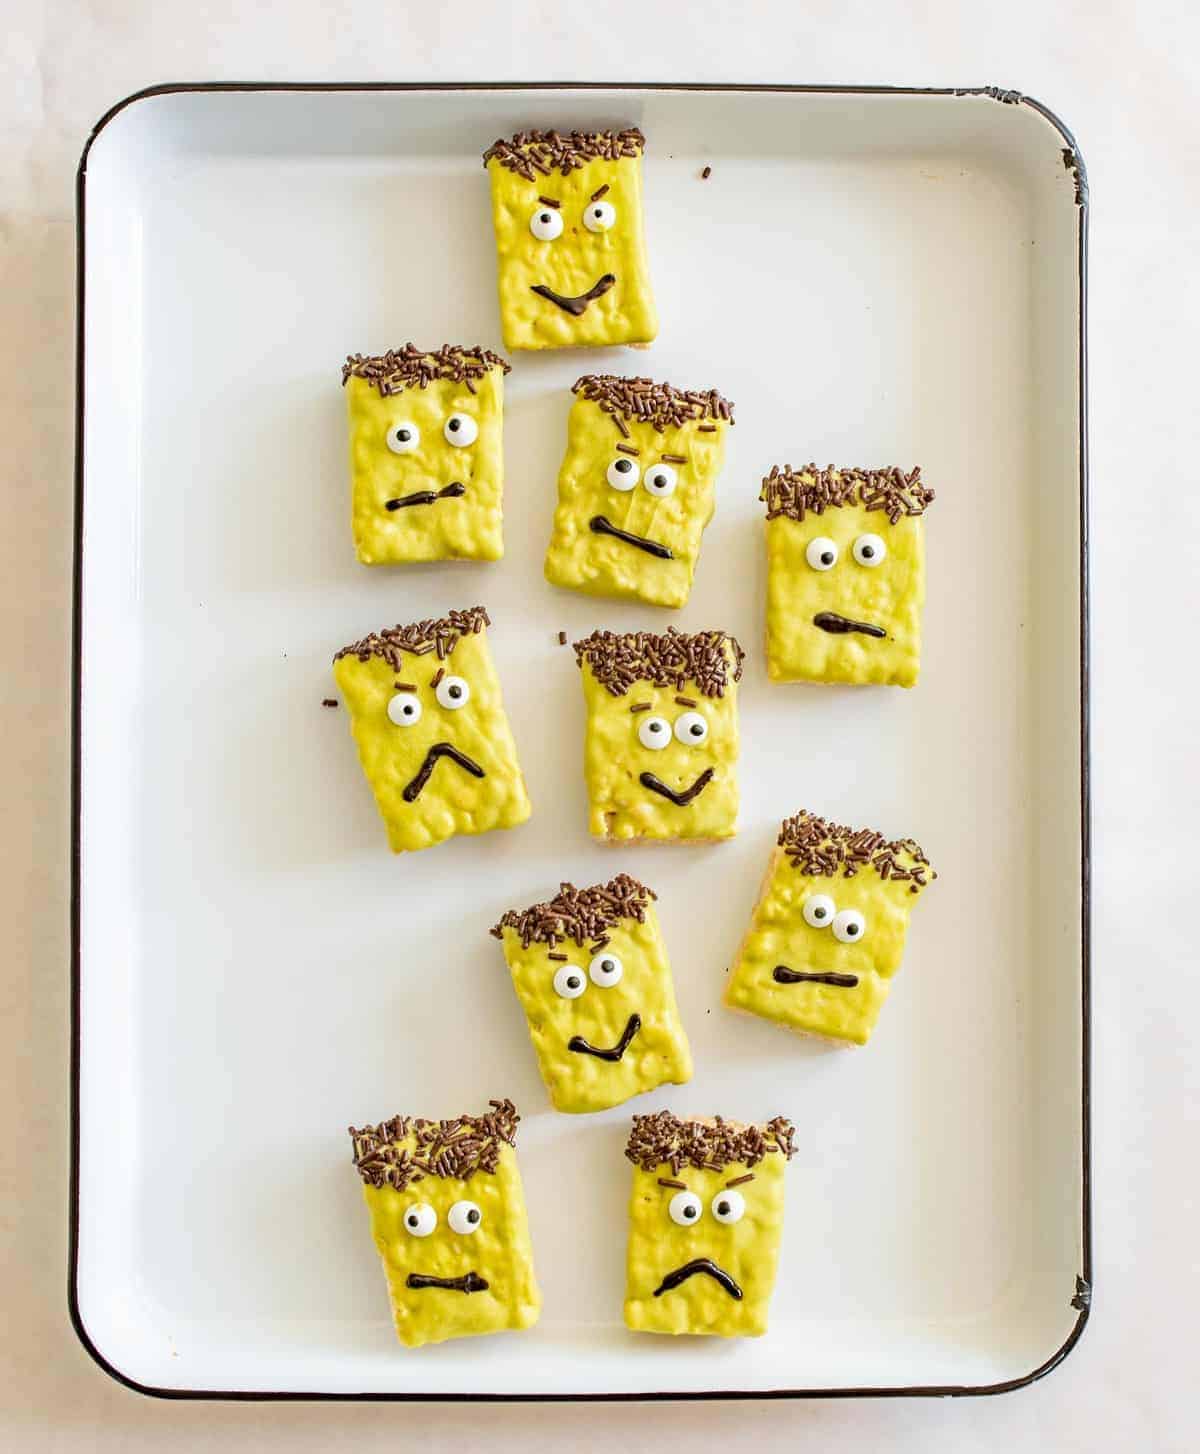
Coat a Rice Crispy bar in melted green candy melts. Dip one end in chocolate sprinkles. Place on waxed paper and arrange candy eyes before the green candy melts harden. Use black piping gel to draw a mouth.
Substitutions & Variations
Cookie Alternatives
Swap Nutter Butter cookies for vanilla wafers, graham crackers, or Milano cookies to create different ghost shapes and accommodate nut allergies.
Chocolate Options
Dark chocolate candy melts work beautifully for a less sweet option, while white chocolate can be tinted any color you want.
Pretzel Varieties
Mini pretzel twists, regular pretzels, or even pretzel sticks can replace pretzel knots for pumpkin treats.
M&M Substitutions
Use Tic-Tacs, mini chocolate chips, or candy-coated sunflower seeds for facial features and decorations.
Homemade Rice Krispies Treats
If you prefer from-scratch,make your own Rice Krispies treatsand cut them into rectangles before coating.
FAQs for No Bake Halloween Treats
Where can I find the candy eyes?
They are usually in the store near the sprinkles or with the candy melts. If you can’t find them locally, you can even order them on Amazon because the internet is amazing.
What is the best order to make these in?
It’s pretty easy to make all of these at once. Just melt a bunch of candy melts and get to work. Then use up any leftover colors to make the marshmallow monsters. The variety is fun to have.
Can I make these no-bake Halloween treats ahead of time?
Yes, these treats store beautifully for 3-5 days in an airtight container at room temperature. Make them a few days before your party to save time on the big day.
Can I use regular food coloring to tint the candy melts?
No, regular food coloring will cause candy melts to seize up and become unusable. Always use oil-based food coloring specifically designed for chocolate and candy work.
What if I don’t have all the candy melt colors I need?
You can mix candy melts like paint! Combine 2 parts yellow with 1 part blue for green, or 2 parts yellow with 1 part red for orange.
Are these treats allergy-friendly?
These recipes contain peanuts (Nutter Butter cookies), dairy, and soy. For nut-free versions, substitute vanilla wafers or graham crackers for the Nutter Butter cookies, and check all candy packaging for allergen information.
My Best Tips for Making No Bake Halloween Treats
👻 Be careful not to overheat the candy melts or almond bark when melting them.A double boiler or in a microwave is the best way to go. If you use the microwave, do 15-30 second bursts and stir. Once it is mostly melted, just give it a good stir until the last bits melt and it’s all smooth. If you put it back in the microwave again, it will harden up and you’ll have to start over.
👻We LOVE to “Boo!” our neighbors (door bell ditch a treat).Here’s aFree Halloween Boo Poem Printableso that you can do it too!
👻Our little store only had a few colors of candy melts.I discovered that you can mix them like you would mix paint!I melted 2 parts yellow to 1 part blue to make green and did 2 parts yellow and 1 part red to make orange. Worked great!
👻If you want to color the almond bark or white candy melts yourself, make sure to get oil based food coloring. Regular food coloring will make your candy seize up and ruin it.
👻You can find candy eyes with the sprinkles or with the candy melts. You can even order them on Amazon because the internet is amazing.
What to Serve With No Bake Halloween Treats
These festive treats pair perfectly with hot apple cider, pumpkin spice hot chocolate, or orange-colored punch for a complete Halloween party spread. Arrange them on a large platter alongside Halloween cupcakes, caramel apples, and candy corn for a dessert table that looks professionally styled.
For a full party menu, serve these treats after Halloween chili, mummy hot dogs, or witch’s finger breadsticks. They also make excellent take-home party favors when packaged in clear cellophane bags tied with orange and black ribbons.
Storage & Make Ahead Tips
Room Temperature Storage
Store these no-bake Halloween treats in an airtight container at room temperature for up to 5 days. Layer treats between sheets of wax paper to prevent sticking.
Refrigerator Storage
While not necessary, you can refrigerate treats for up to 2 weeks. Bring to room temperature before serving to avoid condensation on candy coatings.
Freezer Storage
These treats freeze well for up to 2 months. Freeze in a single layer on a baking sheet first, then transfer to freezer bags. Thaw at room temperature for 30 minutes before serving.
Make-Ahead Tips
Prepare treats 2-3 days before your event for optimal freshness. Candy eyes and decorations may fade slightly over time, so adding them closer to serving time ensures the best appearance.
Similar Recipes to Try
- Halloween Popcorn Balls– Sweet and salty treats perfect for parties
- Candy Corn Snack– One of our favorite seasonal treats and so easy
- Monster Cookie Bars– Easy cookie bars loaded with M&Ms and oats
- Pumpkin Spice Energy Bites– Healthier no-bake treat with fall flavors
- Spider Web Cupcakes– Lovely chocolate cupcakes with marshmallow webs
More Halloween Recipes to Try
Did you make this recipe? Leave a⭐️review and share it onInstagram,Facebook, orPinterest!
More to cook
See the category Breads
100% Whole Wheat Bread Recipe
 Breads
How to Dehydrate Sourdough Starter
 Easy Dinners
Instant Pot Honey Sesame Chicken
 Desserts
Light and Fluffy Vanilla Buttercream Frosting
 Desserts
Caramel Sauce Recipe
 Desserts
Easy Authentic Beignets
 Recipes
How To Preserve Apples
 Desserts